Your New Home Checklist: What to Do First After You Get the Keys
Getting the keys to your new home feels like a finish line, but it’s actually the beginning of the next chapter. By this time, most of the preparation is behind you logistics are handled, utilities and services are arranged, possessions are packed, and the move is planned.
From this point forward, the condition of that property how it holds up, how it provides for you, how much it costs you over time is largely in your hands. The first few decisions you make help set you up for an easier road as you settle in and build a life in it. This new home checklist walks you through exactly what to tackle, and in what order.

1. Secure the Property First
Before anything else, secure the home.
That starts with the locks. You don’t always need to replace the entire lock set have a qualified locksmith re-key the cylinders so all locks work off a single key. It’s faster, more efficient, and ensures you know exactly who has access. Repair any damages that prevent the property from being able to be secured. Change any garage door or digital lock access codes.
At the same time, confirm your basic safety systems are working:
- Smoke detectors
- Carbon monoxide detectors
- Invest in a fire extinguisher or fire blanket (Kitchen)
If there’s an existing alarm system, or if you are using a wireless one, look into whether your city requires a permit. Many municipalities do if it’s connected to emergency services.
This step isn’t just about safety it’s about control. You’ve just taken ownership of the property, and this is how you establish that physically. It’s one of the most important first time homebuyer tips anyone can give you: the home isn’t truly yours until you control who can get into it.
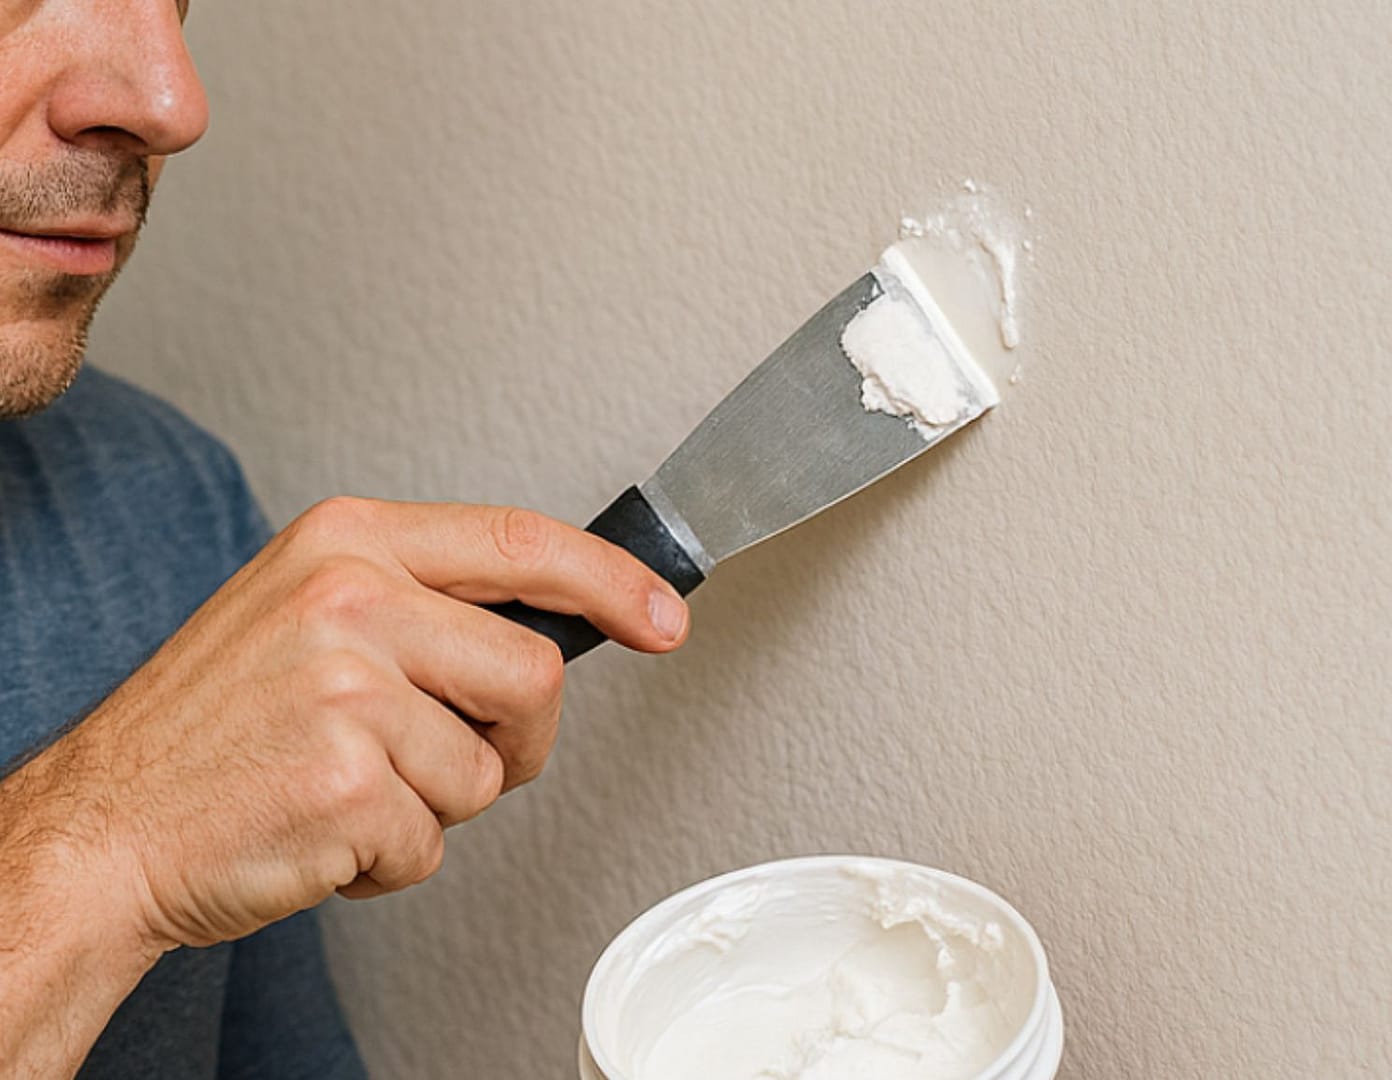
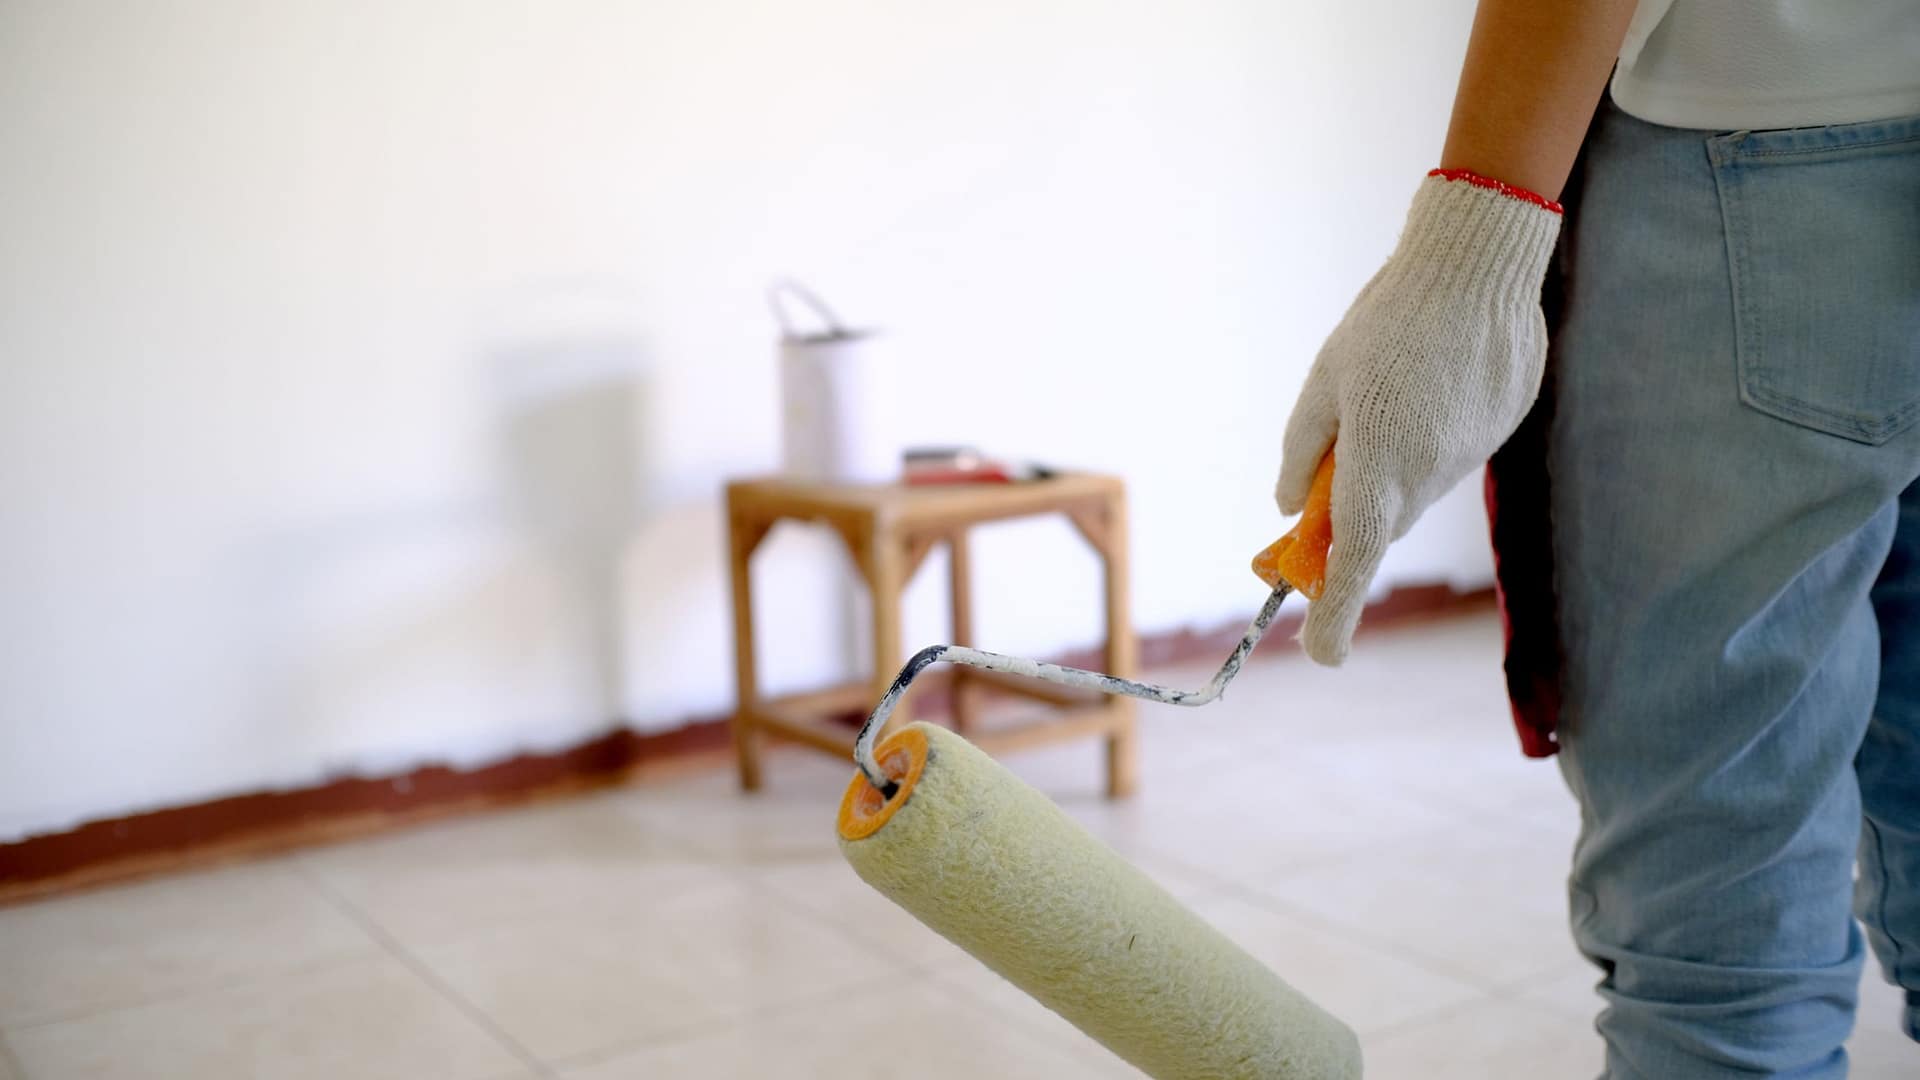
2. Do the Work That’s Harder to Do Later
If you decide to paint the interior or have flooring replaced, this is the optimum moment to do it or to contract a company to have it done ideally before you move in, if you have that luxury. In some cases, your agent could ask the seller for permission to have a contractor come to give a quote for you, prior to your closing, so you are ready to go once you get the keys.
Once your furniture is in place and your daily life takes over, these projects become disruptive, a logistics nightmare or get delayed indefinitely. Most people who plan to “do it later” end up living with decisions they meant to change.
There’s a short-term effort involved in scheduling this work early, but the payoff is immediate:
- Cleaner, more professional results and a much faster job
- Faster move-in and more time to devote to unpacking
- Having a home that’s already ready for you is a definite mood booster
- Less disruption to your daily life
Getting it done up front allows you to actually settle into the home instead of managing ongoing projects piecemeal.

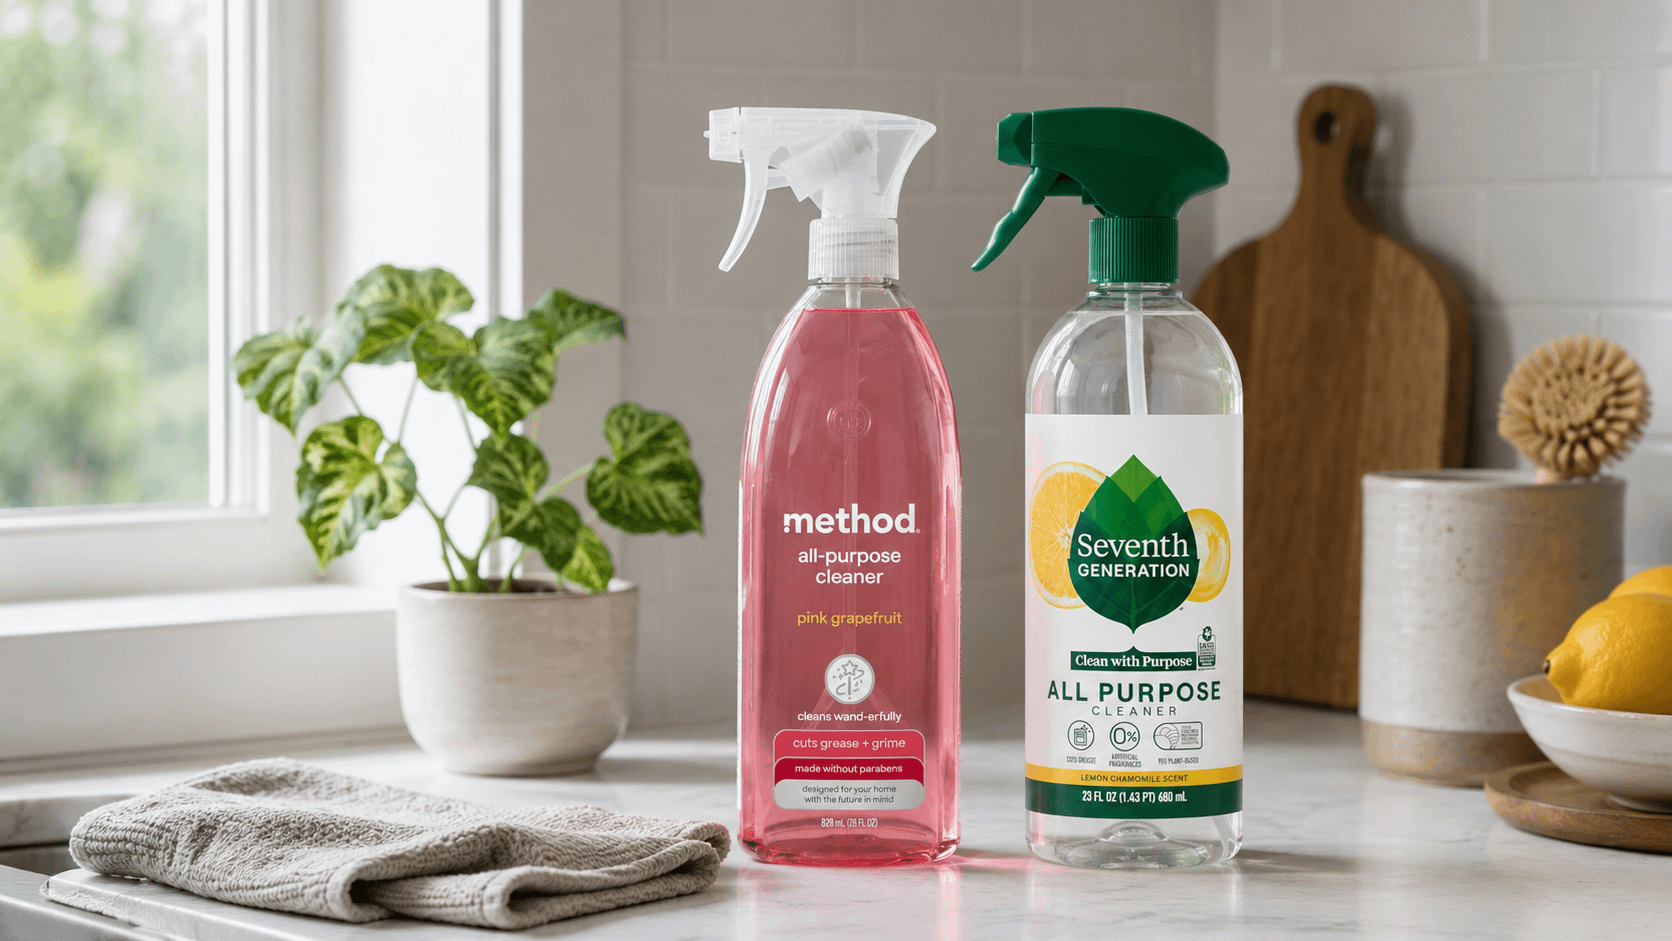
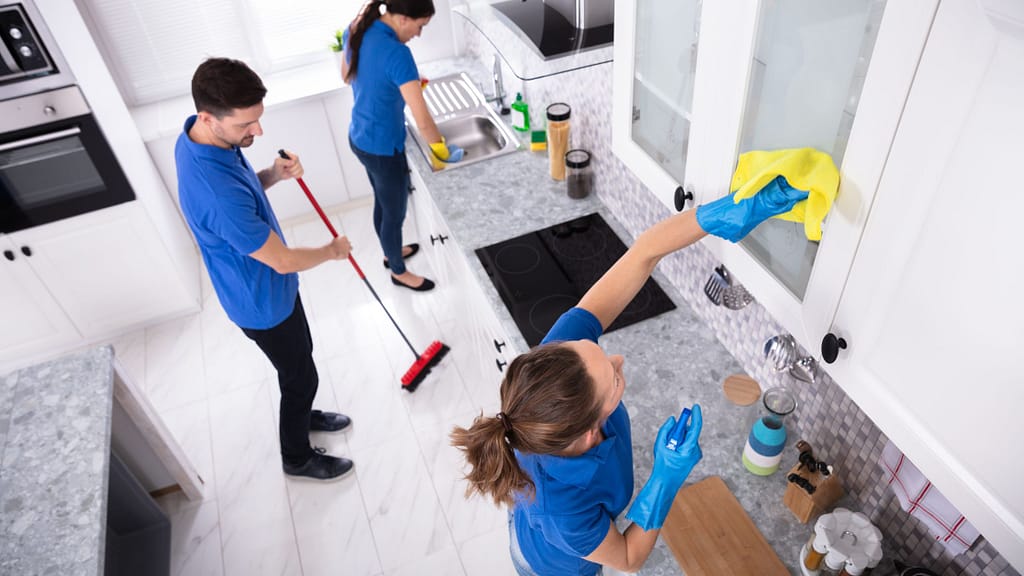
3. Clean for Hygiene — Not Just Appearance
If the home hasn’t been professionally cleaned, this is the time to do it ideally before you move in, but at minimum before you start unpacking anything in your kitchen or bathrooms.
Homes often “look clean” when sellers move out, but that doesn’t mean they’ve been cleaned at a hygienic level. Moving is hectic, and most people don’t have the time or energy left to properly sanitize surfaces.
Start fresh:
- Kitchens degreased and disinfected properly
- Bathrooms fully disinfected
- High-touch surfaces cleaned thoroughly
- Run washing machine and dishwasher sanitizing tablets in each
- Change out toilet seats (measure or make a template before buying)
And while you’re doing this or immediately after painting or flooring work it’s worth running a high-quality air filter or air scrubber. Replace your HVAC and air conditioning filters too. A good air purifier is one of those new home must-haves people don’t think about until they’ve already moved boxes in.
Air quality is one of the most overlooked aspects of a home, and it directly impacts your health and well-being. The EPA’s guide to indoor air quality is a great resource if you want to understand what to watch for.
So, now you are ready to move your belongings into your home and unpack room by room. Check out our moving out and moving into new house checklist to give you some guidance.
4. Shift Your Mindset: You Own It Now
This is where things change.
You’re no longer evaluating the home, you’re responsible for it.
The first step is understanding how to operate it safely. Do not wait until you have an emergency to figure this out.
Locate and familiarize yourself with:
- Main water shutoff (and any interior shutoffs)
- Gas shutoff valve
- Electrical panel and master disconnect
- Dedicated shutoffs for specific systems or appliances
- Overflow lines for HVAC systems and water heaters
- Cut off valves for washer supply lines (ideally replace the hoses with new braided metal ones)
These are not minor details. In the right (or wrong) moment, knowing where these are can prevent significant damage.
After you’ve unpacked and settled, this awareness turns into something more important: you are prepared in case something goes wrong.
5. Learn the Exterior First — It’s Your First Line of Defense
You begin learning how to take care of the house. Once you’ve settled in enough to step back and observe, start outside.
Walk the entire perimeter of the home slowly and deliberately. You’re not just looking you’re studying.
This is often easier if you take photos so you can compare conditions over time.
Focus on what the materials are and how they come together:
- Where siding, trim, and masonry meet
- Where water flows, collects, and drains
- Where sealants and caulking are applied
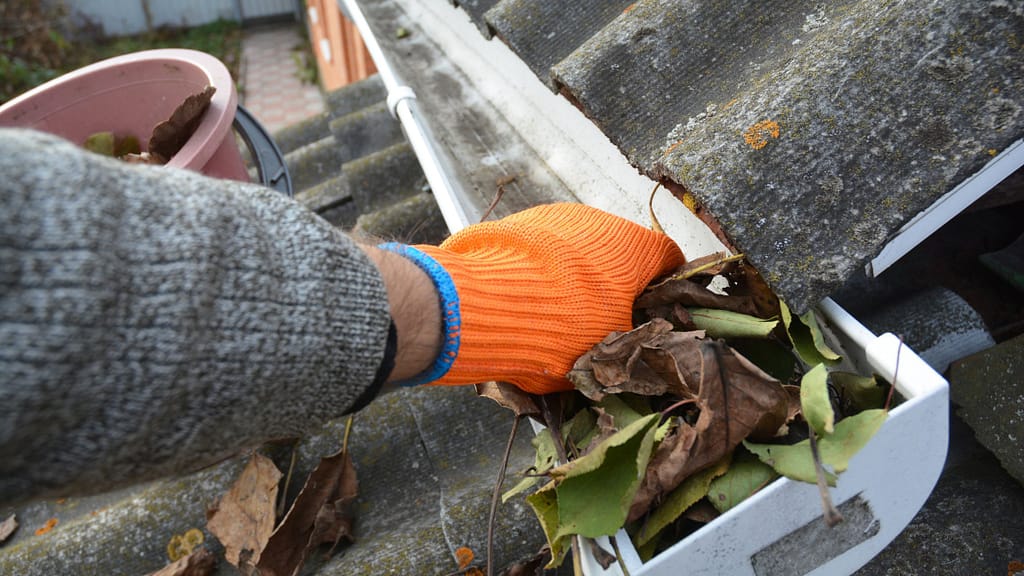
Then start looking more closely:
- Are gutters clear and properly draining away from foundations?
- Roof shingles in good condition, flashing sealed? roofing nails starting to back out?
- Exterior door seals / thresholds in good cond?
- Door and window caulking in good condition?
- Any chipped or missing materials?
- Cracks in mortar or gaps in siding?
- Tree branches overhanging the roof? Tree roots close to the foundations
- Areas where pests or moisture could get in?
These are the small things most people overlook.
And they’re exactly the things that turn into larger, more expensive problems if ignored.
Use your home inspection report as a companion here. Revisit anything that was flagged as “monitor” or “repair later.” These are now your responsibility.
Also think practically:
- How will you access these areas?
- Do you need a ladder or safety equipment?
- Is this something you’ll handle yourself (can you find online info to learn) or hire out?
The goal here is not perfection, it’s awareness.
Because the exterior is your home’s first line of defense. If it fails, everything behind it is at risk.
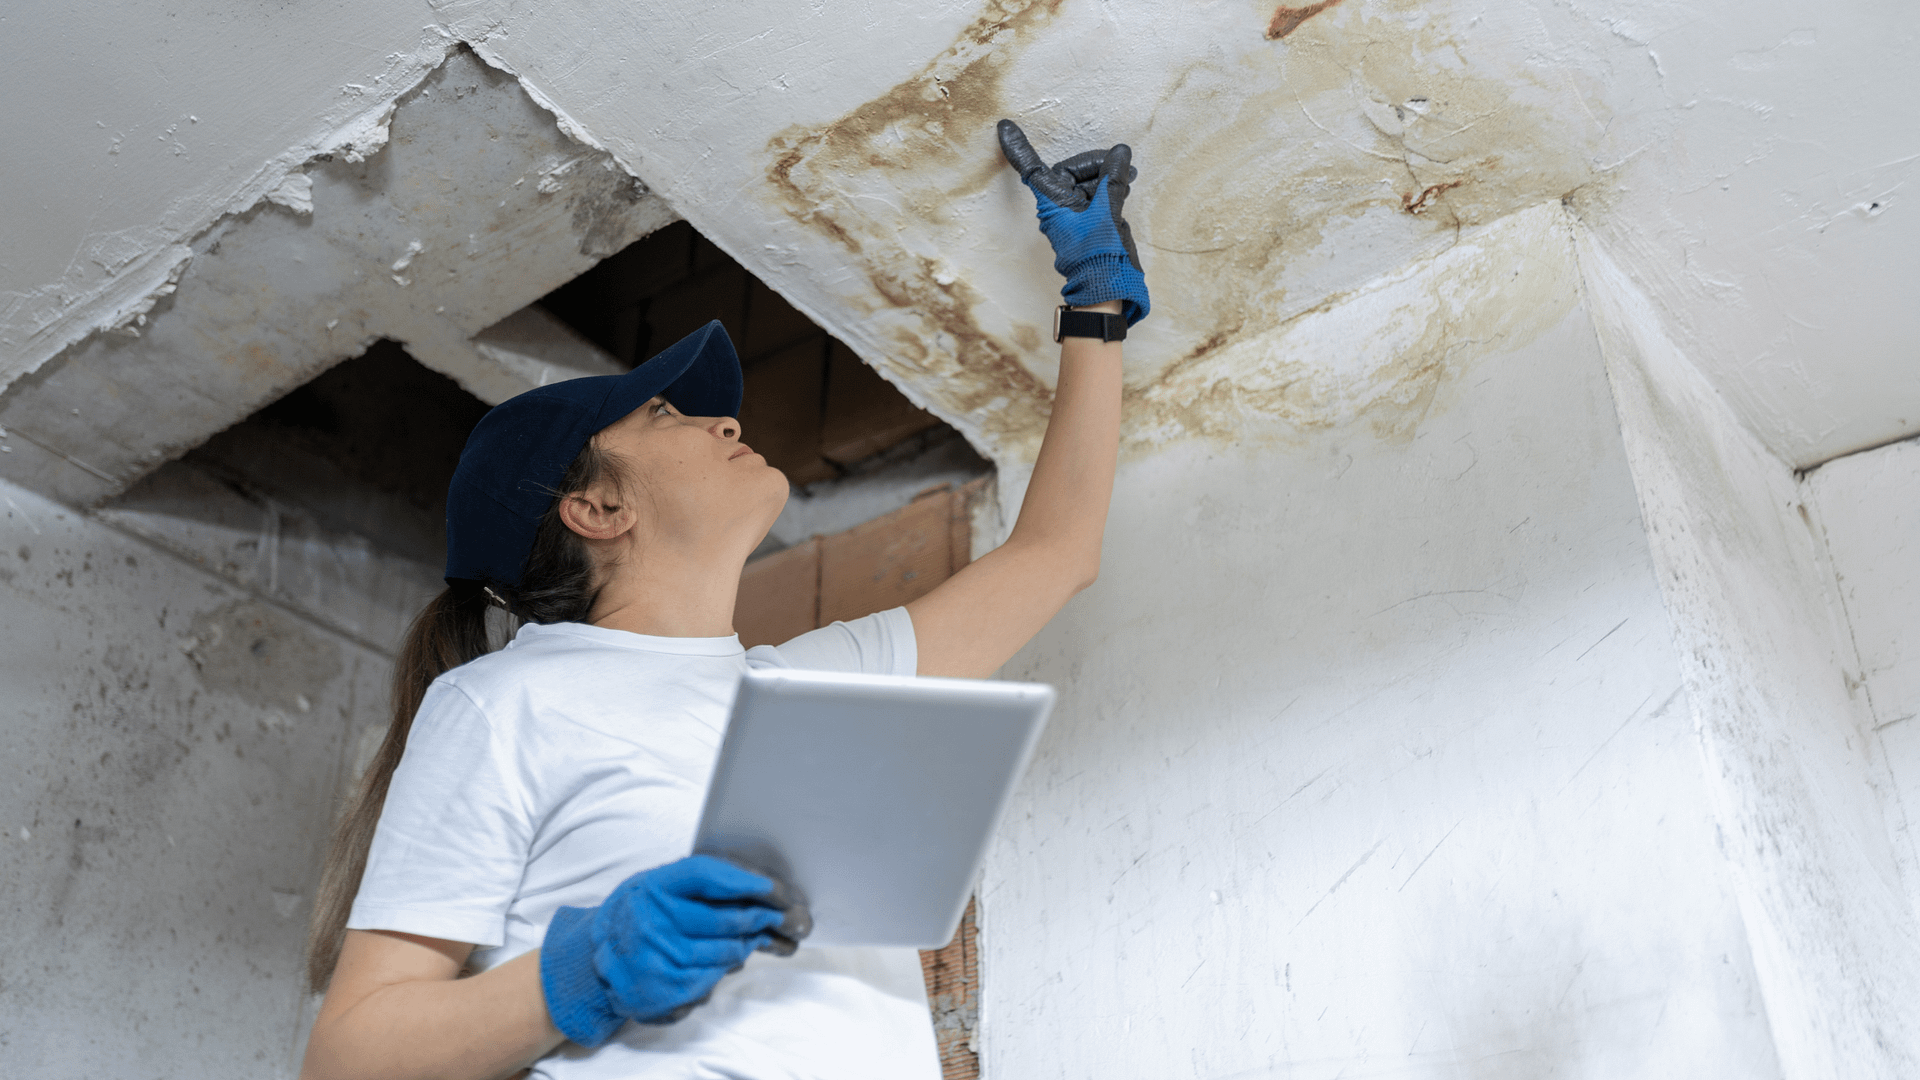
6. Then Move Inside — and Build a Maintenance Plan
After you’ve looked outside, bring that same mindset indoors.
Pay attention to:
- Signs of moisture or condensation
- Ventilation in kitchens and bathrooms
- Airflow throughout the home
- Condition of vents, filters, and mechanical systems
- Doors open and close properly
Air and moisture control are not small issues. They affect:
- Structural durability
- Indoor air quality
- Long-term repair costs
- Your overall comfort
Also, if these more specialist inspections were not done during the home inspection period, strongly consider having these items inspected, cleaned and serviced:
- HVAC (heat pump, combi-unit, separate A/C, furnace etc)
- Gas appliances, inc. fireplaces, checked and gas lines checked (looking for gas leaks)
- Hot water heater (need draining or elements replacing?) overflow, ventilation (gas)
- Chimney cleaned and inspected
- Septic tank pumped out completely
- Dryer vents cleaned out
- In older properties, consider having a plumber put a video camera down your main drains
- Change out washing machine supply line hoses for new metal braided ones
- Have sprinkler lines and well systems checked for leaking
- Swimming pool and mechanical equip inspection
Some things you’ll handle yourself. Others you’ll outsource. But either way, you now understand what needs attention and how often.
From here, you begin building your maintenance plan a key part of any new home checklist that pays off for years.
The Way to Think About It
Owning a home isn’t passive.
Maintenance isn’t optional, it’s an investment.
The single most important thing you can do in those first days is this: Learn your house, and start learning how to take care of it.
That means understanding how materials respond to:
- Heat and cold
- Moisture
- Time and exposure
Because small defects a cracked seal, a loose vent, a chipped tile don’t stay small.
They turn into bigger problems.
A house will take care of you if you take care of it.
Quick New Home Checklist: What to Do Right After Closing
Moving into a new house involves dozens of small decisions, so use this new home checklist to keep them in order.
First 24–72 Hours
- ☐ Re-key locks (set all to one key), change entry codes
- ☐ Test smoke and carbon monoxide detectors
- ☐ Verify alarm system + check permit requirements
- ☐ Confirm home condition matches final walkthrough
- ☐ Schedule professional cleaning (if not already done)
Before Moving In (If Possible)
- ☐ Schedule painting
- ☐ Complete flooring installation
- ☐ Run air scrubber / purifier after work is done
Early Setup & Safety
- ☐ Locate water, gas, and electrical shutoffs
- ☐ Identify system-specific shutoffs and overflow points
Exterior Check
- ☐ Walk property and document condition (photos help)
- ☐ Check gutters, rooflines, sealants, and drainage
- ☐ Look for openings, cracks, or early wear
- ☐ Review inspection report items in person
Interior + Air Quality
- ☐ Replace HVAC filters
- ☐ Check ventilation systems
- ☐ Look for moisture or airflow issues
First 30 Days
- ☐ Build your maintenance plan
- ☐ Decide what you’ll DIY vs outsource
- ☐ Identify and monitor small defects early
- ☐ Start building your list of service professionals
For a structured ongoing plan, refer to your full maintenance checklist here.