How To Stage a Property To Sell – Part I: Preparing and Planning for Home Staging
A practical guide to home staging tips for selling your property with confidence
WHY YOU SHOULD STAGE YOUR PROPERTY TO SELL IT
The staging of a home appeals to both a Home Buyer’s sense of logic and emotion. When done well, home staging to sell helps buyers quickly grasp a home’s layout, dimensions, and potential uses while sparking excitement by presenting an aspirational lifestyle. A strong, well-coordinated launch onto the market creates buzz, drives early interest, which turns into momentum, and increases the chance of achieving list price or more. When buyers see others flocking to view, they fear missing out, a powerful motivator to drive (multiple) offers quickly.
The goal, however, isn’t just to sell faster, although that alleviates some stress—it’s actually to maintain leverage. This is where the real ROI of staging comes in. When a seller has multiple offers, they are in the driver’s seat, and there is less chance of having to negotiate or make concessions. If the home lingers on the market, that urgency fades. That’s why your first impression needs to deliver a true WOW factor.
Beyond visual appeal, the long-term benefits of home staging include stronger buyer engagement, faster momentum, and improved negotiating leverage.
DECIDE IF YOU SHOULD STAGE YOUR PROPERTY YOURSELF OR BRING IN THE PROS
Having trouble deciding if you can effectively tackle the job yourself? We suggest hiring a professional stager to stage or advise if:
- The property is a large or high-end luxury property (that requires a lot of specialized high-end furniture and decor to be brought in)
- You are not living in the property
- The property has a quirky layout or unusual feature that requires some creativity to show off its best use
- You do not feel confident attempting it yourself
- You or your real Estate Professional feel that your current furniture/decor is so mismatched, outdated, or inappropriate that you’d need to rent a whole new house full
Stage the property yourself if it only needs minor repairs, light painting, and a few supplemental décor pieces you can reuse in your next home, or if you are living in the property with your family. This assumes your furniture is stylish, in good condition, and suits the property’s character. If you’re on a tight budget or short on time, consider DIY staging or hiring a professional to stage key areas, or just to deliver a staging plan. Some real estate agents may also assist with staging.
There is also the option to virtually stage the property but I see this as a trick to get buyers to come to the property and only does half the job. Physical staging helps them actually understand the property, get excited when they are there and consider buying it.
The main difference I see between DIY staging and professional staging is that professional staging is a cohesive package of design aimed at a specific buyer in mind, while DIY staging often ends up being a reflection of the current occupant’s lifestyle and taste. If you choose the DIY route and want great results, keep this in mind: you’re not trying to win a design award—you’re trying to attract an eager buyer. Stay focused on them.
Effective staging—whether you hire help or do it yourself—starts with a clear marketing concept built around helping your likely buyer understand and appreciate the home’s best features. You will be telling the story of the property without being there – so the staging has to do it. The most successful home staging for selling always begins with objectivity and a clear buyer focus.
Think big picture: your opportunity for self-expression is coming in your next home. For this one, focus on the future buyer and the story you want them to see and feel.
The steps below outline practical home staging tips that help you plan with intention rather than guessing as you go.

STEP 1 – ASSESS: TAKE STOCK OF THE PROPERTY TO IDENTIFY WHO YOU ARE MARKETING TO
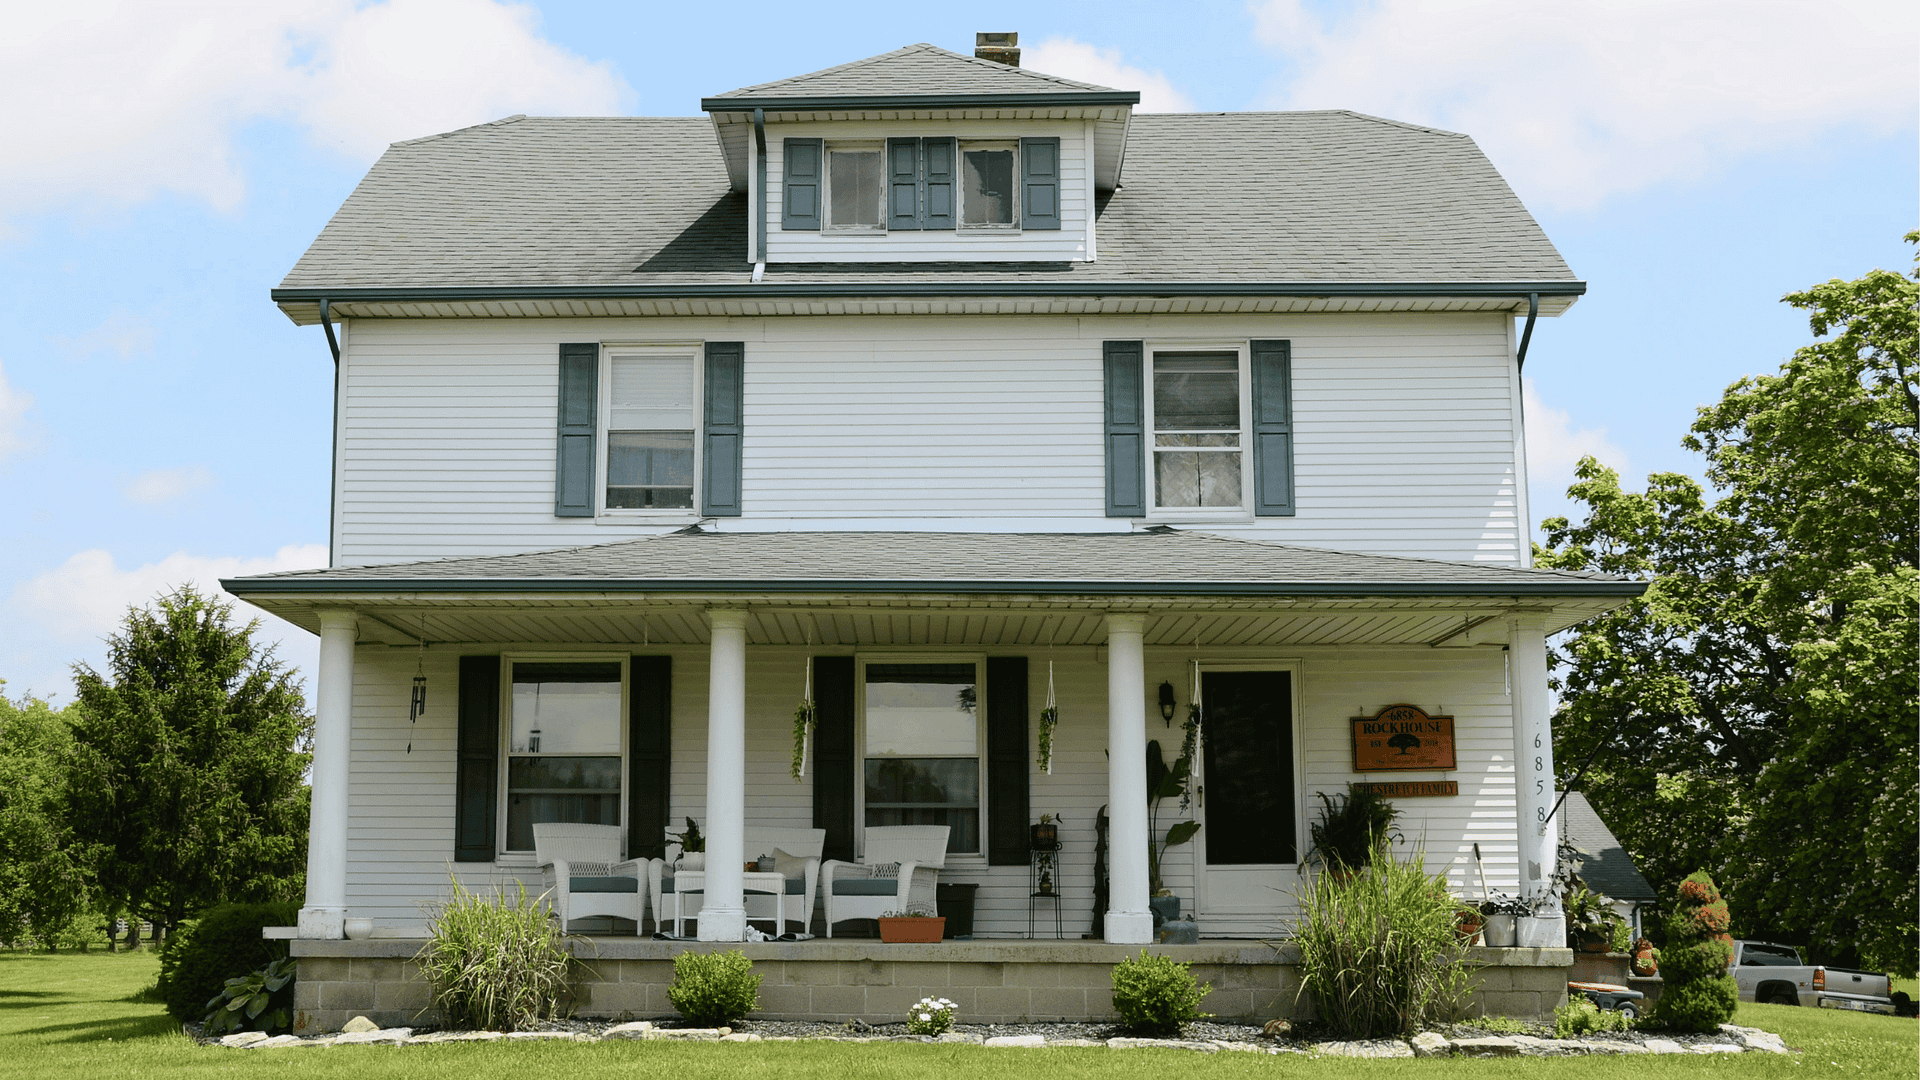
If you’ve decided to stage the property yourself, start by assessing the home and its context. Look at the neighborhood, the property style, and any standout features. Buyers choose a neighborhood based on what they can observe about the surrounding homes, the community, nearby amenities, and the overall vibe, so those elements matter.
Begin by noticing who lives around you. What stage of life are they in? What do they put in their homes? What are their daily routines and biggest concerns?
Next, consider the type of property you have. Is it better suited for larger families or smaller ones? Are there stairs that might challenge seniors or very young children? Any safety issues, like an unfenced pool, steep terrain, or water features, that could worry parents? Is the home low-maintenance or demanding? Urban, suburban, or more remote? Is there room for kids to play or for entertaining?
Hint: the things that attracted you to the property will likely attract the next owner, too.
Altogether, these observations help you determine who you’re really marketing to, your “most likely buyer.” Don’t hesitate to define this person clearly, even if it excludes others. Buyers who don’t fit that profile already know who they are and often have their own reasons for choosing homes outside their exact demographic. For example, someone without kids may still be shopping in anticipation of a future family.
The information you gather about your property’s features and the buyer most likely to be drawn to them becomes the foundation of your staging concept—and should guide every staging decision you make.
STEP 2 – ANALYZE: SWOT YOUR PROPERTY
Perform a quick SWOT analysis, Strengths, Weaknesses, Opportunities, and Threats to shape your staging plan. Basically, you want to focus on your strongest aspects, remove the distractions and eliminate your weakest link. This exercise also reinforces why home staging is important; it helps you focus your time and budget on what will truly influence buyer perception.
STRENGTHS
Identify the standout features that make your property memorable, often the same ones that made you fall in love with it. A large stone fireplace, amazing views, great outdoor space… highlight these in your staging by drawing each room’s focus toward them.
WEAKNESSES
Note any major turn-offs such as worn paint, dated appliances, or tired finishes. Address the most visible issues first. If you can’t update something big, like older windows, shift attention toward their best feature, such as the beautiful view they frame.
OPPORTUNITIES
Look for simple, high-impact ways to add value or spark imagination. Even a neglected patio can be transformed into an inviting outdoor nook with portable furniture, a few new cushions, and maybe a small fire pit.
THREATS
Consider outside factors such as competing listings or a slow market. Your strategy might include exceptional presentation, smart upgrades, or buyer incentives to stand out, especially when competing with new construction.
Working through this quick SWOT helps you prioritize where to invest your time and money and guides you toward the strongest staging concept. Remember: staging is an investment with the potential for an excellent return. According to the NAR Profile of Home Staging, sellers typically spend around $500 when their listing agent handles staging tasks and about $1,500 when hiring a staging service. Costs rise if you’re bringing in furniture, so focus on staging key rooms first to stay on budget.

STEP 3 – DECIDE HOW TO PRESENT THE PROPERTY TO YOUR MOST LIKELY BUYER
Now that you’ve identified your likely buyer and what they’re looking for, and assessed which features of your property will attract them (and which need to be removed, improved, or softened), you can probably picture this buyer in your mind. Give them a name and create a staging plan, choose a style that tells the story of your property in a way that appeals directly to them. Some general examples to consider:
If you have first time buyers, the most successful staging will likely reflect the aspirational.
If you have step up buyers – they are likely (or soon to be) an expanding family so space, family gathering areas, storage and amenities will be high on the list.
If you have a specialty property (say urban or second home), the lifestyle aspect, entertainment possibilities and upgrades will likely be of importance.
For a community where owners have downsized, less maintenance and carefree living w amenities will likely attract. Keep the overall look neutral and aspirational, with just a few well-chosen pops of personality.
How to choose your décor style and design direction:
- Check what’s already working in your market.
Look at recently sold comparable listings online, similar size, price point, and buyer demographic. This shows you what appeals to your audience right now and reduces risk. Notice recurring color palettes, style “languages” (modern farmhouse, coastal, traditional, Scandinavian, urban eclectic, etc.), and which images instantly grab your attention, and ask yourself why.
Top tip: also explore listings about 25% above your price bracket. These often show the “aspirational extras” your buyers dream about. The other place to find good ideas for extra goodies is to look at online or tour new build properties. Borrow small luxury touches or lifestyle cues to give your property extra zing.
- Create a style board with 2–3 design directions.
Type your shortlisted styles into a search engine or Pinterest, and add “home buyer-friendly ideas” to find more neutral, broadly appealing versions of each style. Houzz, Elle Decor, and similar sites are great for inspiration. Collect images, annotate where each idea could work in your home, and share the board with friends, family, or your agent for feedback.
- If your home has a strong architectural style, work with it.
Extend that design language inside and out, but in a simplified, neutral way. Staging is most effective when it complements the architecture rather than fighting it. Craftsman, Victorian, ranch, contemporary, mid-century, and Mediterranean homes all have recognizable traits; buyers drawn to the exterior usually already appreciate that style.
Buyers often tell me, “I’ll know it when I see it.” They don’t always recognize what excites them until they experience it. Your job is to understand which aspects of the property can stir those emotions and stage in a way that lets them feel it, presenting things they didn’t realize they wanted until they walk through your door. Do that, and you gain control of the transaction.
Next, focus on the major staging elements.
Make a list of furniture, décor, and materials you already have that support the story you want to tell, and what doesn’t. Remove anything that doesn’t fit. At this point, you’ve already depersonalized; now declutter by removing most small décor items, keeping only pieces that support your concept and add a touch of personality or memorability
If you’re unsure what to keep, take photos of each room from multiple angles, then review them on a large screen. What jumps out as “not belonging”? A great trick is to flip the photo horizontally; your brain sees the room as unfamiliar, and distractions become obvious. You can also ask a friend what the first three things they notice are.
Remember, if you are only partially staging – that means selecting the most important rooms, not partially furnishing each room which is always distracting (because it’s curious/strange) confusing, and never helpful.
Once you’ve clarified your essentials, combine what you own with what you need to complete your concept. Ensure the chosen style works throughout the entire property so everything feels cohesive. Sites like Houzz are helpful for inspiration and idea-testing when looking for those additional elements that can bring your design together or help add a bit of interest or a little extra pop.

And don’t forget: make it aspirational. Take your plan and elevate it just a bit. We all respond to spaces that feel good, simplify life, and offer small luxuries. Build those feelings into your staging. Tell the story, then make it the best version of that story.
Finally, once you’ve confirmed your style and taken inventory of what you’ll use or add, create a realistic budget and timeline for any repairs, updates, décor, or accessories needed to complete the concept. This helps you spend wisely and stay focused on what will actually move the needle. Staging is an investment with strong ROI. According to the NAR Profile of Home Staging, sellers spend about $500 when staging is handled by the listing agent and around $1,500 for a staging service, with higher costs when renting furniture, so focus on key rooms first if you’re watching the budget.
Here are some ideas on where to find furniture and decor for staging on a budget:

STEP 4 – PLAN THE LAYOUT: KEEP IN MIND BASIC SPATIAL DESIGN PRINCIPLES
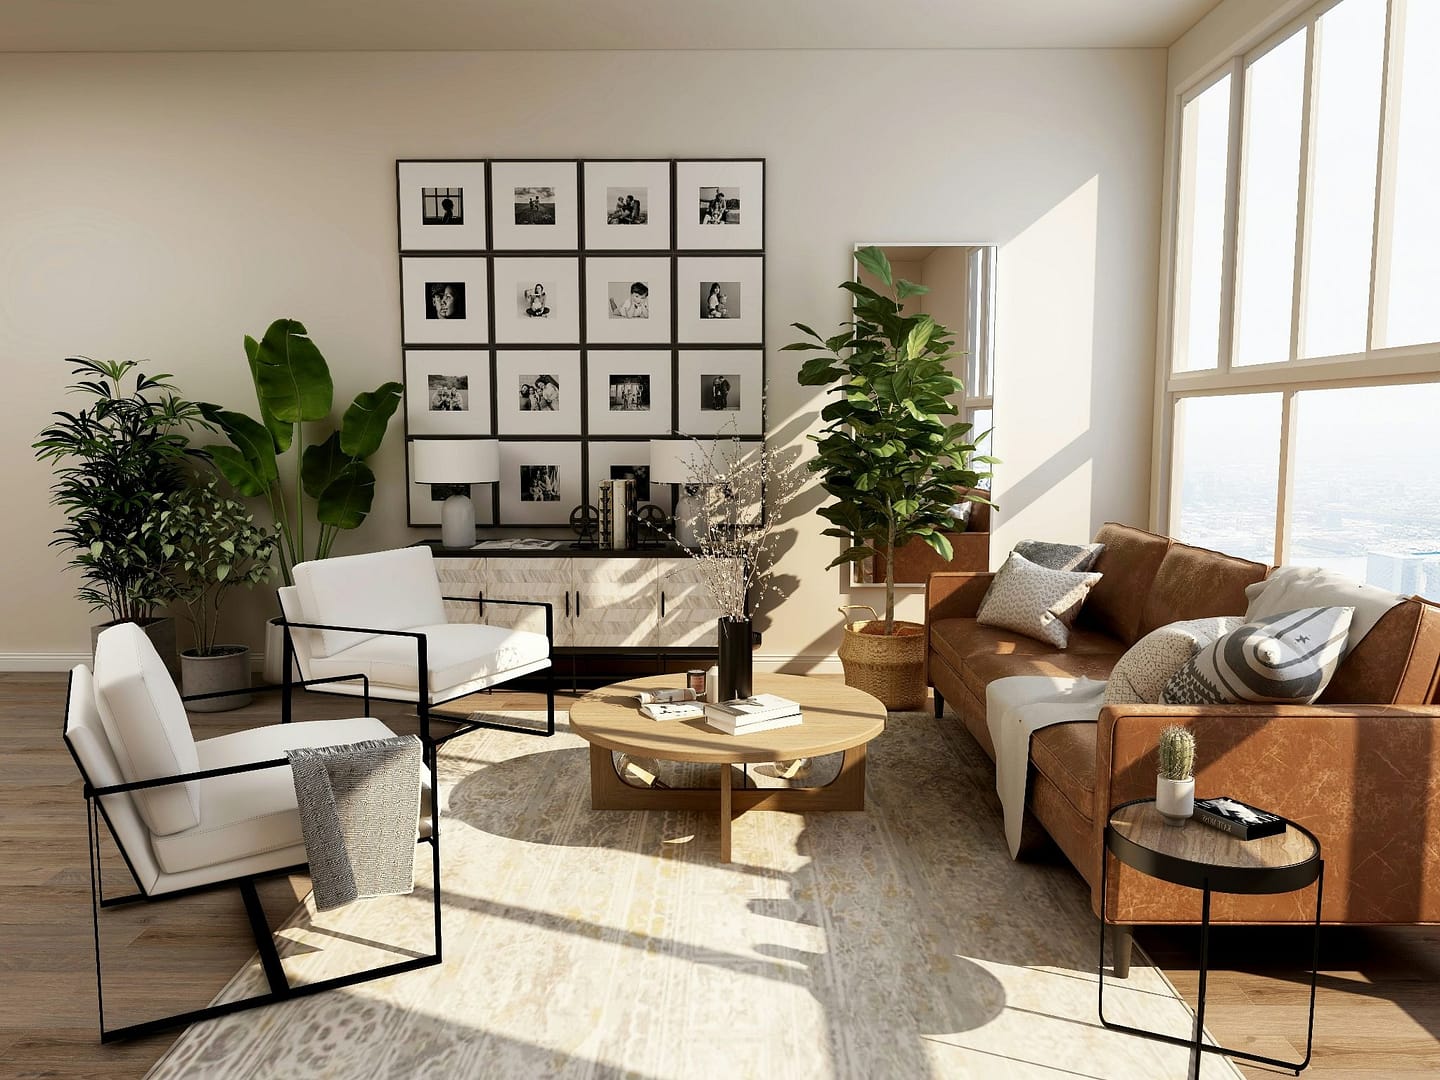
To showcase your property’s best features, rely on basic spatial design principles when planning furniture layout and décor. This stage of the process is one of the most practical home staging tips for selling, as layout and flow strongly influence how buyers experience a space. Your goal is to create clearly defined areas and a natural, effortless flow so buyers can quickly understand the home, imagine how it fits their needs, and get excited about it.
Below are practical “rules of thumb” to guide your home staging to sell strategy:
COLOR PALETTE
Choose a color palette that supports your style and design concept. Start with one main paint color (or a tight palette of related hues) to create a cohesive backdrop throughout the property. Select exact shades after choosing most of your furniture so you can account for wood tones and fabrics. If painting is needed, see the Painting Post.
Choose décor colors that complement the paint and reinforce your concept. Use related colors to connect smaller spaces or break up monotony in larger ones. Keep in mind that light colors, as in for walls and ceilings, move away from you and make spaces feel larger while dark colors do the opposite.
- Pick a neutral base (or family of neutral colors) for walls and ceilings.
- Choose one main accent color to establish personality and guide mood and movement.
- Add a complementary color in small décor pieces to create balance and interest.
- Add an occasional pop of color sparingly to pull the staging out of the formulaic mode and add interest and authenticity.

SYMBOLISM
Select furniture and décor that help buyers understand the home’s personality and potential. Thoughtful symbolism is one of the often-overlooked benefits of home staging, helping buyers emotionally connect with the property.
- For luxury properties: add high-quality, indulgent touches (spa-like bathrooms, gourmet kitchen elements).
- For beach homes: think serene colors or subtle nautical pieces.
- For mountain retreats: incorporate rustic finishes, natural forms, or warm wood tones, always working with the home’s architecture.
Your goal isn’t to win a design award; it’s to reinforce the right message. Use just a few memorable, unique touches to spark imagination.
BALANCE
Balance is essential, and often, where DIY staging can go wrong, especially when home staging for selling without professional guidance.
- Ensure your main background color and accent colors appear consistently and evenly throughout the home.
- Bring floor colors into wall art, and echo wall/ceiling colors in rugs or lower elements.
- Avoid isolating any color, shape, or style—distribute them evenly.
- Keep furniture quantities balanced, maintain consistent design language, and ensure lighting is even so no area feels dark or forgotten.
- Choose the appropriate arrangement of decor and furniture in a space: Symmetrically = formal / aspirational or Asymmetric = casual / informal / inviting
The goal is a mood that stays uninterrupted as buyers move through the home.
SCALE & PROPORTION
Choose furniture that fits the room’s size and intended function. If you’re unsure, remove a piece; too little is better than too much. This is one of the most impactful home staging tips when trying to make rooms feel spacious and intentional.
A larger room can usually accommodate larger, visually heavier pieces of furniture, such as:
- Sectionals
- Seating with tall backs
- Bright colors, bold prints, or darker, richer materials
- Heavily upholstered pieces
For a smaller or more confined space, choose furniture that feels lighter and visually “lifted,” such as:
- Pieces with legs, raising the furniture off the floor
- Thinner frames, lower backs, and armless designs
- Finer details (slimmer legs, narrower arms, and backs)
- Thin or glass shelving
- Lighter fabric and wood colors
- Minimized upholstery (not overstuffed)
- Metallic accents that reflect light while keeping a sense of luxury
SHAPES, FORMS & MATERIALS
Shape impacts how a space feels. Rounded forms read soft and inviting, while angular forms feel structured and modern. Use curves to soften rigid layouts and mix geometric shapes for interest, always in harmony with your overall style. These details reinforce why home staging is important for buyer comfort and emotional response.
Material qualities matter
- Wood conveys warmth and tradition
- Metal suggests strength and modernity.
- Glass introduces lightness and transparency.
FLOW
“Flow” describes both how people move through a space and how rooms relate to each other. Poor flow is one of the fastest ways to turn buyers off, regardless of how attractive individual rooms may be.
Furniture placement determines how people interact, how close or separate seating feels, and whether each zone functions as a destination or a pass-through. Group furniture intentionally so buyers understand each area’s purpose and how to move from one space to the next.
Related functions should connect logically—living near dining, bedrooms near bathrooms, etc. When rooms appear connected visually but aren’t easily accessible, it creates an unwelcome visceral discomfort.
Improve flow with consistent finishes:
- Use a unified paint palette to tie spaces together.
- Choose continuous flooring in main areas and use rugs to define smaller zones.
- Keep bedrooms separate with their own flooring type if needed.
Ensure pathways are natural and unobstructed. Maintain open sight-lines and define small focal points with special features, décor, and lighting to draw movement. These details quietly support home staging to sell by guiding the buyer experience.
Color, symbolism, balance, scale, proportion, shape, and flow all work together to create a visual “language.” When one is off, the experience feels unsettled—even if buyers can’t articulate why. In staging, your aim is a calm, cohesive, emotionally appealing experience.
STEP 5 – CRAFT THE BUYER EXPERIENCE
The main goal of your marketing is to shape how buyers experience your property and help them understand it quickly. This is where many home staging tips for selling come together. That experience starts online. Your staging, combined with strong photography, should accurately represent the home and spark enough interest to earn an in-person visit.
Great photos should immediately say, Look at this beautiful property filled with possibilities, right in your price range.
Once buyers arrive, guide them through the home in a clear, intentional order. Start with the exterior, then the outdoor entry, the interior entrance, the main living area, adjoining gathering rooms, the kitchen, bathrooms, bedrooms, closets, and finally the garage or any bonus spaces. Your “wow” moment might be the backyard, a standout feature, an additional structure, or even the natural setting.
Here’s how I usually begin planning: define each room’s purpose and identify its main focal point and then make the room the best version of that concept. Arrange the furniture to support that focus and create easy flow into and out of each space. Buyers should instantly understand how each room functions, which is central to effective home staging for selling.
When in doubt about furniture, choose less rather than more. Stick to essential pieces that are well-balanced and leave no area feeling forgotten. You’re not redesigning the space, you’re showing buyers the best, most practical way to use it.
Keep major seating furniture 6–12 inches off the walls so the room feels relaxed instead of stiff. Maintain pathways at least three feet wide so spaces don’t feel cramped. Good flow makes the home feel larger, more open, and more comfortable.
If time, budget, or furniture is limited, prioritize staging:
- The curb appeal and entry
- The main living area
- The primary bedroom and bathroom
- The kitchen (could be minimal, mostly cleaning and clearing appliances away)
And add a memorable WOW feature if you can. This is one of the clearest benefits of home staging when competing for buyer attention.

STEP 6 – PREPARE THE PROPERTY
With your staging plan in place, it’s time to roll up your sleeves. Preparation is a critical phase of home staging to sell, as small details strongly influence buyer perception.
Start by tackling any repairs and cosmetic updates. If you’ve already decluttered and depersonalized (as covered in our other posts), this is when you’d handle any painting, whether full rooms or simple touch-ups on nicked baseboards, door frames, and cabinets. Updating hardware, replacing old light fixtures, and making small fixes can also dramatically improve your home’s appeal. Most renovations I see that are done for staging are either: painting rooms or the entire property, replacing worn out flooring, or to address the kitchens and bathrooms to make them fresher and cleaner.
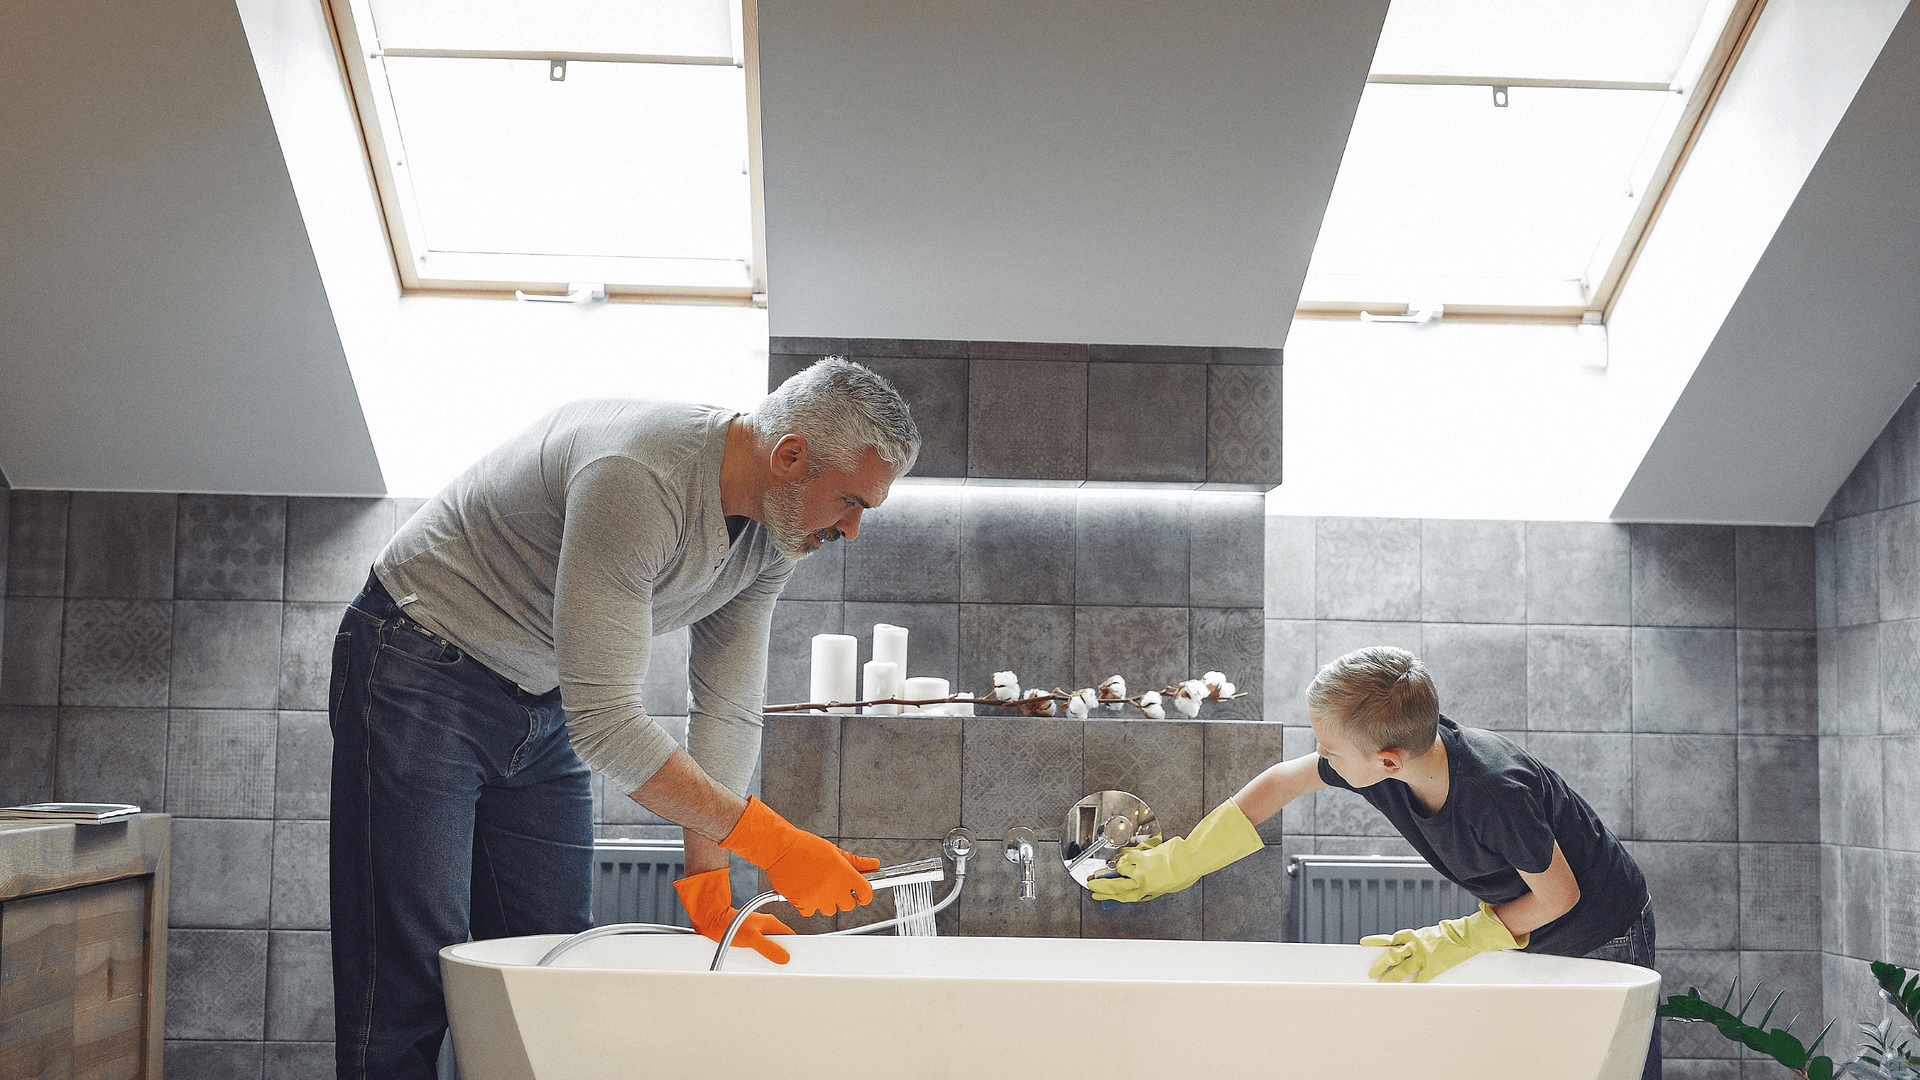
Once the painting, repairs, or minor updates are done, you’re ready for a deep clean, or a refresh clean if you’ve recently done a full one. Deep cleaning consistently delivers the highest return for the lowest cost, reinforcing why home staging is important from a buyer’s first impression.
Clean every surface: floors, walls, windows, and fixtures. Don’t forget details like grout, baseboards, switches, and handles. A spotless home immediately communicates care and quality, and buyers notice this right away.
If you need more help with cleaning, check out home cleaning tips before staging for a room-by-room guide.

Conclusion
Effective home staging doesn’t start with furniture or décor. It starts with planning, objectivity, and a clear understanding of who you are trying to attract. By assessing the property, identifying your most likely buyer, and applying these home staging tips for selling, you create clarity for buyers and control how your home is perceived from the very first impression.
The real benefits of home staging come from intention. When layout, flow, color, and scale work together, buyers can quickly understand how the home functions and imagine their life within it. That emotional connection is why home staging is important, especially in competitive markets where small details can make a big difference.
Thoughtful home staging to sell isn’t about perfection or personal taste. It’s about positioning your property as an asset, highlighting its strengths, and making it easy for buyers to say yes. When done well, it builds confidence, momentum, and leverage, setting the stage for a stronger and more successful sale.