Renovating Floors: What I Learned Choosing Between Wood, Vinyl, Tile, and Microcement
There is a moment in every renovation where you stand in an empty room and realize you have to make a decision you are not qualified to make.
For me, that room was the living area. The old floor was already up. I was standing on a cement slab, holding a phone full of screenshots, and I genuinely could not tell you why I was leaning toward one option over another. I just knew I liked how one of them looked in somebody else’s house.
That is not a good enough reason. I found that out.
I ended up doing the whole house. Vinyl oak through the living area, the second lounge, and the passages. Wood in the bedrooms. Microcement in the office, the kitchen, and the bathroom. Three materials, one house.
So this is the version I wish somebody had given me about renovating floors : what each material is actually like, where it belongs, where it doesn’t, and the design side that nobody mentions until you are standing in the room wondering why it looks cheaper than you expected.
Start With The Floor You Already Have
Here is the thing I got backward. I started with what I wanted. I should have started with what was there.
Three things make the decision for you before you get any say in it.
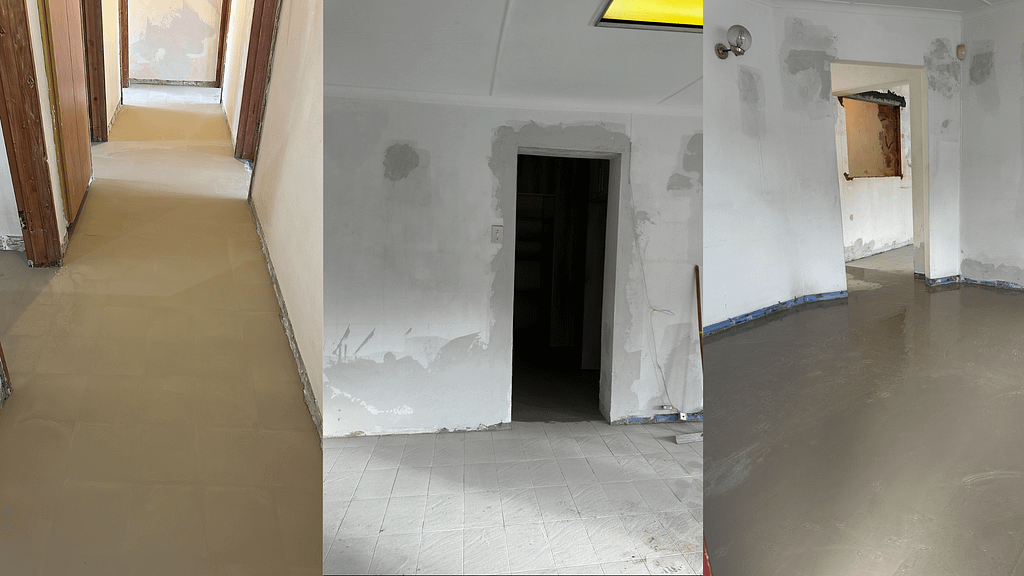
Condition of the subfloor. Whatever is under your current floor determines what can go on top of it. Mine turned out to be a concrete slab, which sounds like the easy answer and mostly is. Concrete gives you options. But it also means everything you lay is going over a hard, cold, unforgiving surface, and anything that isn’t dead flat under a plank floor will find a way to tell you about it later.
Height. Every floor has a thickness, and that thickness has to go somewhere. This is the one I understood least going in, and it caused me the most trouble. My doors had to be trimmed. Every single one. That is not a disaster, but it is a job, and it is a job nobody puts on the quote or the timeline. If your doors are already close to the floor, know now that they are coming off their hinges.
Moisture. Bathrooms, kitchens, laundry, anywhere below grade. Moisture rules out materials before taste gets a vote.
Sort those three out, and the shortlist writes itself. I did it in the opposite order and paid for the privilege.
Wood Floors: Warmth You Cannot Fake
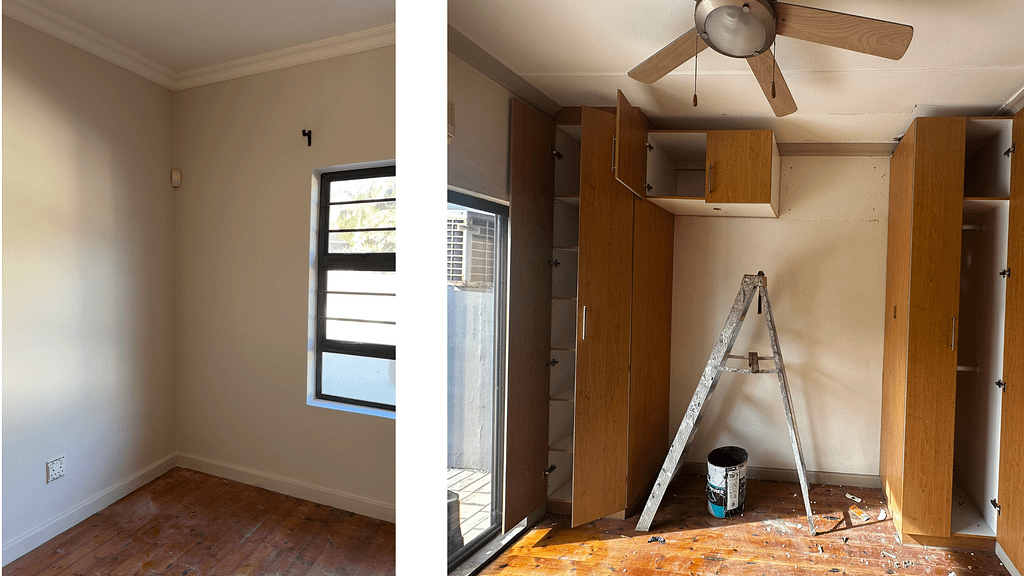
I will be honest about my bias here. Wood is my favorite, and it is not close. I put it in the bedrooms, and if budget were no object, it would be everywhere.
Nothing else does what wood does to a room. Grain breaks up a big surface, so it never reads as flat. It picks up light and holds it. It gets better with age instead of just wearing out, and a floor that has been walked on for twenty years looks like a floor with a history rather than a floor that needs replacing. That is a rare quality in a building material.
Where It Works
Bedrooms, living rooms, hallways, dining rooms. The rooms where you want the space to feel warm and settled. Bedrooms especially, because it is the first thing your feet touch in the morning, and warmth underfoot is not a small thing.
Where It Doesn’t
Bathrooms. Laundries. Below grade. Anywhere that gets standing water or serious humidity. Engineered wood handles more than solid does, but neither of them wants to live in a bathroom.
The Honest Cons
It is the expensive option, and it is the one that shows damage. Dog claws, dragged chair legs, and the corner where everyone drops their bag. If that is going to bother you every day, know that about yourself now.
The Design Part
The tone does more than anything else in the room, and it is the decision people rush.
Pale oak makes a room feel bigger and calmer, and more contemporary. It bounces light around, which matters enormously in a room with one window. Warm mid-browns are the safe middle, and the reason is that they are genuinely lovely; they make almost any room feel like somewhere you would want to sit down. Dark floors look expensive in photographs and are harder to live with. They show every crumb, every footprint, every bit of dust, and in a small or dim room, they will close the space in on you.
Look at your floor sample in the actual room, at the actual time of day you use it. Not in the shop. Shop lighting is designed to sell you things.
Vinyl Plank: The One That Surprised Me
I came into this a snob about vinyl. I am not anymore. It ended up in more of my house than anything else.
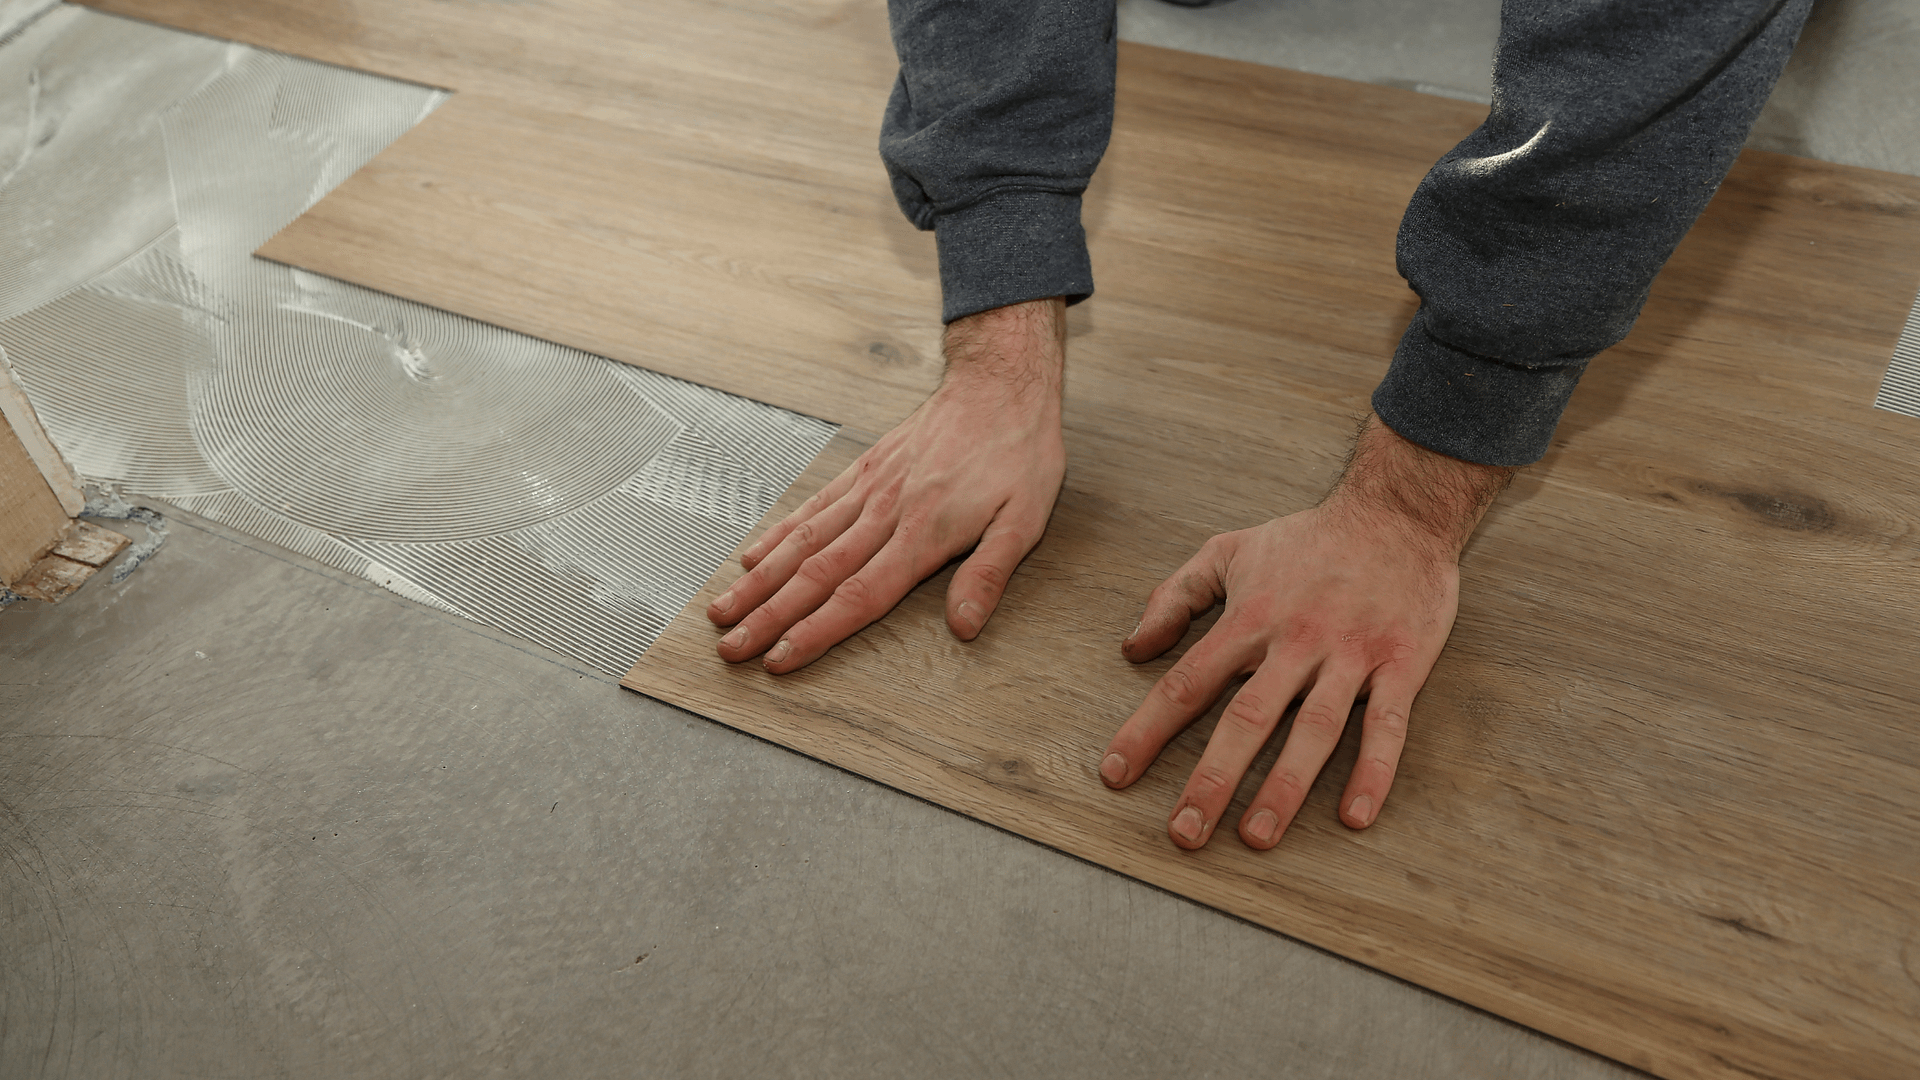
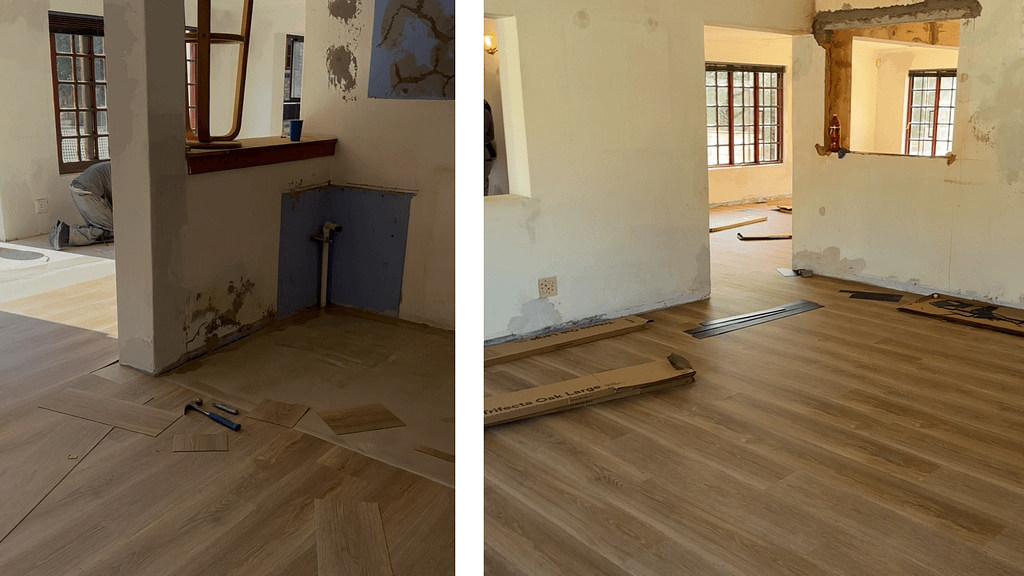
The category has changed, and the good stuff now is genuinely convincing. I went with a vinyl oak through the living area, the second lounge, and the passages, and it is warm underfoot in a way tile never is. Water does not bother it. It went down faster and cheaper than wood would have, and in the areas that take the most traffic in the house, it is not a compromise. It is just the right answer.
Where It Works
Living areas, passages, kitchens, laundries, mudrooms, rentals, and, honestly, a lot of family homes where the floor is going to take a beating, and nobody wants to be precious about it.
Where It Doesn’t
It is not wood, and there are rooms where you will feel that. A formal dining room, a period house with real character, anywhere the floor is meant to be the thing you notice. It is also why my bedrooms are wood.
The Honest Cons
The quality range across this category is enormous, and the price tells you more than the marketing does. Cheap vinyl gives itself away instantly. The pattern repeats. The texture doesn’t line up with the printed grain, so it looks like wood and feels like plastic and your eye catches the mismatch even if you can’t name it. It can also dent under heavy furniture, and it will not be refinished, ever. When it’s done, it’s done.
The Design Part
Two things matter more than the color name on the box.
Plank width. Wider planks mean fewer seams, and fewer seams is what stops a floor reading as fake. Narrow planks in a printed material multiply the repeat and give the whole game away.
Finish. Matte reads as real. Glossy reads as vinyl. Every time.
Also, get samples and lay several planks together on the floor before you commit. The repeat is invisible on one plank and obvious on ten.
Tile: Right Room, Right Reasons
Tile is the material people default to for the wrong reasons and then live with for fifteen years. I went a different way in my wet rooms, but it is still the answer for a lot of houses, and it is worth understanding properly.
It is genuinely hard to kill. That is not nothing. But it is a specific material with specific costs, and “it’s easy to clean” is not the whole story.
Where It Works
bathrooms, laundries, entryways, kitchens in hot climates, anywhere water lives.
Where It Doesn’t
anywhere you want to be barefoot in winter, and anywhere the substrate moves. Tile does not flex. If the floor underneath it moves, the tile cracks or the grout does, and neither is a small repair.
The Honest Cons
cold. Actually cold, all the time, unless you are putting heating under it, and then you are having a much larger conversation about budget. And grout. Grout is a chore that never ends. Every grout line is a place for dirt to live, and no sealer makes that permanently untrue.
The Design Part
This is where tile is either beautiful or immediately reads as builder-grade, and the difference is two decisions.
Large format. Fewer grout lines means the eye reads the floor as a surface instead of a grid, and a surface makes a small room feel bigger. Small tiles in a small bathroom chop the space into pieces.
Grout color. This is a design decision, and people treat it as an afterthought. Grout close to the tile color makes the floor read as one thing. Contrasting grout turns your floor into a graph. Sometimes you want the graph. Usually, you don’t, and you find out after it’s dry.
Microcement: The Seamless One Everyone Is Asking About
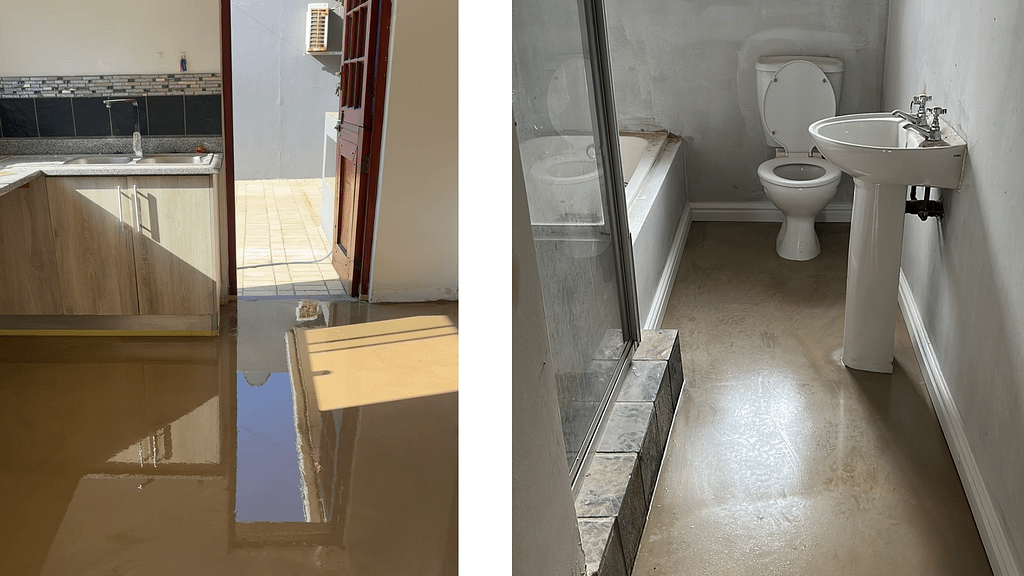
This is the one I keep getting questions about, and it is what I chose for the office, the kitchen, and the bathroom.
Microcement is a cement-based coating applied by hand over your existing surface. Not a slab, not a tile, a coating. It gives you the look of poured concrete without the poured concrete, and for renovations specifically, it has two properties that are unusually useful.
It goes on very thin, roughly an eighth of an inch, which means it does not meaningfully raise your floor level. Remember the door-trimming problem from earlier? This is the material that doesn’t cause it. And it goes over what is already there, existing tile or existing concrete, without ripping it out. No demolition, no skip, no week of dust. If you have ever priced out the removal half of a flooring job, you understand why that matters.
In a kitchen and bathroom, it does something else I did not expect. There is no grout. Nothing to scrub, nothing to go grey in the corners, nothing to reseal every couple of years. After years of fighting grout lines, I find that quietly wonderful.
Where It Works
modern spaces, open-plan areas, kitchens, bathrooms, offices, anywhere you want a seamless look. It can run from indoors to outdoors, which is a real trick.
Where It Doesn’t
traditional houses. Cottages. Anywhere the architecture has warmth and detail that a seamless floor will argue with.
The Honest Cons
This is not a DIY weekend. It is applied by hand, and the result depends almost entirely on the person applying it, so you are not really buying a product, you are buying an installer. Get references and see their finished work in person, not in photographs. It is also a look with a strong opinion. It is beautiful, and it is not neutral, and if the rest of your house is not having the same conversation, the floor will feel like it wandered in from somewhere else.
The Design Part
Seamless floors make rooms feel bigger, and the reason is simple: your eye has nothing to stop on. No grout, no plank edges, no repeat. The floor reads as one continuous plane, and your brain reads the space as larger than it is.
Making Floors Look Expensive (The Part Nobody Tells You)
Here is what I actually learned, and it took the whole house to learn it.
Cheap floors rarely give themselves away in the middle. They give themselves away at the edges. The transitions, the thresholds, the scribe against a wonky wall, the gap at the skirting. That is where your eye goes, and that is what makes a floor read as done properly or done cheaply. You can spend well on the material and undo all of it with a bad threshold strip.
Fewer transitions, always. Every place where one floor stops and another starts is a visual full stop. It chops your house into pieces. Running one floor through as much of the house as you can is the single biggest thing you can do to make a space feel bigger and more considered, and it costs nothing extra to plan. Running the same vinyl oak through the living area, the second lounge, and the passages did more for how the house feels than any single material choice I made.
Match the floor to the house, not to the trend. A house has a period and a light quality and a set of proportions, and the floor either agrees with those or fights them. Trends are exhausting to live with. Houses are not.
Consistency beats quality. One decent material running consistently through a house looks better than an expensive material in one room and three other things everywhere else.
What I Would Do Differently When Renovating Floors
Two things, and they are both boring, which is how you know they are real.
- I would have covered every inch of the floor before the painters came back. Every inch. Plastic, taped down, wall to wall, no gaps. I asked them to be careful. Careful is not a system. Careful is a hope. The floors went in beautifully, and then got a final coat of paint over the top of them. Protecting a finished floor properly costs almost nothing compared to what it costs to fix one.
- I would have decided the skirting thickness before the floors went in, not after. Skirting and flooring are one decision pretending to be two. The skirting covers the expansion gap, sits on top of the finished floor, and determines how the whole edge reads. Working it out afterward means you are choosing skirting to fix a problem instead of choosing it because it suits the room. Draw the edge detail before anything gets installed.
A few questions I get asked
Do you paint before or after the flooring goes down?
Both, and the order matters. I did all the prep work first, because prep is the dirty part, and then the first coat. Then the floors went in. Then the final coat of paint on top. That sequence is right, and I would do it again. The only thing I would change is what I said above: protect the floor properly before that final coat, because that is exactly where mine took its damage.
How much extra flooring should I order?
More than the room measurement. I ordered extra vinyl, and I was glad of it, because the finishing work around the security gates ate more than I expected, and those small awkward areas always do. Order for the offcuts you will need in two years as well, when something gets damaged, and the product line has been discontinued. A spare box in the garage is cheap insurance.
Can you put new flooring over the old flooring?
Sometimes. It depends on the material and on the height question from the start of this post. Microcement is built for it, which is a large part of why I used it where I did. Most other materials aren’t, and going over the top to avoid a demolition you should have done is a decision you will regret slowly.
What about transitions between rooms at different heights?
Metal beading strip on the higher side. That is what I used, and it works. It gives you a clean, deliberate edge instead of a ragged one, and it stops the higher floor from chipping away at the join. The mistake is treating a height difference as something to hide. You cannot hide it. You resolve it with a detail that looks like you meant it.
Kaylin Bailey renovated her own home and writes about the parts of the process nobody mentions until you are standing in them. Read about the rest of the renovation in 9 Things I Wish I Knew Before Buying a Fixer-Upper.