Fall Home Maintenance Checklist: Prep Your Exterior This Fall for the Coming Winter
The best time to get your home ready for winter is this fall, before the first hard freeze. As a former homeowner and someone with architectural experience, I see a house as a system for shedding water and holding in heat, and this fall home maintenance checklist will help you fix its weak points before winter finds them.
This is Part 1 of our fall home prep series and covers the exterior, from the pipes to the roofline. The interior checklist gets its own post.
The short version: do these six things this fall, before the first hard freeze:
- Drain and shut off anything that holds water: faucets, hoses, sprinklers, pumps, pools and ponds.
- Repair low spots, cracks and loose railings on steps and walkways.
- Clean gutters, extend downspouts, and check the roof, chimney, trim, siding and caulking for leaks.
- Seal drafts around windows, doors and exterior outlets.
- Close every gap that pests and rodents could use.
- Service outdoor equipment, fix grading and put away outdoor furniture.
Why Fall Is the Best Time to Prep Your Home for Winter
Fall gives you three advantages that winter doesn’t:
- Better working weather. It’s easier to work outdoors, and caulks, sealants and stains have a chance to cure properly in mild temperatures.
- Repairs before problems. You want these things fixed before winter, when you can’t do them properly, and before bad weather turns small problems into expensive ones.
- Easier to book a pro. Fall is ideal for repairs, and a pro’s backlog of customers can be smaller than in summer.
1. Remove Sources of Water That Could Freeze
Water expands as it freezes – often cracking whatever is holding it, whether that’s a pipe, a faucet, a pump or a crack in a concrete step.
Outdoor faucets and hoses
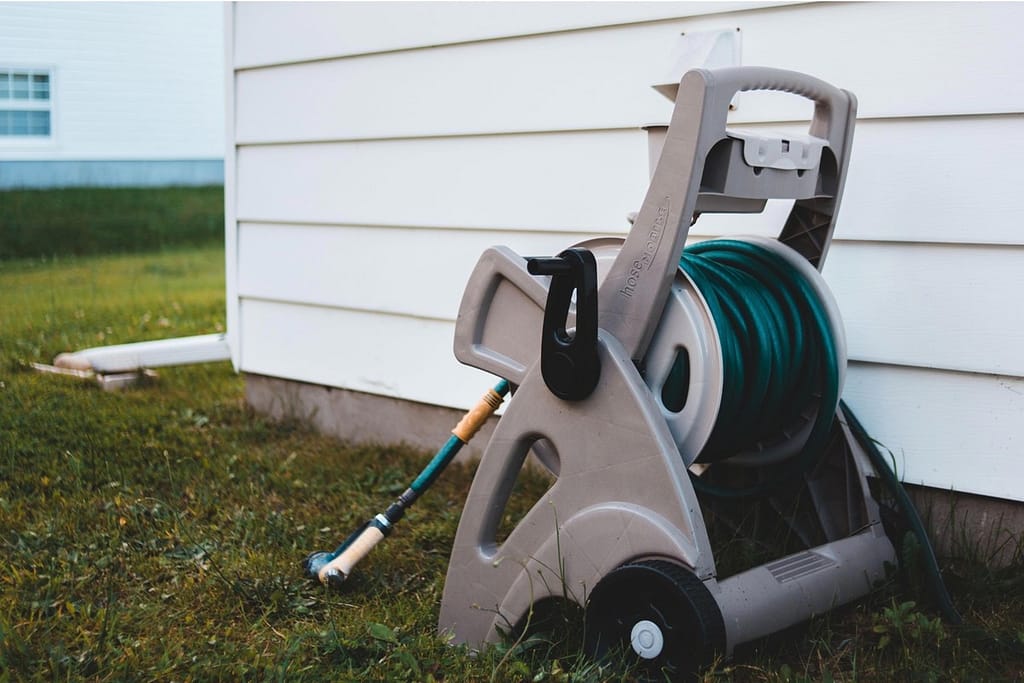
Shut off the interior line that feeds each outdoor faucet and open the outdoor tap so any remaining water can drain. Disconnect, drain and store your hoses; water trapped in a connected hose or faucet can freeze, expand and crack the pipe behind it. Add a faucet cover if the temperature is likely to drop below freezing.
Sprinklers, pumps, pools and ponds
Drain or blow out your sprinkler system (check the manufacturer’s recommended method), drain outdoor pumps, and drain or cover pools and ponds.
Steps and walkways
Fix low spots, chips and cracks that collect water and then freeze. Slipping on overnight ice is a major cause of accidents, and ice expands and cracks materials, letting more water collect. Test every stair and porch railing too. The time to find out a railing has loose fastenings is not when you grab it to catch yourself in a fall.
Facade, trim, soffits and fascia
Repair facade cracks. Look closely at siding around windows, under gutters, along corners and near the foundation. Discoloration, mildew, bubbling or staining suggest trapped moisture, and soft or rotting spots near the bottom can signal water damage (Kelly’s Construction). Check trim, soffits and fascia for peeling paint, gaps, soft wood and stains, especially where gutters meet trim. Rotten trim lets water seep into places where it can do even more damage.
Chimney
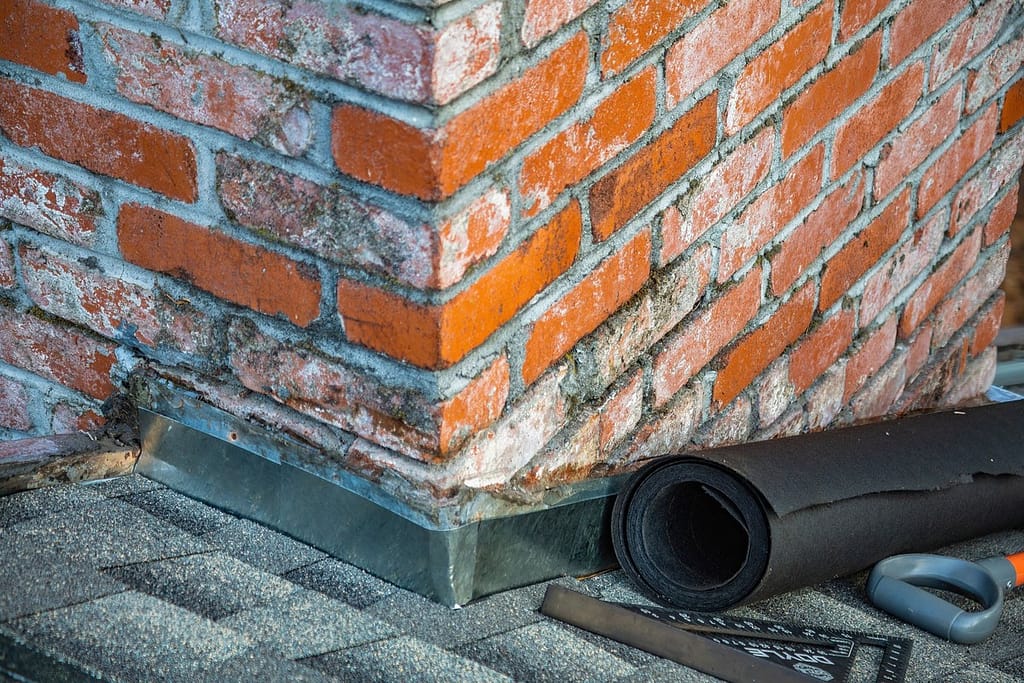
Have your chimney inspected for defective mortar, cracks, damaged flashing where it meets the roof, and a damaged crown (coping) that could let water into the structure. The NFPA and Chimney Safety Institute of America recommend annual inspections, and CSIA says water is a chimney’s biggest enemy (Pro Remodeler). Flashing problems are hard to spot, so hire a certified pro.
Exposed pipes
Insulate exposed pipes in unheated areas such as crawl spaces, attics and garages. Foam pipe insulation is the most common fix, and in very cold climates or especially vulnerable spots, heat tape adds another layer of protection.
Water heater
If your water heater is in an attic or other unheated space, make sure it has adequate insulation so it doesn’t freeze on very cold nights. Most have built-in insulation around the tank but may still need more, especially around the pipes leading to and from it.
2. Make Your Home Watertight and Airtight
Basement and foundation
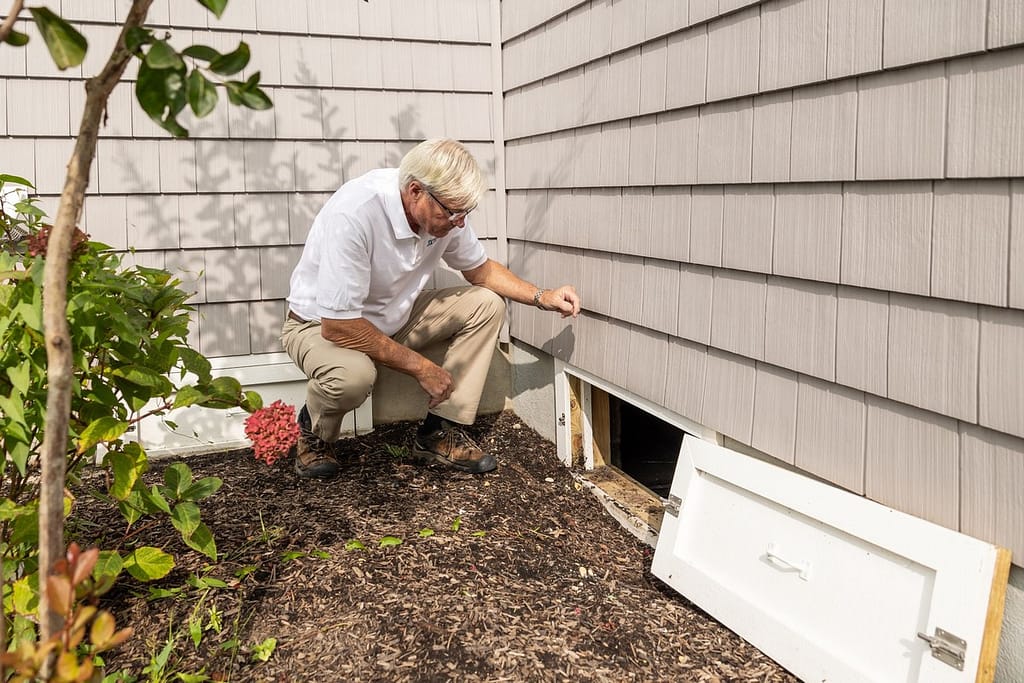
Plug basement leaks, and inspect the foundation after a heavy rain to see where water is getting in. White powdery residue on basement walls, hairline cracks and a musty crawl space are telltale signs. Fixing leaks now also helps keep your home warmer and can reduce heating costs.
Gutters and downspouts
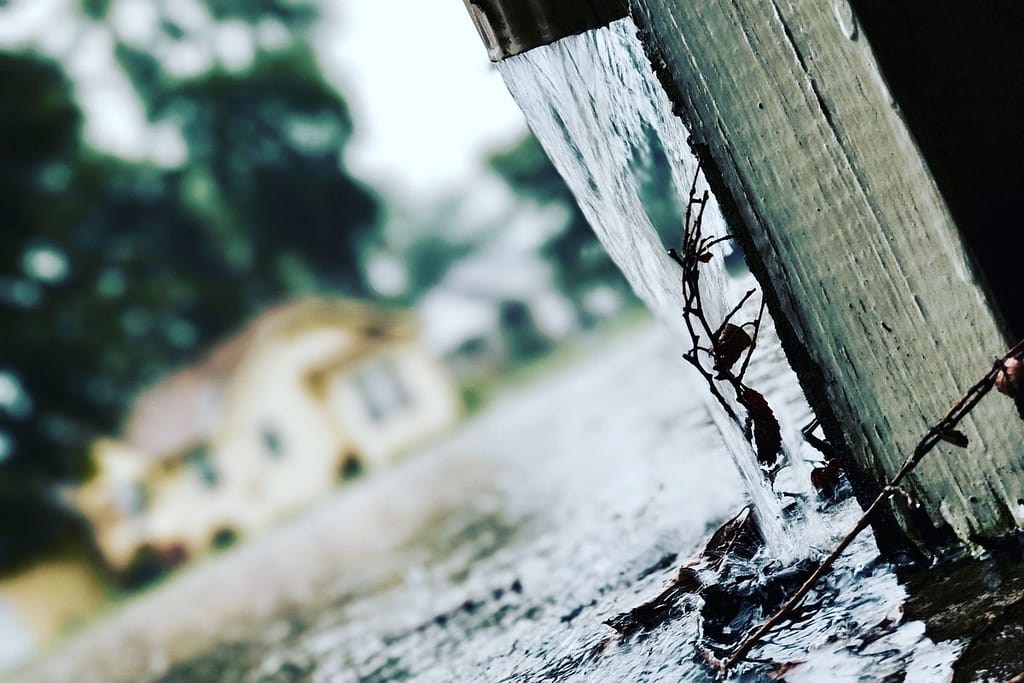
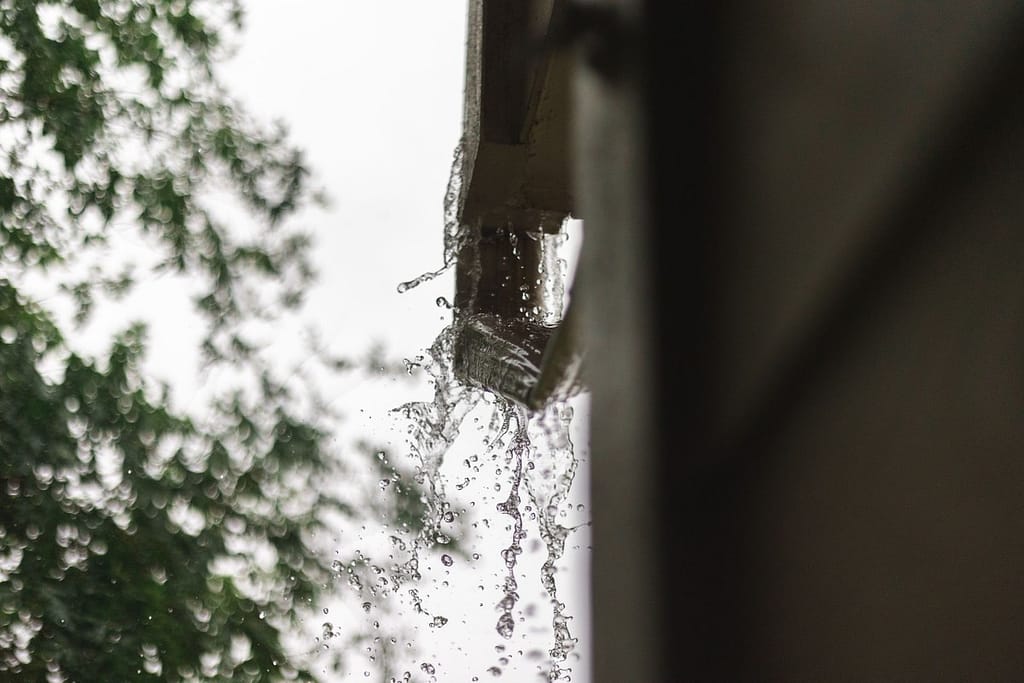
Clean your gutters so water can flow freely. When they back up, water can be pushed or soaked up under the roof edge where it meets the gutter, and then into the structure and down the walls. Clean at least once in late fall, after most leaves have dropped, and more often if trees surround your home (Kelly’s Construction). Then run water through them and check for leaks, sagging and separated seams.
Rain is one of the best times to check for leaks: water that isn’t collected and carried away drips onto building elements or walkways and slowly wears them down. If leaves are a constant problem, consider gutter guards, which reduce clogs but still need occasional cleaning.
Every downspout needs an extension carrying water at least 3 feet from the foundation, so runoff doesn’t pool against it and leak into the basement or weaken the foundation. That is the minimum recommended by the National Association of Waterproofing and Structural Repair Contractors, which prefers 6 (as quoted by Gutter Helmet). Bob Vila recommends 4 to 6 feet, or 8 to 10 on heavy clay soil that holds moisture, sloped at least 1/4 inch per foot so water keeps moving away.
Roof
Roof leaks usually start where loose shingles have slipped and exposed the sheathing, or where old shingles are wearing out (you may find their granules in your gutters). Once water penetrates, it can damage the inside of your home. Inspect from the ground for missing or damaged shingles, damaged vents or stacks, and branches resting on the roof, and leave the climbing to a pro. If you can reach your attic, look at the underside of the roof for stains or moisture (Kelly’s Construction).
Fix problems this fall, because roofing is best done in mild weather. Asphalt shingles are meant to be installed at roughly 40 to 85 degrees Fahrenheit, and cold can keep their adhesive from sealing.
In snowy climates, also think about ice dams. They form when heat escaping into the attic melts the snow on the roof, and the meltwater refreezes at the cold roof edge and backs up under the shingles. Clean gutters help, but the lasting fix is air sealing and insulating the attic floor (Building America Solution Center).
Caulking and sealants
Check the caulk around exterior window sills and frames. Caulk not designed for exterior use has a very short life; it lets water into gaps and down into the wall cavity, where damage is hard to detect until it’s significant. Remove old, cracked caulk, use a purpose-designed exterior product, and check the label’s minimum application temperature, another reason to do this in fall.
3. Insulate and Seal Against Cold, Rain and Snow
Sealing drafts has two goals: keeping cold air out and heat in, and keeping water from being wicked up into the bottom of doors and windows, where it rots the wood until they no longer open or close properly. The EPA estimates that air sealing plus insulation in attics, floors over crawl spaces and basements saves an average of 15% on heating and cooling costs, or 11% of total energy costs (ENERGY STAR).
Windows
Check for leaks around the top, bottom and sides of each window; they’re easier to feel on a windy or chilly day. Seal larger exterior gaps with expanding urethane foam, using a low-expansion type made for windows and doors so it doesn’t bow the frame, and trim off the excess once it dries. Use adhesive foam weatherstripping for windows that don’t fit tightly. Look for soft spots, rot or peeling paint on frames and sills, and for fogging between the panes, a sign the seal has failed.
Exterior doors
Apply or replace weatherstripping on the tops and sides. The flanged, V-shaped foam type (often sold as kerf-in) presses into the groove in the frame; or use the adhesive-backed type if there’s no groove. Replace worn door-bottom seals, and if the threshold doesn’t meet the seal evenly or completely, install one that does.
Screens and locks
Remove screens (or add storm windows) so snow, wind and rain don’t damage them, and put powdered graphite in exterior locks so they don’t stick in the cold.
Exterior outlets
Foam sealers on outlets in exterior walls reduce heat transfer through these small “holes” in the wall.
4. Close Openings That Let Pests and Rodents In
As temperatures drop this fall, mice and other pests look for a warm place to overwinter, and in spring animals look for safe places to raise their young. Pests multiply quickly and can leave a costly mess, so block their way in now. Mice need only slightly more than 1/4 inch, about the width of a pencil (University of Nebraska–Lincoln Extension).
Siding, brick and trim
Check for holes in brick and siding, and re-secure loose trim boards that leave even the tiniest opening.
Dryer vents and penetrations
Dryer vents are easy “doors” for animals looking for a warm spot, so check them and anywhere pipes, cables and gas lines pass through the facade. Fill holes with small-expansion “pest block” foam, whose additive deters pests, unlike standard foam that some pests eat or nest in. For best results, pack copper or stainless steel wool in first, since rodents can gnaw through many materials.
Vents and weep holes
Cover foundation, attic and soffit vents with 1/4-inch galvanized hardware cloth. Keep brick weep holes open because they let moisture drain out of the wall; use vented covers or fine stainless mesh instead of sealing them.
5. Check Your Outdoor Equipment
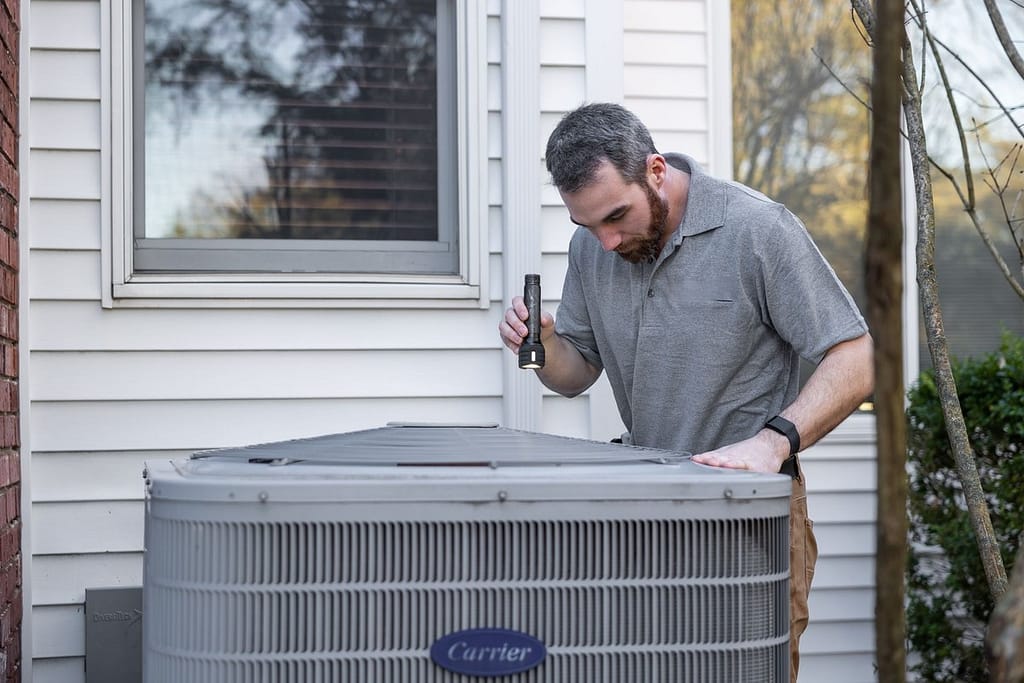
Inspect and clean the outdoor units of heat pumps, air conditioners and furnace equipment, plus propane tanks and wells. Clear leaves and debris from around the units so air can move freely. Test your generator before winter storm season, and have its annual inspection done if required in your area.
6. Get Your Landscaping, Deck and Outdoor Spaces Ready
Trees and shrubs
Prune shrubs, and prune or remove trees whose roots threaten the foundation or that could fall on the house in a storm. Remove dead or overhanging branches, cut back plants touching siding, windows, gutters or roof (Kelly’s Construction), and clear leaves from the foundation for drainage and airflow.
Grading
Address grading problems on your property. Rake small areas, or add soil or decorative gravel to larger ones. Codes generally call for ground sloping away from the foundation, commonly about 6 inches over the first 10 feet. Runoff with nowhere to go, like a missing swale, will quickly damage your home.
Deck
Drop a little water on your deck: if it beads up, the surface is still protected; if not, the wood will act like a sponge in winter rain and snow. Fall’s cooler weather is easier on stains and sealants than summer heat (check the label’s minimum application temperature). Check for splitting, warping, rot and loose fasteners, and sweep away debris that traps moisture.
Fence
While repairing wood or decking, check the fence too. It isn’t a home-integrity issue, but it supports value, safety and privacy.
Outdoor items
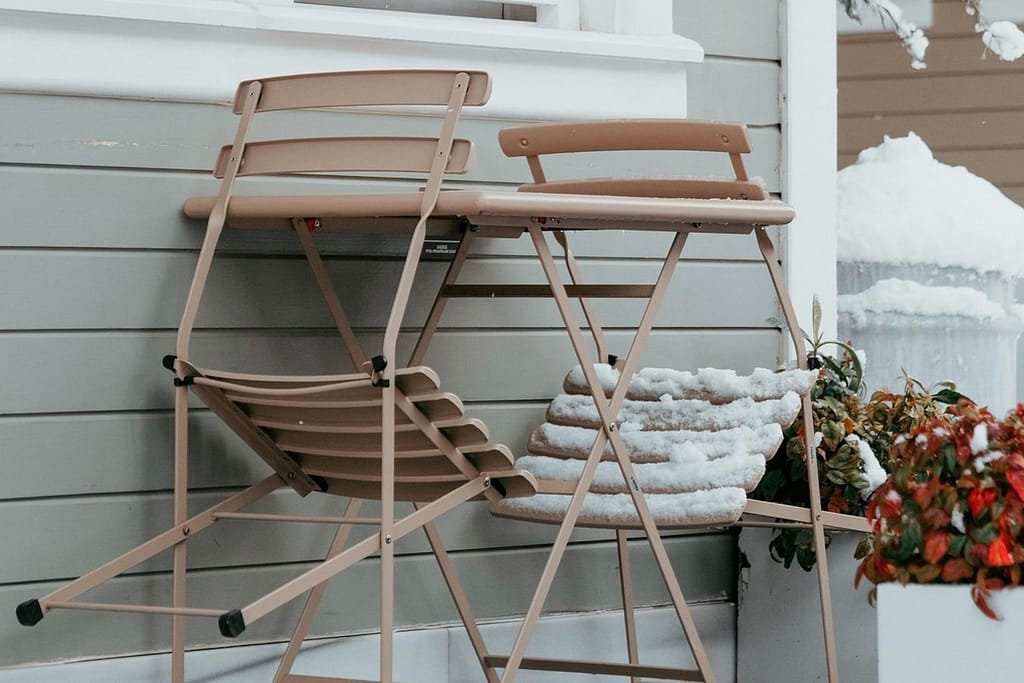
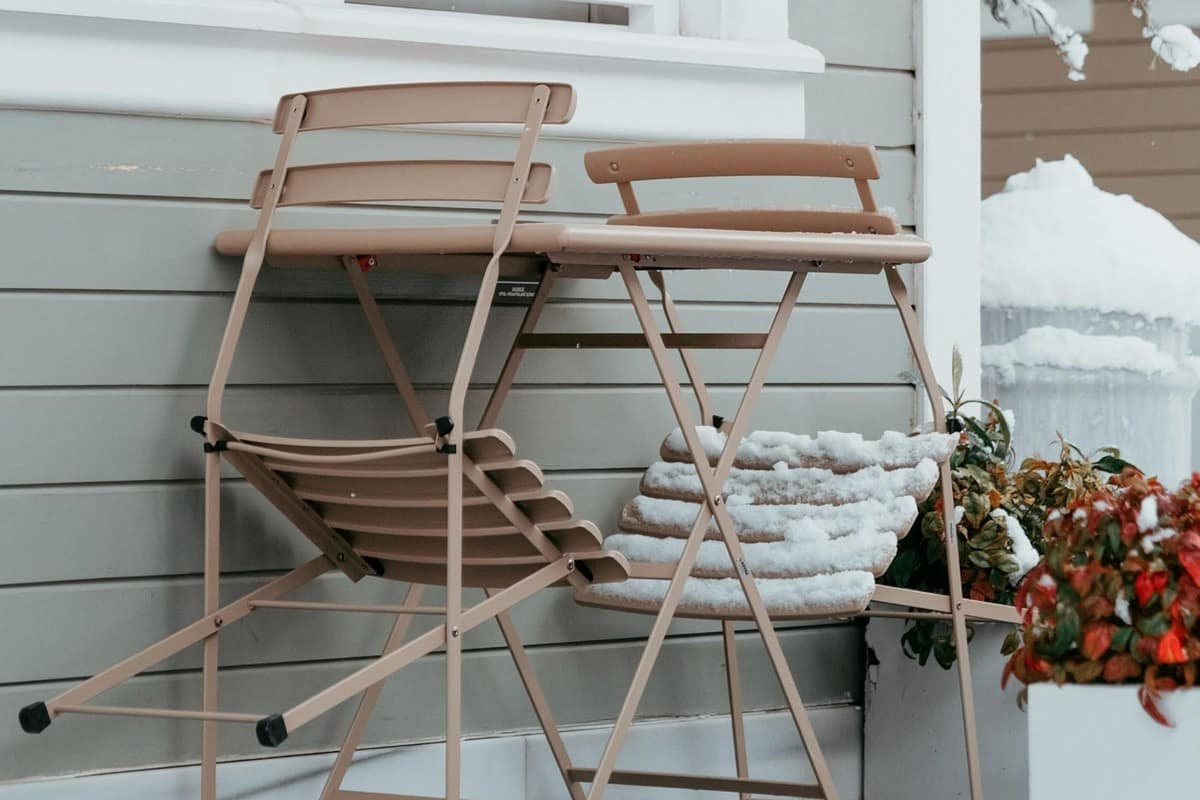
Store furniture, rugs, planters and equipment, and roll up or remove umbrellas, sunshades and awnings. That protects them from the elements and keeps them from damaging your property in a windy storm.
Want to take your yard further? Our guide to landscaping tips and tricks covers planting, layout and curb appeal ideas for every season.
When to DIY and When to Call a Pro
Call a pro for recurring window drafts, moisture or rot; loose or sagging gutters that don’t direct water away from the foundation; damaged or missing siding; rotting or unstable deck boards, steps or railings; and chimney, flashing or roof leaks. Get more than one opinion from reputable contractors, ask whether repair or replacement is the better long-term value, and be wary of anyone who pressures you into unnecessary work (Kelly’s Construction).
Why Fall Exterior Maintenance Pays Off
- It saves money. Maintenance is almost always cheaper than repair.
- It makes your home more comfortable. Keeping the cold out and warmth in lowers energy bills.
- It protects property value. You won’t face a long to-do list if you sell, or unplanned fix demands from an HOA.
From a real estate perspective, a buyer’s inspector looks first at the roof, gutters, drainage, siding, trim, windows and decks, and problems you’ve already fixed are easier to deal with than ones that surface mid-sale.
Final Thoughts
You don’t have to do it all in one weekend. Start this fall with anything involving water, then move on to drafts, pests and landscaping, and leave time to call a pro for what you find. You’ll head into winter with a home that’s warmer, drier and better protected. Next up is Part 2 of our fall home prep series: the interior checklist, coming soon.
Frequently Asked Questions About Preparing Your Home for Winter
What should be on a fall home maintenance checklist?
Drain outdoor faucets, hoses and sprinklers; fix steps and railings; clean gutters and extend downspouts; check the roof, chimney and caulking for leaks; seal drafts and pest entry points; service outdoor equipment; and fix grading. Do it all in fall, before the first hard freeze.
When should I prep the outside of my house for winter?
In fall, ideally early to mid fall and before the first hard freeze. The weather is mild enough for outdoor work, sealants and stains cure properly, and contractors are usually less booked than in summer.
How far should downspouts extend from the foundation?
At least 3 feet is the minimum, and 4 to 6 feet is better, so runoff doesn’t pool against the foundation. Heavy clay soil may need 8 to 10 feet, sloped at least 1/4 inch per foot.
How small a gap can mice get through?
Slightly more than 1/4 inch, about the width of a pencil. Seal gaps with copper or stainless steel wool plus pest-resistant foam, and cover vents with 1/4-inch hardware cloth.
Does sealing drafts really lower heating bills?
Yes. The EPA estimates that air sealing plus insulation saves an average of 15% on heating and cooling costs, or 11% of total energy costs.