How to Prepare a Room for Painting (Step-by-Step Guide)
A Step-by-Step Interior Painting Guide for Professional Looking Results
This is the first article in our three-part Interior Painting Guide, a deep dive designed to walk you through an interior paint job you can be genuinely proud of. Preparation is the most important step in any painting project. Paint doesn’t hide flaws; it highlights them. In this guide, I’ll walk you step-by-step through repairs, surface preparation, and cleaning so you understand exactly how to prepare a room for painting and achieve cleaner lines, smoother finishes, more even color, and results that rival professional work.
By now, you’ve selected your wall and trim colors and gathered the right tools after reading our previous post, Choosing Tools and Paints. Now it’s time to roll up your sleeves and get started.

Start With Repairs Before Painting
Survey the Room
Every surface you plan to paint should be smooth and free of blemishes. I begin by removing everything attached to the walls or trim artwork, shelving, hooks, nails, and anchors. Once the walls are clear, I walk the room with a roll of blue painter’s tape or another lightly sticky, high-visibility label. I tear off small pieces and stick them next to every defect or grouping: nail holes that won’t be reused, dents, cracks, or areas that need attention.
This simple system lets me scan the room later and when I’m ready with filler, sandpaper, or primer in hand and quickly identify where each type of repair is needed, without missing or forgetting anything. This is one of those early steps in prep for painting walls that saves a lot of time later.
Filling Holes and Wall Imperfections
How to Patch Wall Holes and Blemishes Before Painting
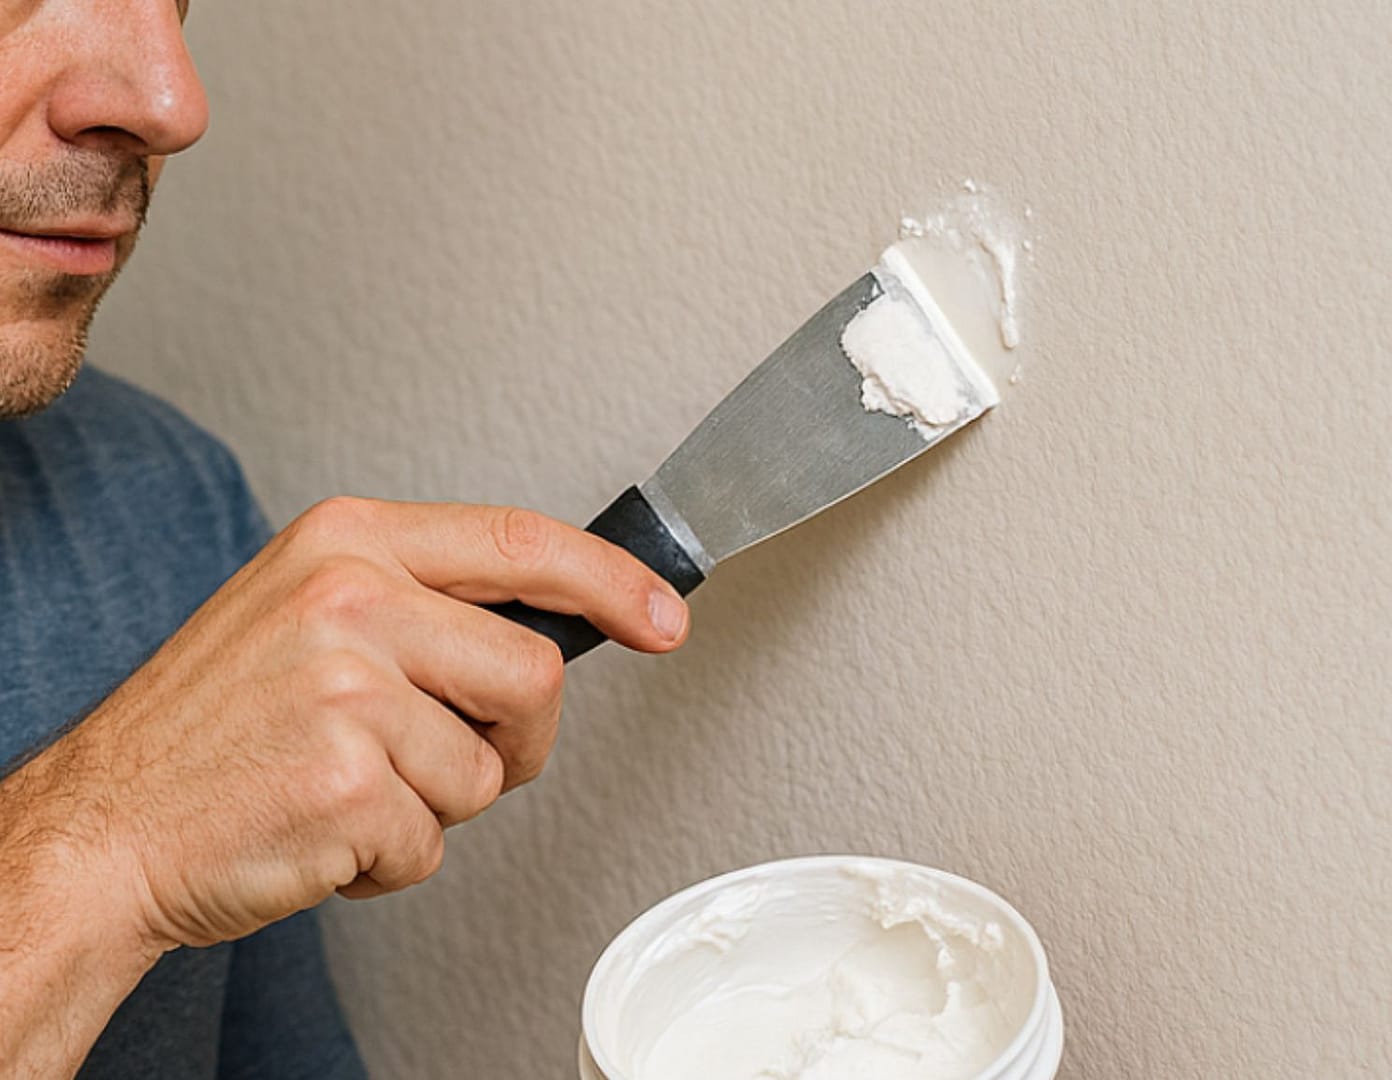
For small nicks, old picture-hanger holes, and minor drywall damage, I prefer a dust-reducing joint compound designed for drywall taping. It adheres well, dries quickly, sands easily, and most importantly, doesn’t create clouds of fine dust. No matter which filler you choose, the technique is the same.
Apply the filler slightly proud of the wall using a plastic spackle knife (best because it’s most flexible and easy to control), or even your finger for very small repairs (for ex: small nail holes). Metal spackle knives are less forgiving and often best for larger areas.

For rough surfaces where I need to mimic texture, or for very small areas where I need to get filler into a hole, I use a small inexpensive paintbrush.
Top Tip
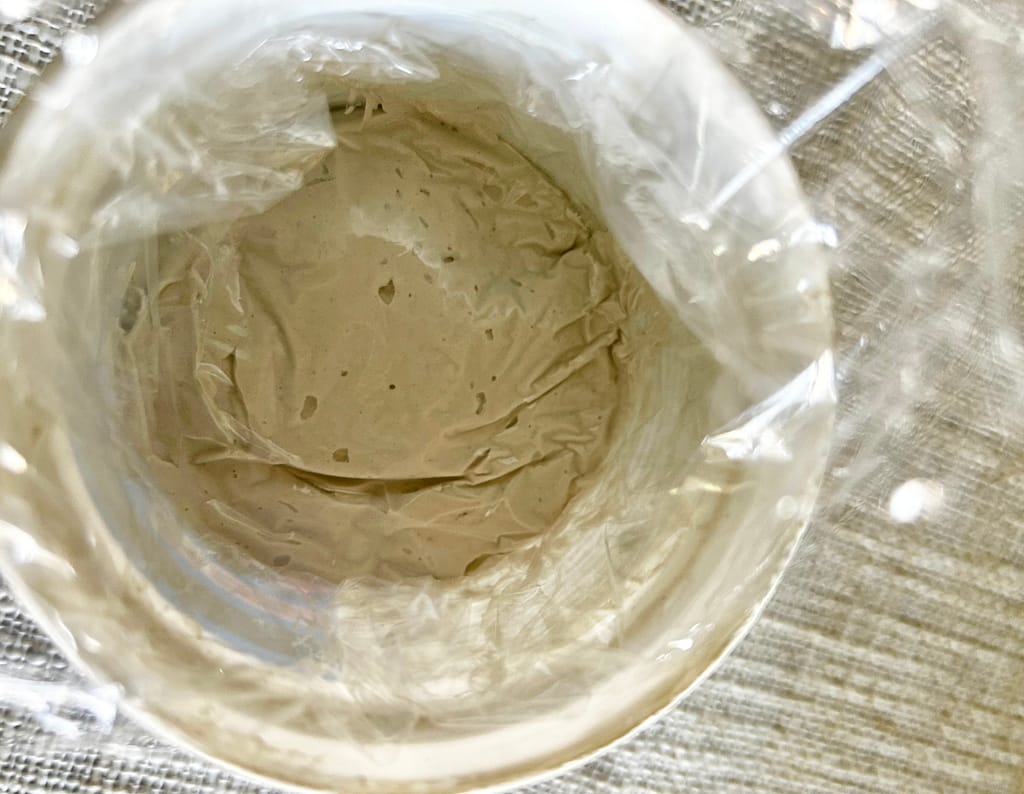
I smooth the top of the filler in the bucket or cut – smooth and then place a sheet of cling film over the top to keep it from drying out in the tub if I am going to store it for a long time.
How to Make Wall Patches Invisible Before Painting
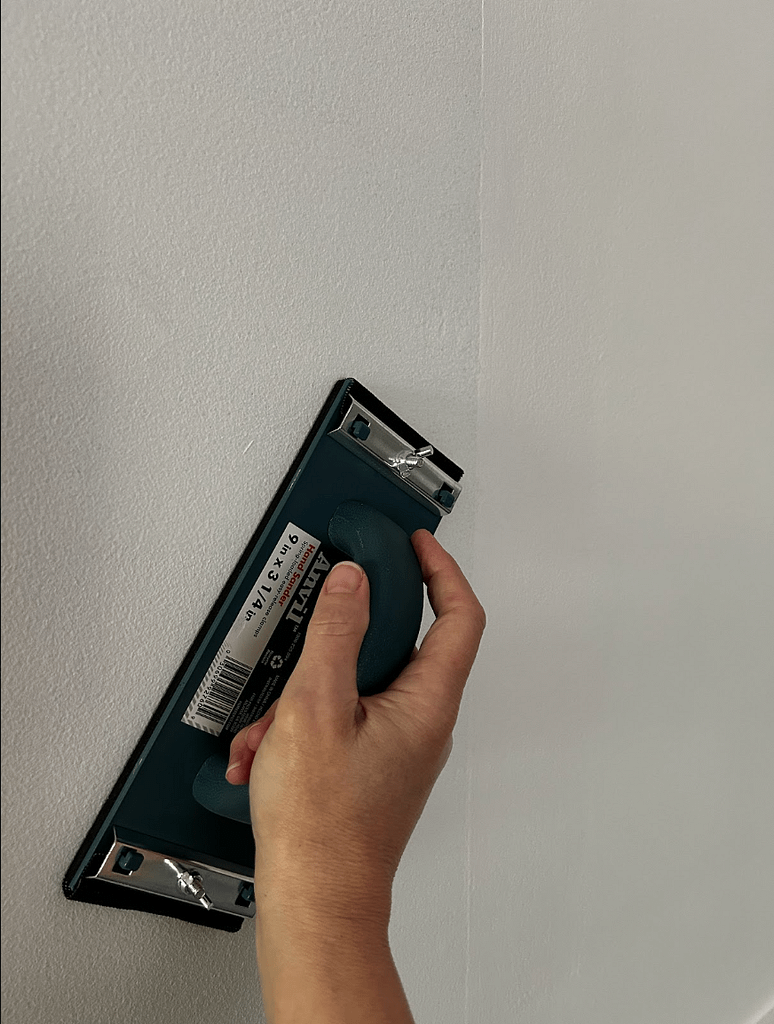
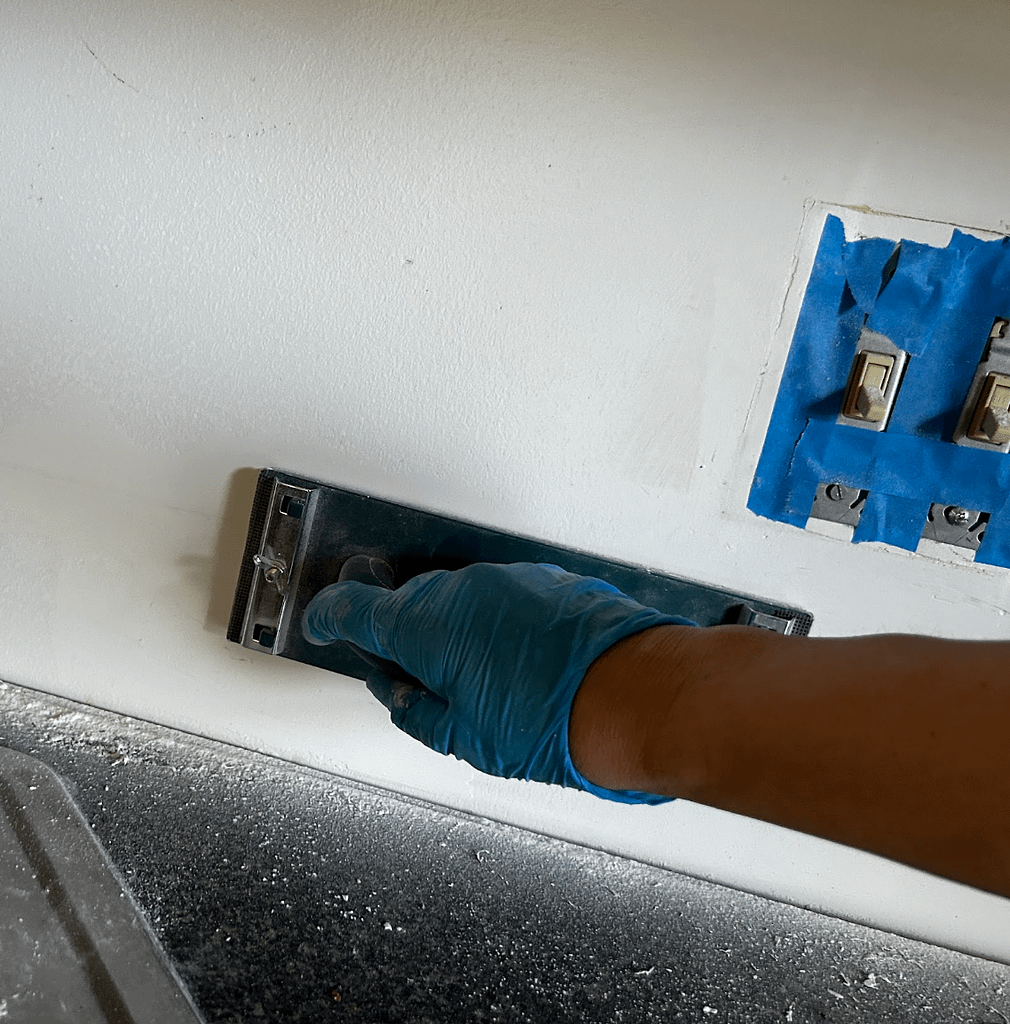
Once the filler is dry, sand it flush using a hand sander with medium-fine metal mesh for repairs larger than about 1″ × 1″. For smaller spots, you could use a small piece of mesh and sand by hand. Metal mesh is designed for joint compound and fillers and performs better than sandpaper; it removes only high spots, reducing grooves and producing a flatter finish.
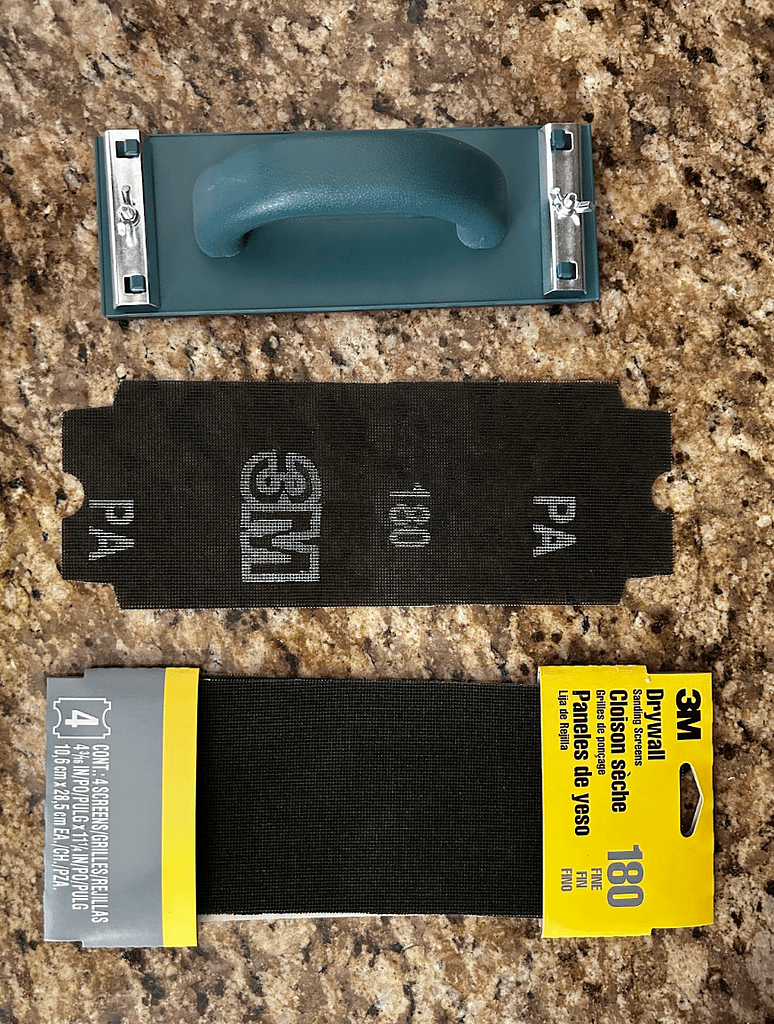
A hand sander, commonly used by professionals and readily available, offers a key advantage: its large, flat surface glides evenly over the wall, smoothing repairs as it moves toward a perfectly flat plane.
Sanding Technique for Invisible Repairs (Do You Need to Sand Walls Before Painting?)
The advantage of a low-dust compound is that sanding should be light, with minimal pressure, and the dust seems to drop straight to the floor. If you’re wondering do you need to sand walls before painting, this is where that step really matters. Focus on feeling the surface and how the filled bump is reducing, rather than watching it.
Using a hand sander, mesh piece, or, in a pinch, a sanding block, I start with diagonal strokes across the patched area, alternating directions so no single area gets over-sanded. Once the patch is nearly flush, I switch to gentle circular motions that extend a few inches beyond the repair.
The goal is to flatten the entire area, including the transition edges, so the patch disappears into the surrounding wall and I only feel a smooth, even, flat surface as the sander moves over the wall.
Sometimes it’s actually better to look away and rely on touch. When you focus visually, you tend to fixate on the high spot instead of thinking about the wall becoming a smooth, continuous plane. After sanding with a sander or block, I’ll run my fingers over the area for one last check. When your hand can no longer detect where the patch was, you’re done.
If a hole or dent is deeper, expect to apply filler in two passes. Thick applications can shrink or crack as they dry. For deep screw holes, use backing material such as a tightly rolled paper towel pushed into the cavity to support the filler.
Top Tip
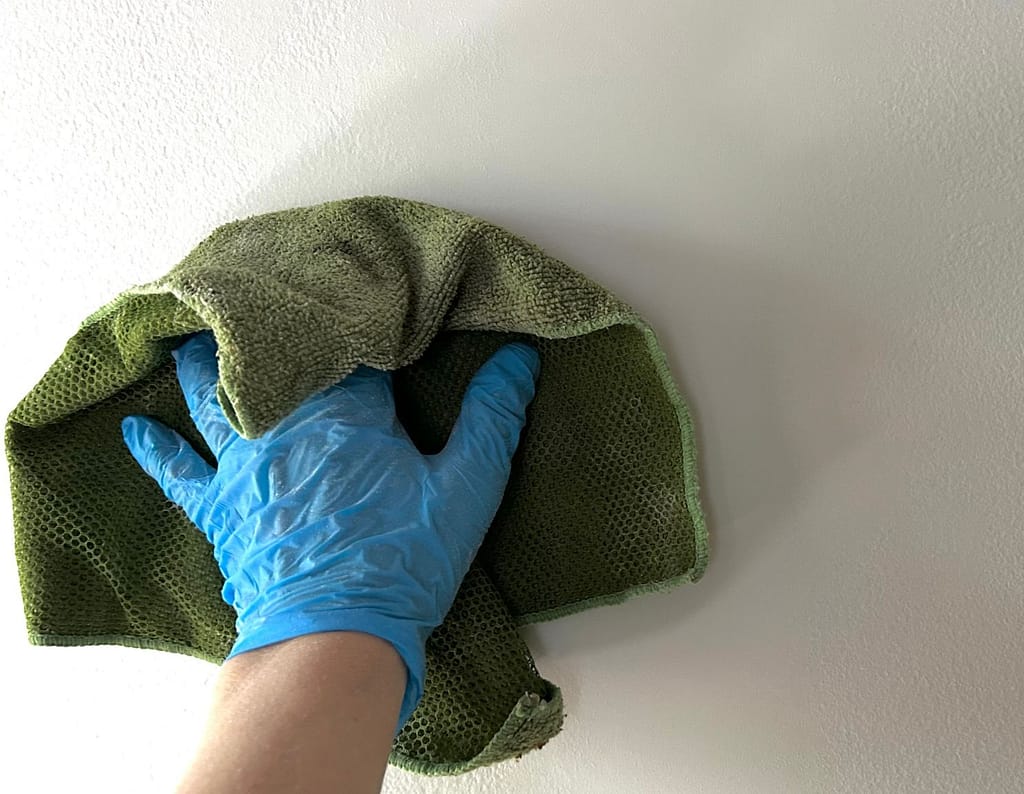
DON’T FORGET to brush off any sanded area with a microfiber rag (preferably damp) after any sanding before putting any primer or paint onto it in later steps.
The key to patching is invisibility. If you can see the edge of your repair before painting, it will be even more noticeable afterward.
Repairing Trim and Woodwork Before Painting
For dents and nicks in trim, lightly sand the area first to create tooth for adhesion. Apply wood filler slightly proud of the surface with a plastic putty knife. Once dry, sand flush, starting with medium grit and finishing with fine sandpaper. Always wipe clean, then seal repaired areas with primer before painting.
Removing Surface Imperfections That Show Through Paint – and will accentuate it.
While I am waiting for my filler to dry, I move around a room looking for raised bumps and blemishes I have flagged with blue tape, such as painted-in dust specks or stray brush bristles. I quickly remove them using a scraper or razor blade.
Leaving these imperfections allows paint to build up over them, making bumps more pronounced with each coat. Your room may then look old with all of this ‘history’ captured in it.

When using a razor blade with one edge capped, hold it on the capped edge flat against the surface and slide the blade to cut at the base of the defect, sometimes rotating the blade in a small circle around the stuck on piece.
Repairing Trim Gaps and Cracks With Caulk Before Painting
This is also the time to repair or add trim caulk. Proper caulking creates clean, seamless transitions between walls and trim, giving the room a more finished, professional appearance. Always use paintable caulk so it can be cut in neatly and painted over in the next step.
How to Caulk Trim and Wall Cracks for a Professional Paint Finish
My Trim Caulking Method
For trim gaps and cracks up to about 1/8 inch, I typically use a standard caulk cartridge with a caulking gun. A squeeze tube works well for quick or small touch-ups, such as seasonal separation between crown molding and the wall.
Start by wiping the crack or joint with a damp microfiber cloth to remove dust and debris. Cut the nozzle at a slight angle, keeping the opening roughly the same size as the bead you plan to apply. Beginning at one end of the gap, apply just enough caulk to fill it, leaving a slight excess.
Using a nitrile-gloved finger or a rag wrapped around your finger, run along the bead to press the caulk into the crack and shape it into a smooth, concave profile. If the bead looks thin in spots, apply a bit more and smooth again from end to end. I keep a small paper plate nearby to wipe excess caulk from my finger as I go.
How to Fill Hairline Wall and Ceiling Cracks with Caulk
For thin cracks in walls or ceilings , I always start by wiping the surrounding area with a damp sponge or clean cloth. I find cellulose sponges work best. This adds just enough moisture to prevent the wall from pulling moisture out of the caulk too quickly, giving you time to shape a clean finish.
Apply a paintable adhesive caulk along the length of the crack so it sits slightly proud of the surface and adheres to both sides of the crack from within. For ultra‑thin cracks, you may need to apply the bead onto the wall surface and push it into the opening using a damp sponge. Wider cracks sometimes require two applications: the first to sit deeper and create a backing, and the second to form the finished surface.
With multi‑stage repairs, remove excess material from the surrounding wall or ceiling immediately before it dries. Let the first layer cure fully before applying the final bead.
Once the final application is in place, lightly wipe the adjacent surfaces first—on each side, parallel to the crack—using a wet‑damp cellulose sponge to remove heavier spillover. Finish with gentle DIAGONAL passes across the crack. This technique leaves the caulk flush with the wall while keeping it in the crack itself. Wiping too hard or in the same direction as the crack can push the caulk in; if that happens, let it dry, apply another coat, and wipe diagonally. You’ll need to prime then paint the wall or ceiling with the crack in a later stage, to fully blend your repair in.
Avoid fast‑drying, rigid fillers or spackles in these areas. Normal seasonal humidity, temperature change or light structural movement cause walls to expand, contract or move, and hard fillers tend to crack again once dry. Flexible caulk accommodates this movement and helps prevent future cracking.
Surface Preparation Before Painting: Cleaning Walls Before Painting for Proper Paint Adhesion
Next, clean thoroughly. Paint works by bonding to a surface as it dries, but it can only adhere properly to a clean, solid substrate. Dust, dirt, grease, or sanding residue prevent paint from bonding to the wall itself, often leading to poor adhesion and eventual peeling.
Even necessary prep steps, such as scraping, patching, and sanding, create fine dust and dirt, and paint flakes that must be removed before priming or painting. Painting over dust or filler residue is essentially painting over something not attached to the wall, and dooms your painting to failure later. This is why cleaning should come after you make repairs.
This stage is a key part of prep for painting walls, and it’s often rushed, but it directly affects how well your paint performs.
How to Clean Interior Walls Before Painting (Cleaning Walls Before Painting Properly)
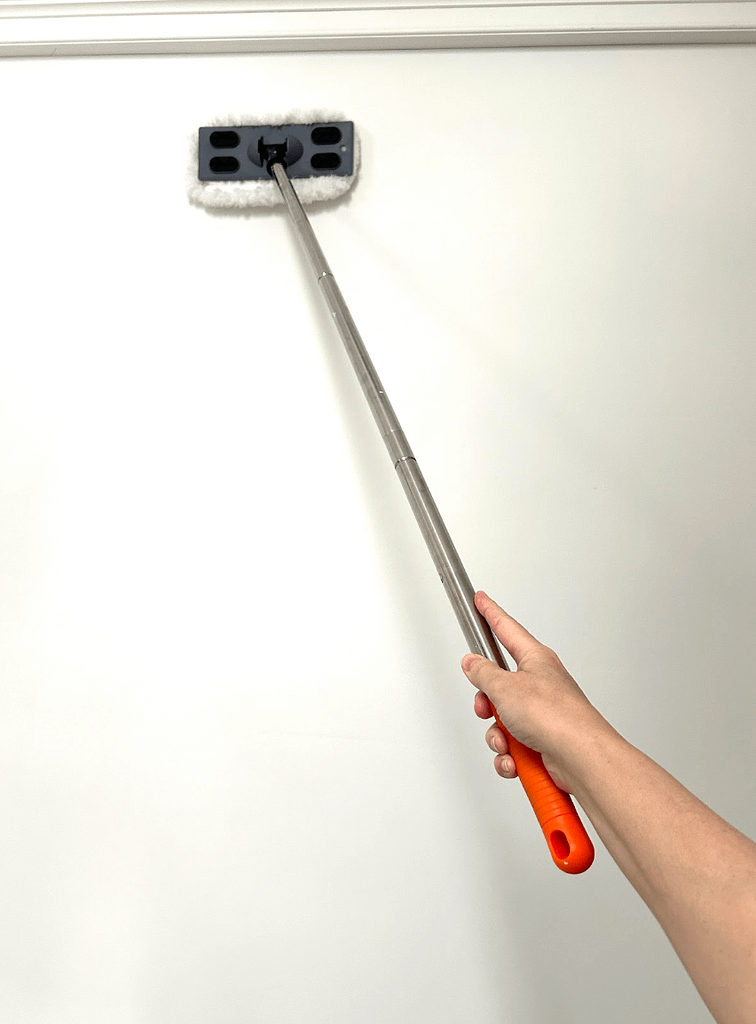
If walls do not appear visibly dirty, the minimum prep step is to run a floor duster (a fluffy pad on a pole) over the entire surface. Models with removable rectangular pads on a pivoting head work especially well. This step is especially critical if you’ve patched and sanded holes or are working with new drywall that still has joint-compound residue. Clean from top to bottom, paying close attention to edges, corners, and trim.
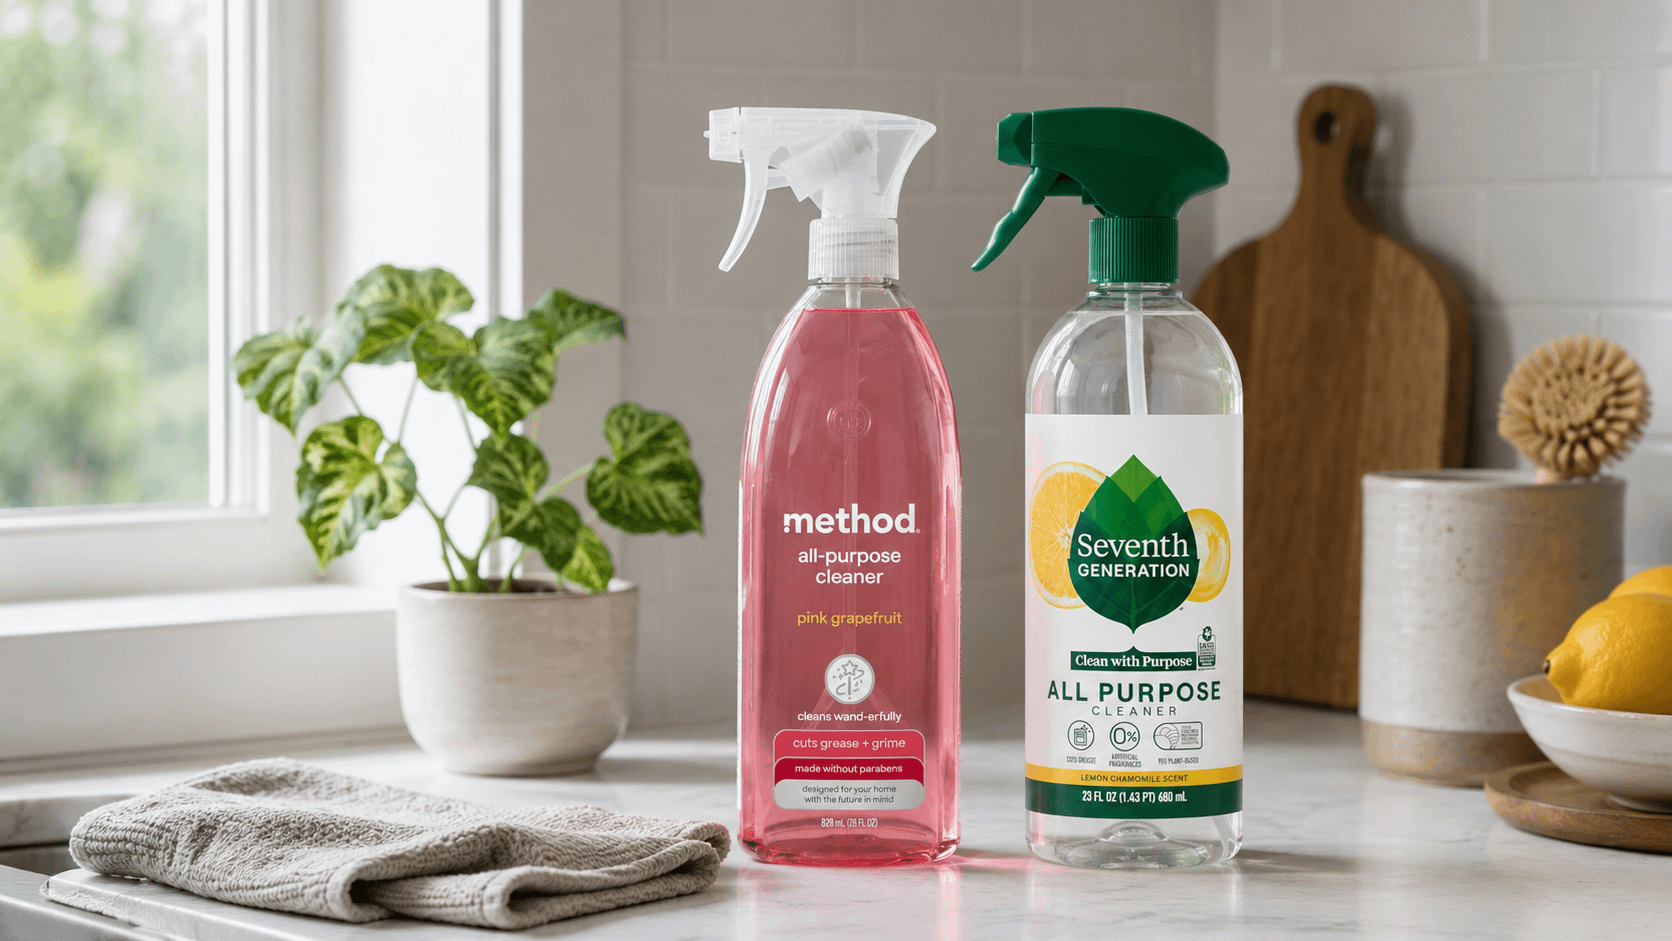
For dirtier walls, especially those exposed to kitchen grease, outdoor dust, or cigarette smoke, use water mixed with a mild cleaner and apply it with a floor mop. For heavily soiled surfaces, use TSP cleaner, diluted according to the manufacturer’s instructions, and always follow with a clean water rinse.
Taking the time to focus on cleaning walls before painting helps ensure proper adhesion and a more even final finish.
Preparing the Room Before Painting: Fixtures, Floors, and Furniture
If you haven’t already, remove window treatments such as curtains and sheers, and strongly consider removing curtain rods as well. Do not paint around them if you can avoid it. You may find it faster to remove window treatments and protect floors and furniture before cleaning, or you can tackle this step just before painting begins.
Remove All Items from the Walls
Remove outlet and switch cover plates and keep them together in a labeled box or bucket. Cover exposed outlet boxes with painter’s tape to protect them from dust, paint, and accidental contact. If it makes you uneasy, turn off the power to the room, provided lighting is not required. Any items that cannot be removed should at least be loosened so you can wrap painter’s tape around their edges, paint cleanly behind them, and reinstall once the paint is dry.
You have already removed all shelving, wall decoration, art, and the nails and picture hangers, never paint around anything, assuming it will always be there in the future.

Floor and Furniture Protection Options for Painting
Do not overlook floor protection. Each option has advantages:
- Drop cloths absorb paint but may allow bleed-through.
- Plastic sheeting blocks paint completely, but can spread paint if stepped on while wet.
- Contractor’s paper, commonly used by professionals, combines absorption with an impervious backing. It typically requires taping at seams and edges, but provides excellent overall protection.
Before covering floors, move furniture to the center of the room, or far enough to allow ladder access, and cover it at a minimum with old sheets, though plastic provides better protection.
This is another important step in prep for painting walls that’s easy to overlook but makes the entire process smoother and cleaner.
When painting ceilings, it is strongly recommended to remove as many items as possible from the room to reduce tripping hazards and improve efficiency.
Plan Your Painting Order
With prep complete, it’s time to plan your painting order. Your strategy depends on the scope of work, which types of surfaces need to be painted, and the time you have available. Establishing the sequence now determines what needs to be masked and whether masking is your next step.
For detailed guidance, see the next post in this Interior Painting series: Masking for Painting.
Conclusion
Good paint results don’t come from shortcuts or expensive products; they come from careful surface preparation that controls how paint bonds, reflects light, and ultimately how precise and even it looks once dry.
If you take the time to properly prepare a room for painting, everything that follows becomes easier, and the results look noticeably more professional.
When prep is done right, walls read as smooth and intentional rather than patched or rushed, which matters in any space and especially when preparing a home for sale. Buyers may not recognize good prep, but they immediately notice when it’s missing, and that distraction works against a strong first impression.
From here, the next step is making sure those clean surfaces translate into clean lines. That’s where masking comes in, and learning how to use painters tape properly makes a noticeable difference in the final result.