How to Stage a Property To Sell – Part 2: Home Staging Furniture & Décor
In Part I of this series, How to Stage a Property to Sell: Planning and Preparation, we focused on the strategy behind effective staging, understanding your buyer, assessing the property, and creating a clear staging concept before any furniture is moved.
This second part is where the execution begins. Starting with Step 7, this guide shows how to apply that plan using home staging furniture, room-by-room layouts, and finishing touches that shape the buyer’s experience.
These steps focus on arranging furniture, defining spaces, layering décor, and preparing the home for photography so the strategy from Part I translates into a market-ready result.
STEP 7 – ROLL UP YOUR SLEEVES: START WITH THE EXTERIOR
To curate the buyer’s experience, start with the exterior. If they don’t like what they see from the curb, if the home lacks appeal or doesn’t match what they expected from the online photos, they may not even walk inside. This is where First Impression Bias works in your favor, and why exterior presentation matters so much when home staging for selling.
A great way to begin is to stand across the street and look at your home from the same angle a buyer will first see it, both in person and in that all-important first online photo. Identify anything that needs removing, repairing, trimming, or cleaning, and tackle it.
Pay special attention to the front entrance, where buyers often linger while their agent gets the key. Everything you add (or repurpose) here should support your design concept. Focus on improving or addressing the following:
- Power wash the driveway, walkway, patios, or deck
- Check that the mailbox is in good condition
- Mow and edge the grass
- Trim bushes so they sit below window sills
- Clean flower beds, remove dead foliage, and add fresh mulch
- Clean gutters and the areas around downspouts
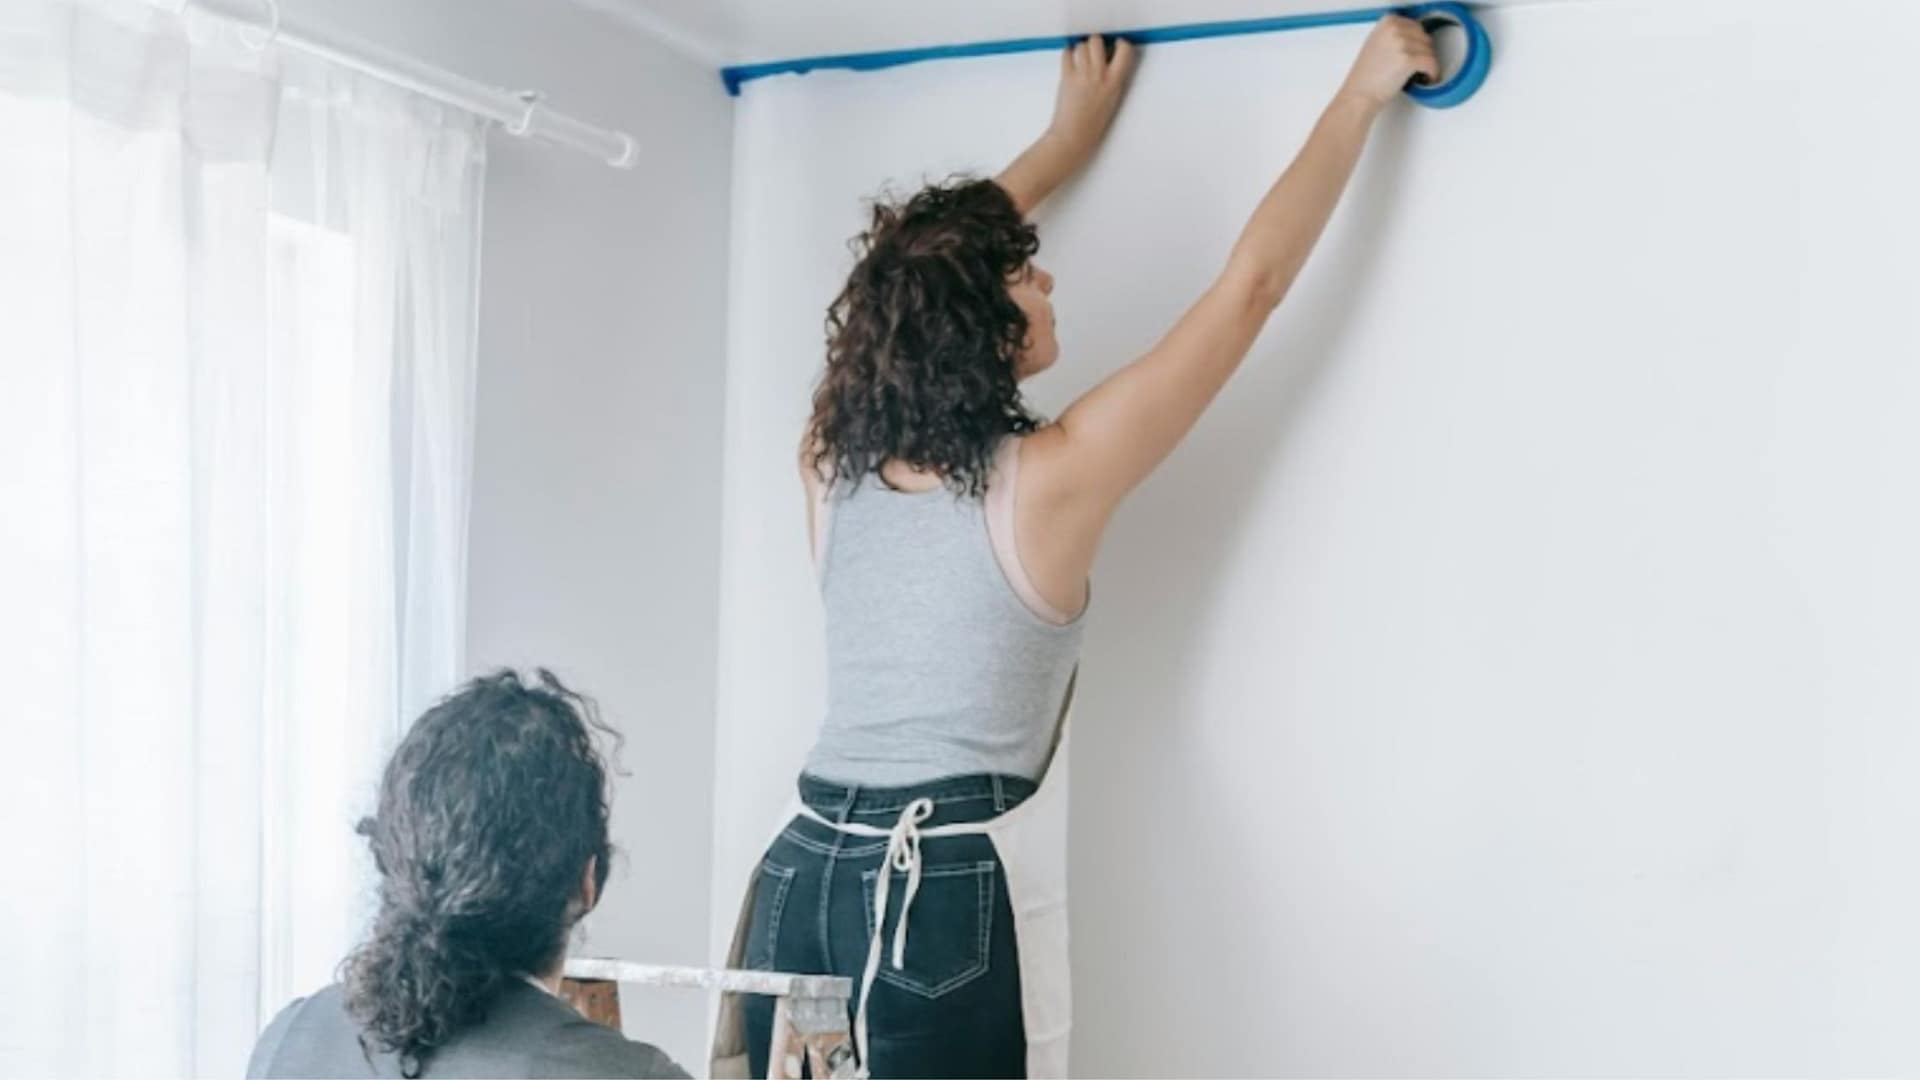
- Touch up paint where needed (including trim and fencing)
- Paint the front door or refresh it with a new clear coat
- Ensure the garage door looks clean and well-maintained
- Check all exterior lighting (working bulbs, matching color temperature)
- Install new house numbers or clean the existing ones
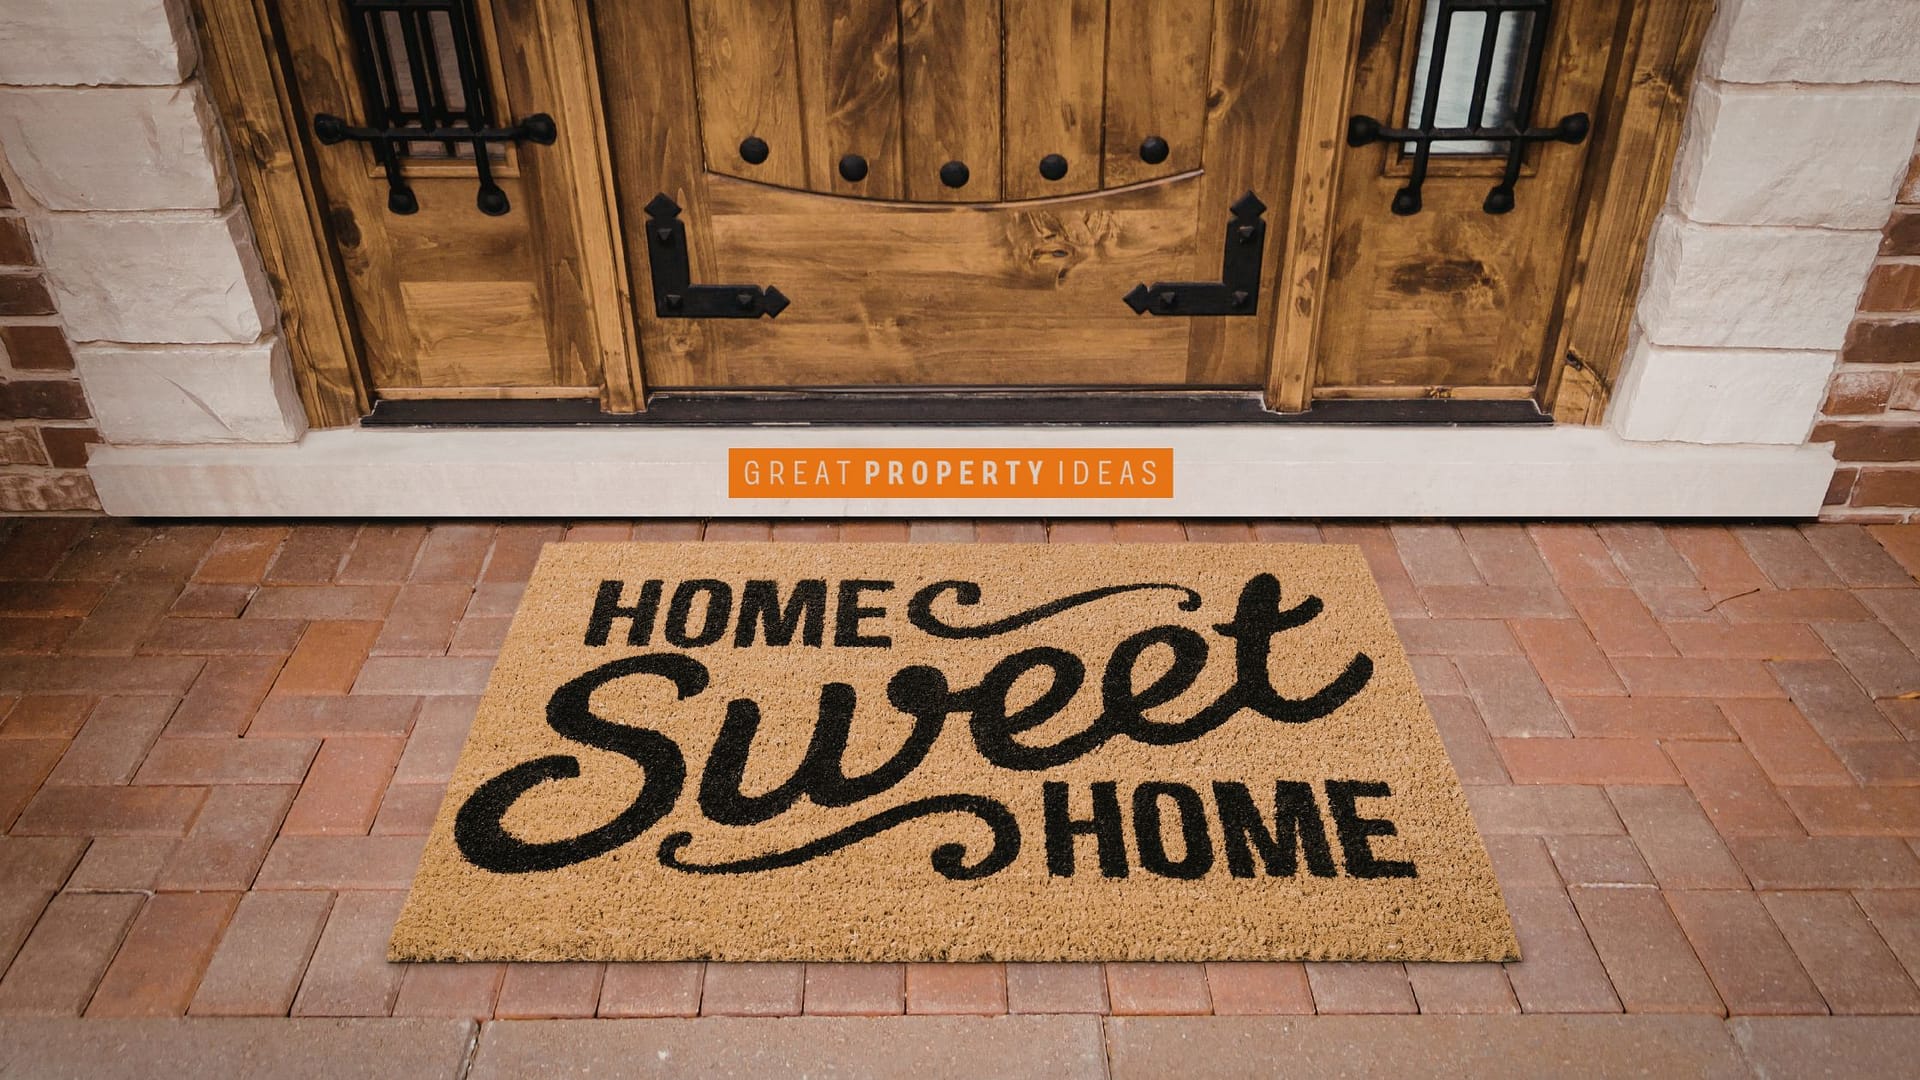
- Add a new welcome mat, one of the quickest, easiest upgrades

STEP 8 – NEXT, DEFINE INTERIOR SPACES
Now you’re ready to define interior spaces using furniture for home staging. You’ve painted, repaired, cleaned (hopefully), and possibly picked up a few extra furniture or décor pieces to support your staging plan. I always bring in more than I think I’ll need and experiment until I find the right balance, then return whatever doesn’t make the cut (or save it for the next project).
Now you’re ready to begin defining the interior spaces. There are a few overall goals that apply to every room or space, such as:
- Brighten every room – let in as much natural light as possible, add mirrors to bounce the light around, and extra light fixtures in darker corners so all of the room can be seen – to make it feel larger and more uplifting
- Reinforce the feeling of height in rooms – use full height curtains, light colored ceilings, don’t hang artwork/TVs too high on walls, which shortens the distance b/w the top edge and ceiling (should be hung at eye height)
- Soften the mood (esp living spaces & bedrooms) using flowy sheers, plump beds and sofa cushions, warm lighting – you are staging for comfort
- Make every room layout as clear as possible – define the function and showcase the best possible version of that function in the space
- Make every space clean and fresh, clean all windows to facilitate the view through them (not at them)
- Spark imagination -add art coffee table books, suggest a new function for an extra bedroom
- Add warmth – by adding plants, making cozy gathering spaces, and intimate seating areas
- Add luxurious touches – place deli-style condiments in the pantry, upscale spa products in the bathroom, top-end small appliances such as an espresso maker in the kitchen, white crisp linens in the bedrooms, etc
- Consider the photography angles when staging – you are creating a stage to be captured on camera to entice and tell a story
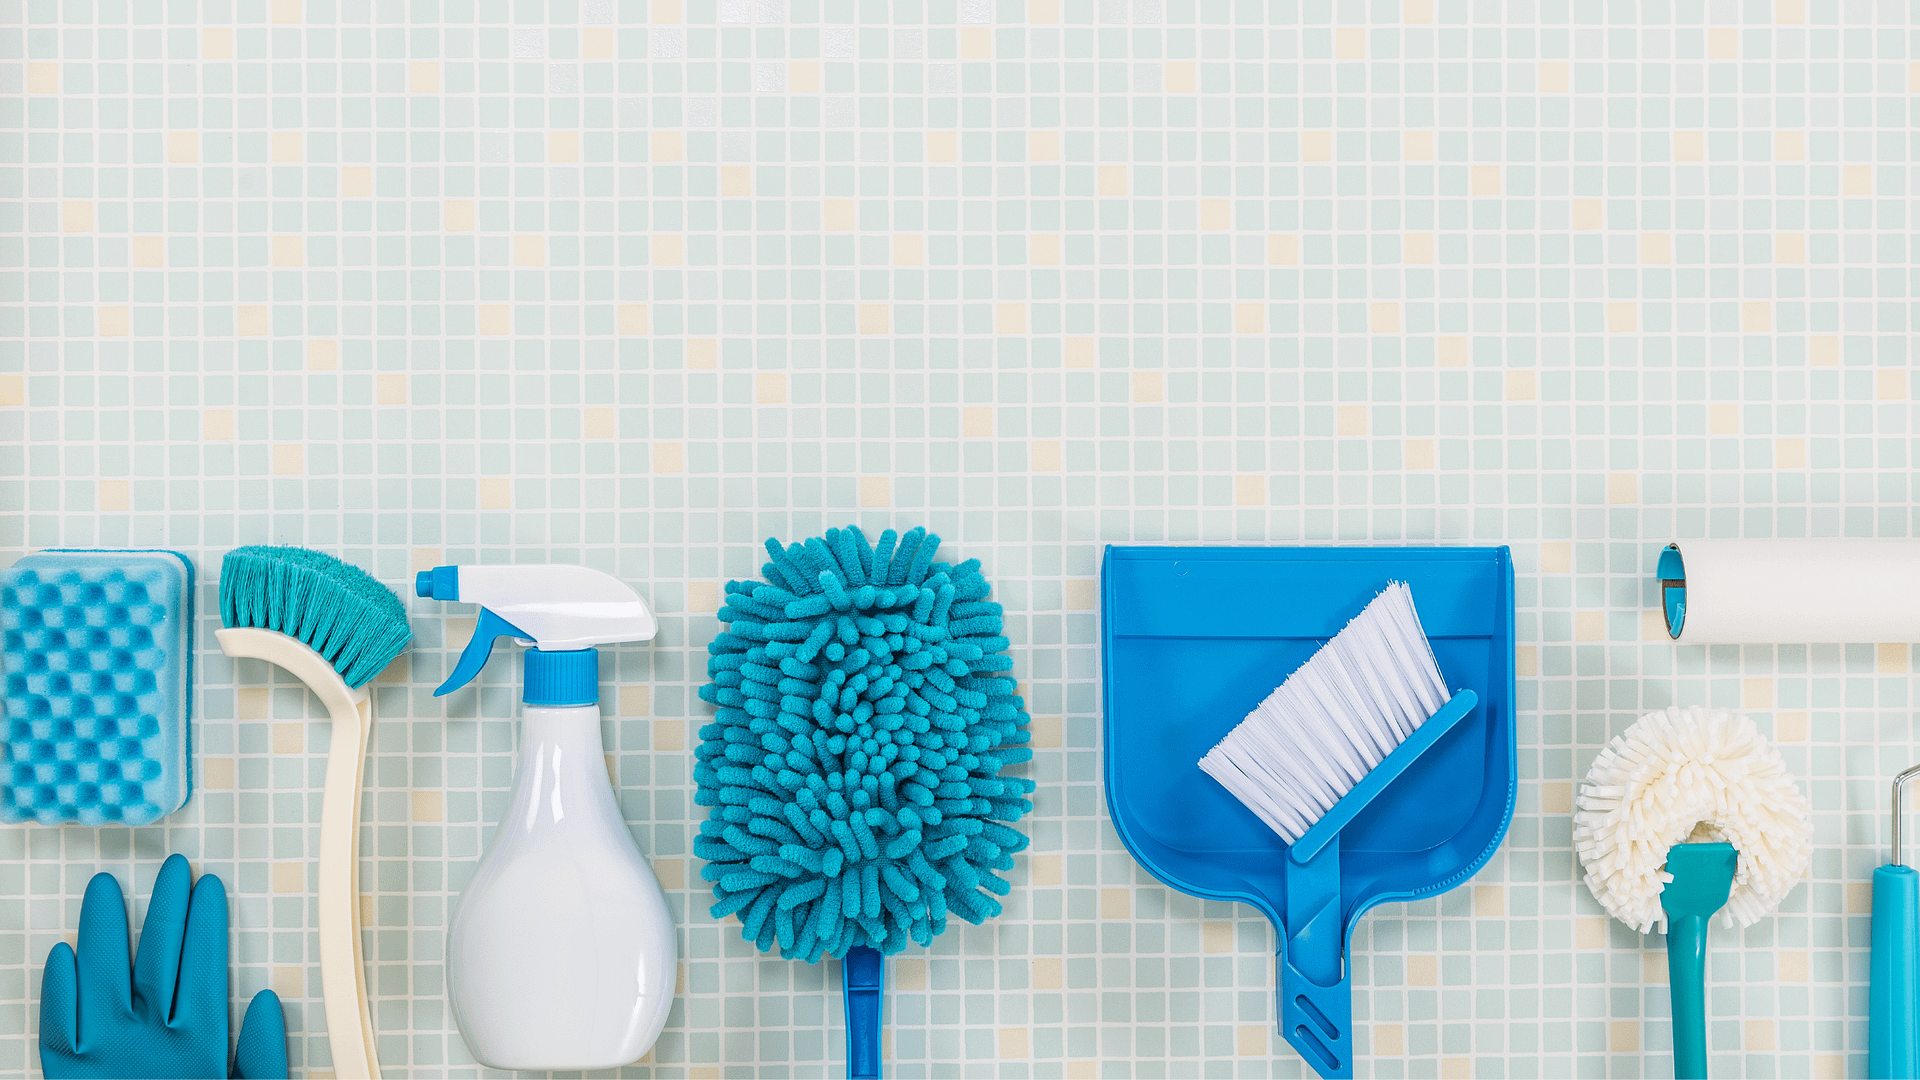
Cleaning is especially important because you not only want Buyers to think the property has been taken care of, but also, you don’t want to remind anyone of the practical aspect of home ownership, such as how much cleaning might be involved. Keep thoughts positive!
ENTRYWAY / FOYER
Your entryway should deliver a wow moment. It’s the first interior impression buyers get, and it should hint at what’s to come, whether that’s a glimpse of the next room, a peek at a great view, or simply the overall style. If the next step isn’t obvious, your staging should subtly guide buyers to the next step.
Keep this space clean and welcoming. Remove personal items like coats, shoes, and bags, but keep elements that show how the area functions: a bench, baskets, decorative hooks, or a mirror. This zone sets the tone for the rest of the visit, so make it warm, intentional, and intuitive.
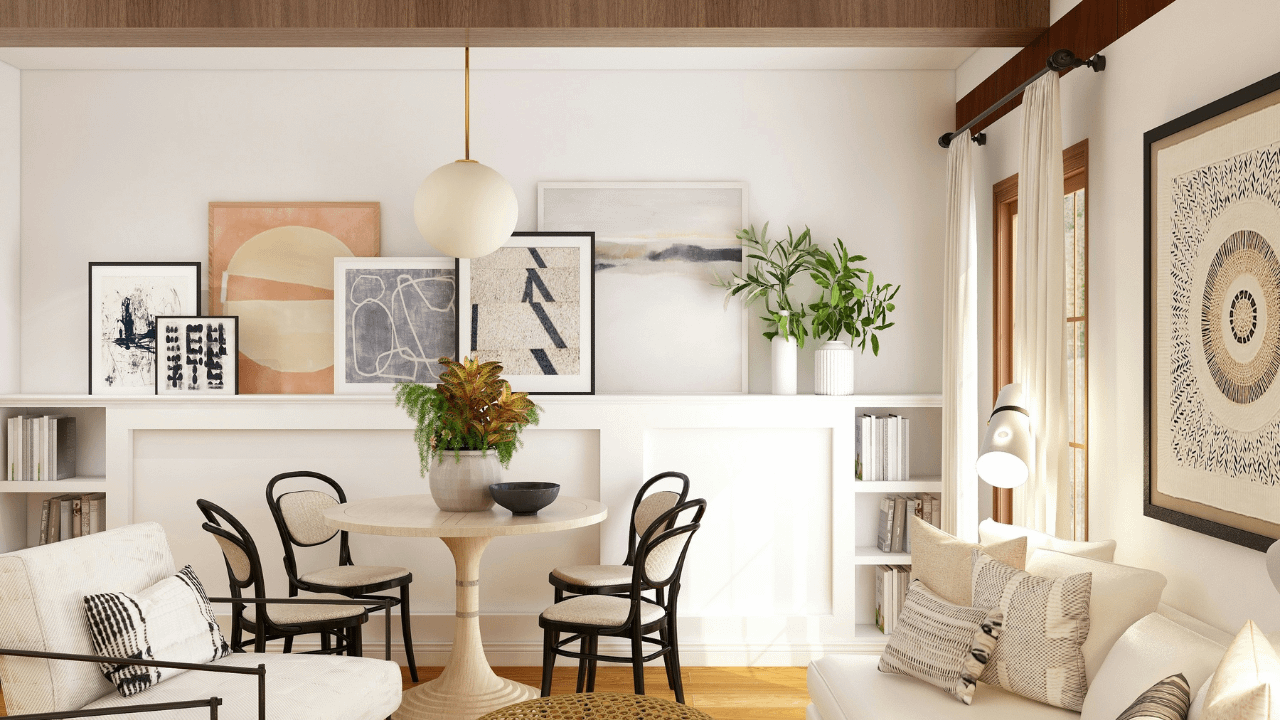
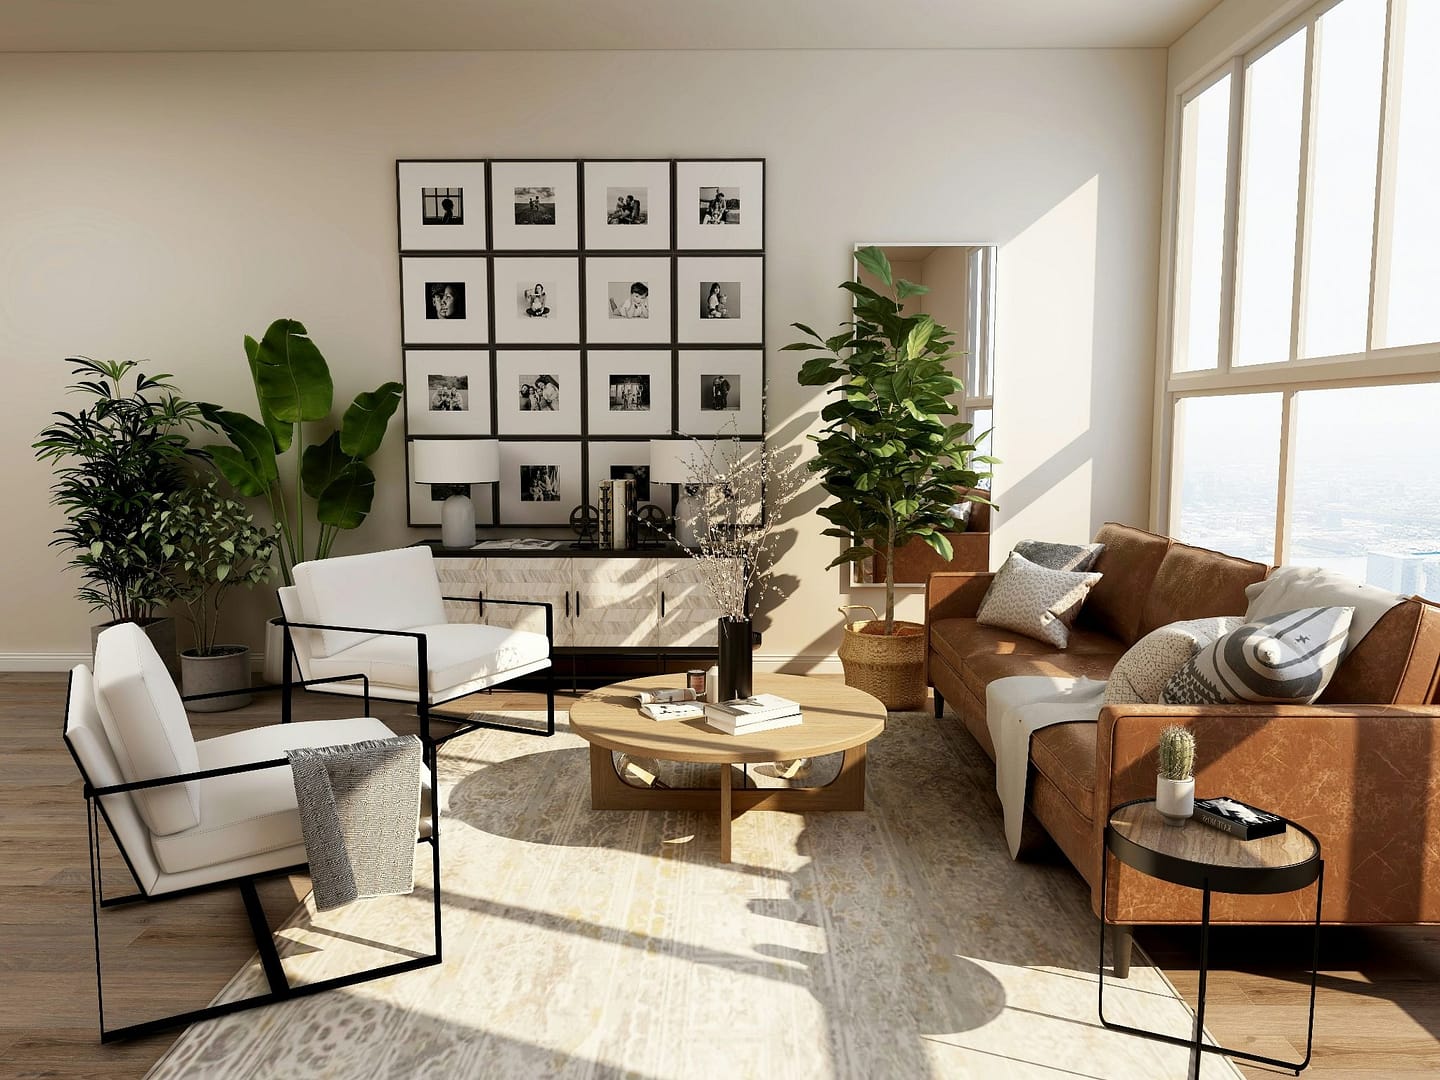
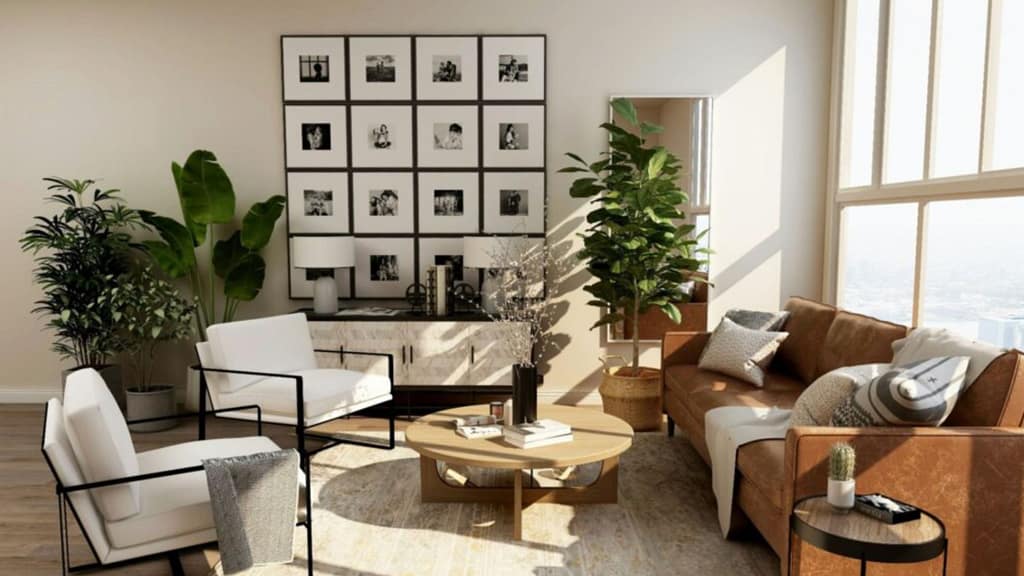
LIVING ROOM / GREAT ROOM – Home Staging Living Room Layouts
The living room is usually the hub of the home, so make it feel cozy, functional, and well-defined. This space is especially important when selecting home staging furniture, as buyers tend to spend the most time here. If you have hard flooring, always begin with a rug—it grounds the seating area. Make sure it’s not too small: the rug should extend at least a few inches under the front legs of each furniture piece to anchor everything together.

I typically arrange the main furniture first, then measure for the minimum rug size needed to unify the pieces. A properly sized rug not only ties the room together but also softens the space and creates an inviting, relaxed feel, key goals when approaching home staging living room layouts.

STAGING CONCEPTS FOR LIVING ROOM FURNITURE CONFIGURATION BASED ON THE FOCUS OF THE LIVING ROOM
Conversation-Focused Layout
Great for luxurious homes where a separate TV or media room may be located elsewhere in the property.
Goal: Enhanced social interaction, such as entertaining, larger gatherings, intimate groups, and quiet activities like reading.
Required: A moderate amount of space and seating pieces. Example: one sofa plus two chairs (or a second sofa) opposite, with a coffee table between. Include end tables with lamps offering low lighting for intimate gatherings and mid-level lighting for more singular or task-assisted activities.
TV-Focused Layout
Great for family-centric homes.
Goal: A relaxed and shared media viewing experience.
Required: Comfortable seating designed for longer durations, often modular. Use a larger coffee table or multiple smaller tables to serve all seating. If TV or media is the focus, the arrangement must take natural lighting into account and reduce screen glare where possible.
Feature-Focused Layout
Such as a fireplace or view, these amenities are strong selling points.
Goal: An optimized layout with flexibility, allowing the room to be enjoyed beyond just the feature.
Required: Comfortable seating, sometimes modular, or two sofas in an “L” configuration plus two accent chairs forming a “U.” Include a larger central coffee table and multiple side tables with lamps to serve all seating. This layout is dependent on the room configuration and focal point. In many cases, a mix of formal and informal seating works well, such as adding a chaise for reading or accent chairs for a conversation niche.
Open-Concept Layout
Great for larger open spaces where multiple functions should be clearly defined, such as two seating areas or a seating area combined with dining.
Goal: Define areas of activity, balance the space, and ensure no area feels under-furnished. Identifying separate furniture zones helps direct traffic flow and allows for easy movement from one area to the next, which is especially important when home staging for selling open-plan homes.
Required: Different types of seating options, some designed for gathering, others for solitary or more intimate functions.
WHEN IN DOUBT, BORROW ONE OF THESE PROVEN LAYOUT FORMULAS
| Room Size | Best Arrangement | Additional Pieces Suggested |
| Small (under 175 sf) | L-shaped: loveseat + 2 accent chairs + round coffee table (glass top works well) | Side table, lamp, accent rug, small décor, artwork, mirror |
| Medium (175–350 sf) | L or U-shaped: sofa + 2 chairs + console + rectangular or square coffee table | 2 matching end tables, 2–3 lamps, bookshelves, accent rug, mirror, décor, and artwork |
| Large (350 sf +) | Configure per room shape and flow: sectional plus additional seating areas, or two full sofas facing each other plus accent chairs | Multiple side tables and lamps, 1–2 console tables, 1–2 rugs, statement artwork, décor, bookshelves |
Here are some suggestions for consideration on how to organize living room furniture depending on your property’s staging needs. For large living spaces, more than one seating area or zone is often required. Each will likely have a different function and styling, supported by thoughtful furniture for home staging choices.
Quick Staging Ideas for a Living Room or Family Gathering Space
- Style the coffee table: use an accessories tray – decorate with some books and a decorative item or plant, but also use it to collect TV remotes and any stray items.
- Add art books or home design books for some interest, and a decorative item or sculpture
- Ensure lamp and A/V equipment cords, etc., are hidden. Use the same color zip ties to grab cords and fix them against furniture legs or along the back edge of shelves with stick-on cable clips.
- When the back of a sofa is used to define a zone, consider a console table or credenza along the backside as a place to add lamps, decor, and books, for example.
- Ensure large pieces of furniture are not set directly against any wall 3-6 in spacing minimum, is recommended.
- Layer the lighting in a living room for different types of tasks: overhead light for general illumination, spot lights where light is directed onto a feature (fireplace, artwork or bookcase) floor standing lamps, or lamps on console tables for mood and to balance lighting in the room, lamps on tables next to chairs or sofas that provide task lighting as well as mood.
- For a luxe upgrade, add a bar cart or create a dry bar with glasses on a try on a credenza or counter of a built-in unit.
DINING ROOM / EATING AREA
The dining room is all about memorable gatherings, so the layout should feel comfortable, spacious, and intentional. When selecting home staging furniture, this room should help buyers easily imagine hosting and everyday use. Depending on your room size, there are two main approaches to arranging the table and chairs.
In a small or tight space, reduce the table to its smallest size and place four chairs around it. Push the chairs in, then pull them out about two inches to “ease” them so the setup looks natural.
In a larger space, you can stage the table with fewer chairs than its maximum capacity to make the room feel bigger and more flexible. Extra chairs can be placed in corners or along a wall—if the layout allows. If they don’t have a good home, go ahead and stage the table at full capacity so buyers can easily imagine hosting holidays or dinner parties. This strategy works especially well in large dining rooms, which are common in higher-end properties and important when home staging for selling.
Keep your table setting elegant and simple: use a neutral runner or plain cloth with a vase of flowers, a small candle grouping, or a low bowl. Place the arrangement on a very low-pile rug to anchor the space and elevate the look. If you have extra chairs, position them neatly in corners or along a side wall, leaving plenty of room for visitors to walk around the table comfortably.
Be thoughtful with other dining-room furniture. Avoid pieces that overpower the space or create visual clutter. A china cabinet, usually the heaviest visual element, belongs on the largest wall or anywhere it won’t dominate the view. If space allows, add a sideboard with minimal décor (two lamps and artwork or a mirror above are great options).
Above all, keep the traffic flow in and out of the room open and intuitive. The room should feel generous and easy to navigate, reinforcing how well the furniture for home staging supports daily use and entertaining.
Key arrangements and dimensions to keep in mind:
- Leave at least 36 inches between the table edge and any wall
- Allow a minimum of 24 inches of width per place setting
- Hang chandeliers or pendant lights 30–36 inches above the table
- Center the table under the light fixture
- Use a simple centerpiece when the table is dark or visually heavy
- A 6-ft table seats 4 comfortably
- An 8-ft-plus table seats 6 comfortably
Before finalizing your layout, make sure the flow between the kitchen’s key functional points—cooking area, sink, and refrigerator or food storage—is clear and unobstructed. Move or remove furniture that interrupts this natural path, especially when preparing the home for showings.
For additional guidance on sizes and clearances, here’s a helpful reference.
KITCHEN – Home Staging Kitchen Layout & Furniture
Your goal in the kitchen is to highlight either the ease and joy of cooking, the ability to entertain, or ideally, both. Make the space feel open, clean, and inviting, as this area plays a major role in home staging for selling.
Start by ensuring cabinet doors, drawers, and hardware are in good condition. Buyers will open them, so keep everything organized and tidy. To add a little “oomph,” replace old cabinet handles with new, more stylish ones and consider specialty inserts like silverware organizers, knife blocks, or pull-out racks for pots and pans.
If there is no backsplash, consider a quick hack: add peel-and-stick vinyl (wipeable) wallpaper to introduce interest and freshness. If you have available funds, a tile backsplash is a great way to upgrade the kitchen’s feel or replace an outdated one. A backsplash is an opportunity to add color and vibrancy while tying the design together, an important visual cue when selecting home staging furniture and finishes.
Clear the countertops as much as possible. Remove utensils, tools, décor, and especially small appliances to showcase the amount of workspace. This instantly makes the kitchen feel larger. Leave only one “showcase” essential (maybe two in a bigger kitchen): an attractive appliance that hints at happy kitchen moments, like coffee, baking, or wine. If you have a larger kitchen and there is a bare corner or open space next to the stove, consider adding a small group of decorative culinary items, such as a cookbook on a stand or a bottle of olive oil with a glass jar of dry pasta noodles.
Good lighting is essential, especially in a kitchen. Let in as much natural light as possible and use warm-toned bulbs throughout. Add under-cabinet lighting if you don’t already have it. Even simple puck lights or stick-on LED strips can be added in a pinch; avoid harsh blue or cool-toned light, which stands out in photos.

Other Key Considerations
- Replace any old or mismatched appliances, or at least update the worst offender so the set feels more cohesive.
- If appliances don’t match, pull focus elsewhere, such as the backsplash, island, or seating.
- Make sure the dishwasher and oven are empty and spotless (and smell fresh) for showings. Clean out old food from the fridge and deodorize.
- Refresh tired or cracked silicone or caulking around the sink, countertop, and backsplash.
- Remove everything from fridge doors and sides, including magnets and artwork.
- Organize storage using clear containers in the pantry and under-sink organizers.
- Remove mismatched plates, containers, cups, glasses, pots, and pans that won’t be used in the near future and pack them away.
- Add a touch of greenery or a natural element, such as herb pots or a small plant. On an empty island, try a simple ceramic bowl of fruit (lemons work well for color and scent) or a clean, modern vase of flowers.
Top Tip: Don’t mix more than two flower colors in your arrangements. Choose shades that complement your staging palette, soft, warm, and subtle, so they add freshness without creating visual noise in photos.
PRIMARY BEDROOM – Home Staging Bedrooms
The primary bedroom should feel peaceful, comfortable, and luxurious; buyers need to walk in and instantly relax. This space is central to successful home staging bedrooms, so start with the bed and make it look irresistible. If you want one high-impact upgrade you can take with you, invest in new bedding.
- Add crisp white sheets, tucked in hospital style, with two matching plump bed pillows and matching cases.
- Add a duvet or coverlet, along with two pillows covered in matching shams and plush decorative pillows in contrasting solid colors.
- An upholstered headboard is another simple way to elevate the room.
- Clear away anything personal or distracting from nightstands, dressers, and chests.
- Items on the nightstand should be limited to: a lamp and one décor item.
- Again, secure stray lamp and A/V cords and cables—they can ruin the effect of an otherwise professional-looking photo.

Nightstands, especially, are great “storytelling” moments. Stack a couple of books (remove jackets and place them without the spine showing if they are personal in nature), add a small plant or a simple vase with a flower, and you’ve suggested calm, quiet evenings without revealing your personal reading habits.
PRIMARY BATHROOM
This is your chance to create a true spa moment. The space should sparkle and feel as clean as it has ever been, especially since buyers may use this bathroom during a showing. Bathrooms play an important role in home staging for selling, so add one or two small elements that say “pamper,” without cluttering the space.
Here’s how to get it show-ready:
- Remove all personal products, then bring back only one or two matching, high-end-looking bottles (dark glass works beautifully).
- Transfer shampoo or hand soap into simple, attractive containers—never leave store-bought plastic bottles out.
- Add a bud vase with a fresh flower, a tiny bouquet, or an orchid for a spa-like touch.
- Place one or two white glass jar candles near the bath or on a large vanity to reinforce the tranquil feel.
- Use plump, fresh towels, double-folded so they hang thickly, not flat. Keep rolled hand towels in a basket.
- Choose calm, nondescript artwork to soften the room and make it more inviting.
- Replace old towel bars, toilet-paper holders, or builder-grade hardware with new ones.
- Swap out the sink faucet for an inexpensive but effective update.
- Update cabinet handles if they look dated or worn.
- Refresh caulking around the bath, shower, shower doors, and sink.
- Upgrade the mirror by framing it or replacing it with a new hanging mirror for a more custom look.
- Replace outdated lighting or even just old globes; new rechargeable LED options can look great.
- For vanities without good face-lighting, stick two rechargeable lights directly onto the mirror for showings; buyers love seeing themselves look good in a bathroom.
Once your spa vibe is set, tuck away everything utilitarian: toothbrushes, makeup, tissue boxes, hair brushes, and anything hygiene-related. Keep them in a bin you can easily pull out as needed. Replace old shower-curtain liners and choose a calm, neutral curtain. Finally, hide anything that signals “cleaning” or “bathroom maintenance”, trash cans, toilet brushes, and plungers. Buyers do not want to see them.
OTHER BATHROOM(S)
The rest of the bathrooms and powder rooms should also feel like mini spa havens, but at the very least, they must be spotlessly clean, fresh, and hygienic. Replace anything dirty, grimy, or moldy, just as you would in the primary bathroom (and yes, that includes the shower-curtain liner).
Remove small rugs from the floors, seat covers, and extra caddies with products. These are outdated design practices that also make the room look smaller. Any quick-refresh tips used in the primary spa bathroom apply here as well, but you can keep it simpler. Clean lines and restrained home staging furniture and décor choices work best in smaller bathroom spaces.
OTHER BEDROOMS – Home Staging Bedrooms
Make bedrooms comfy, cozy, and inviting with plush covers, complementary-colored throw pillows, crisp linens, showcased side tables, and sparse furniture similar to the primary bedroom. This is where you can have a little more leeway, while still following strong home staging bedroom principles.
Make sure the essentials are covered first:
- One beautifully staged primary bedroom
- One staged guest room or child’s room, kept gender-neutral (not pink or blue)
- One additional guest room option in properties with more than three bedrooms
After you’ve staged the main bedrooms above, thoughtful and slightly quirky styling can help buyers imagine different ways to use the home. Extra bedrooms can be given a purpose, such as an office, yoga room, playroom, or craft room. Buyers will understand it’s still a bedroom as long as it includes the same basic features as the others.
The standard rule: remove about 50% of what’s in the closet if possible. This instantly makes the space look larger, more luxurious, and able to accommodate any buyer’s wardrobe, an important detail when using furniture for home staging to communicate value.
For clothes closets, upgrade the presentation by:
- Using matching (preferably upscale) hangers
- Color-coding clothing for a polished “wow” effect
- Spacing hanging garments evenly for an airy, spacious feel
- Organizing shoes and accessories neatly
- Adding racks, baskets, or furniture-style shelving for a built-in look
These points are especially important if the closet—such as a walk-in—is a selling point and should also be photographed as part of your home staging for selling strategy.
Top Tip: Install motion-detecting strip lights under the front edges of shelves above clothes rails. They switch on when the doors open and give a high-end feel for very little cost. These work wonderfully in linen closets and laundry rooms, too. Just remember to recharge them occasionally.
STEP 9 – ADD THE FINISHING TOUCHES TO PULL IT TOGETHER (Home Staging Furniture & Styling)
Sprinkle décor thoughtfully throughout: fresh flowers, clean towels, and simple three-dimensional objects. The goal is a welcoming, aspirational look that still feels attainable, an important final layer when working with home staging furniture. Think gourmet pantry jars, spa-like lotions in the bathroom, or a well-curated tray, small touches that hint at a certain lifestyle without being personal or cluttered. This is where you get to layer in texture to add depth to the space. Textured fabrics such as throws, pillows, baskets, and upholstery are good sources. You can also physically layer décor: place sculptures in front of mirrors or paintings, layer empty picture frames on a wall shelf, layer throw pillows, and layer curtains and sheers for added dimension.
PLANTS
Plants are fantastic for filling empty or lifeless corners and adding warmth and vibrancy to cold spaces. I sometimes use good-quality faux plants because they photograph beautifully and require no care, especially in vacant homes. Real plants are, of course, the preferred option when possible, just make sure they’re healthy, balanced, and not overly fragrant or allergy-inducing.
If the seller’s plants aren’t looking their best, group them into a single, fuller “plant zone” instead of scattering them. It’s more intentional and looks better in photos, particularly when home staging for selling.
THROW PILLOWS & THROWS
Pillows are one of the easiest and most affordable ways to add color, personality, and softness to a space, and they’re completely non-committal.
Mix solids and prints to reinforce your color scheme, and don’t be afraid to layer. I aim for 4–6 pillows on a sofa (depending on size) and use multiple layers on a bed.
Pillow style also helps communicate mood:
- Softer, looser covers feel relaxed and cozy
- Tighter, structured cushions placed in a more organized way feel more formal or elegant
- Natural fabrics or natural materials and prints are great for casual settings or pared-down schemes
- Velour or richer fabrics add luxury when used thoughtfully
- Mix sizes and shapes for a casual setting

LAMPS & LIGHTING
Lamps balance the light in a room, highlight tasks, and double as décor. I often choose lamps with colored or decorative bases to subtly echo the color palette, another small, non-committal way to bring a room together. Lamps are also important for distributing light evenly so no corner or area feels dark or shadowed. Ensure all lamps use the same color bulbs. They are usually turned on during photography sessions, and the camera tends to exaggerate differences in light temperature. Warm lighting (or warm-toned LEDs) is your best bet and creates a cozy, inviting atmosphere.
Lighting is probably the most important aspect of a home. Lighting affects our mood and our ability to carry out tasks effectively. It makes us feel cheerful and healthy, and shows us all aspects of our home in the most flattering way. It makes saturated colors and defines textures . Maximize lighting by keeping the window treatments as open as possible during photos and viewings.
If view or privacy is a concern, use thin white sheers drawn closed while keeping curtains pulled back. In bathrooms, frosted glass film can be applied to windows (even just the lower sash). For wide-slat blinds or shutters, slant them downward at about a 45-degree angle toward the interior. This allows light to bounce inward while restricting views from outside.
MY DÉCOR TOOLKIT
Candlesticks, decorative boxes and baskets, bowls, trays, vases, books, and small sculptures.
These are usually items that most everyone expects to find in a home, so they are less distracting and neutral, but also provide the opportunity to simply add some warmth and dimension by claiming a space as (place fillers). They say to a Buyer: here’s where your personal artifacts can go. I ensure that these items are in a style that is in the same language as the chosen design concept. Also, their color and appearance tend to be neutral, again not to draw too much attention, but enough to reinforce the type of function of an area (candles or books in a living room, fruit bowls in a kitchen ,for ex.) and give it a human scale and emotional context. Use these items sparsely yet intentionally.
Fill gaps with affordable, stylish pieces—consider second-hand finds or rentals. Try to stick with more neutral décor that appeals to a broad audience. If possible, buy items you can reuse in your next home. Accessories like candlesticks, deco boxes, bowls, and throw pillows can transform a space without breaking the bank.
You’ve probably heard it: groups of three just work. One tall piece in the center with two shorter ones flanking it, sometimes to the front or side, speaks to our innate understanding and makes a simple, pleasing arrangement – and our brains also intuitively understand that 3 is the number for stability (as in table legs, for ex.). Even numbers rarely look right because there’s no single central anchor.
If you are looking at images online or in magazines, you will also not see small items sitting on their own – especially if there are many of them. This is because numerous single small items on their own make work for the eye to register them each separately, and the arrangement appears BUSY and disjointed rather than being a related grouping that makes a quiet and ordered statement. Items on their own each ‘fend for themselves’ and can look lonely, arbitrary, or random. If I use a singular decor item, I use something Large that can ‘hold its own’, has presence and makes a statement or defines an area, such as a large plant or smaller tree in a corner or empty space.
You are not going to use too much that is unique or overly noticeable – just a few concept-appropriate touches that highlight the best features of the home (think a tray with 4 glasses and a wine bottle opener sitting on the counter above a drinks fridge or bar area). Sometimes, the most notable decor in a home is what doesn’t work well. The aim of staging, however, is not to have them notice the staging on its own, but to feel the ‘vibe’ of the entire property that the staging implies, and their emotions that register by being in the well-designed home. If Buyers notice something (it stands out), you don’t want it to be bad.
This is also the reason that most stagers will use good quality furniture and decor, since luxurious and top quality decor helps give the feeling of a top quality, luxurious property. This is what is meant when you hear that buyers register a ‘perceived value’ from a staged property, and why it is important. People generally identify good furnishings with better, more luxurious properties and therefore are usually more keen to get their offer accepted.
STEP 11 – PREP FOR PHOTOGRAPHY AND MARKETING
Your photos are your first impression and probably, combined with the staging, the most important part of your marketing. Check out our preparing for photography checklist to make sure you’re ready. When you’ve finished staging and think the home is ready for the photographer, take a few sample photos yourself first to check that everything looks balanced and intentional.
Ensure rooms are well-lit, clutter-free, and styled according to your concept. This is where all the effort put into home staging furniture and layout comes together visually. Highlight the property’s strongest feature, the “money shot”, whether that’s a stunning view, a spacious kitchen, or a cozy living area.
Great photos get your agent’s phone ringing. That drives showings, and showings create buzz, excitement, and urgency in home buying. So go get to it.
CONCLUSION
Staging a home is ultimately about creating a feeling, a clear, compelling vision of how life could unfold in the space. By refreshing the exterior, defining each room with purpose, layering thoughtful décor, and preparing the home for photography, you’re crafting an experience that resonates with buyers the moment they arrive and long after they leave.
Great staging highlights a property’s best features, minimizes distractions, and elevates the overall perception of value. Most importantly, it helps buyers emotionally connect with the home, and that connection is what drives stronger offers, quicker sales, and a smoother, more rewarding selling process. When you stage with intention, you’re not just preparing a house for market; you’re setting the stage for its next chapter.
Download our Free Photography Checklist here: