How to Use Painters Tape (Make Interior Painting Faster and Easier)
A Step-by-Step Interior Painting Guide for Professional Looking Results
This is the second article in our interior Painting Guide Series covering Prep, Masking, and Painting techniques. If you haven’t already gone through the first step, it’s worth starting with how to prepare a room for painting, as proper prep makes everything that follows easier and more effective. Here, we explain when and why masking is beneficial, how to choose the right painter’s tape for the job, and how to use painters tape effectively to achieve consistently clean results.
When to Use Painter’s Tape for Cleaner Paint Lines
“To mask or not to mask” that is the common question… during interior painting.
Masking is often used around the edges of large paint areas so you can work quickly without worrying about creating a perfectly straight edge quickly by hand like you’ve seen the pros do. While tape can also help with detailed elements, such as at window mullions or masking to apply silicone, this discussion focuses on masking larger surfaces, particularly where walls meet ceilings, cornices, baseboards, door and window trim. This kind of masking for painting is often what helps DIY painters work faster and keep lines more consistent.
It’s a common misconception that masking takes more time. When applied efficiently and correctly, masking usually saves time, or takes roughly the same amount of time as careful hand cutting in. Masking is useful because prolonged hand painting can eventually lead to fatigue or loss of focus, which can compromise line quality. The opposite can also occur where the start of hand painting is poor but eventually, a rhythm and technique evolve and the quality may improve – but again, inconsistent!
Masking allows you to maintain consistent edges throughout the space, resulting in a more uniform and professional finish. And developing and improving your masking technique will make the process even more efficient.
Masking vs. Cutting-In: Which produces Better paint Lines?
Whether to use painter’s tape or not can be determined based on the specific conditions of each project. If wall and ceiling colors are similar and surfaces are smooth, you may decide to cut-in by hand. However, when there is strong contrast, such as white ceilings paired with darker contrasting wall colors, masking usually produces cleaner, sharper lines and more professional-looking results. In such a location that is going to draw the eye anyway, it should be for the right reason.
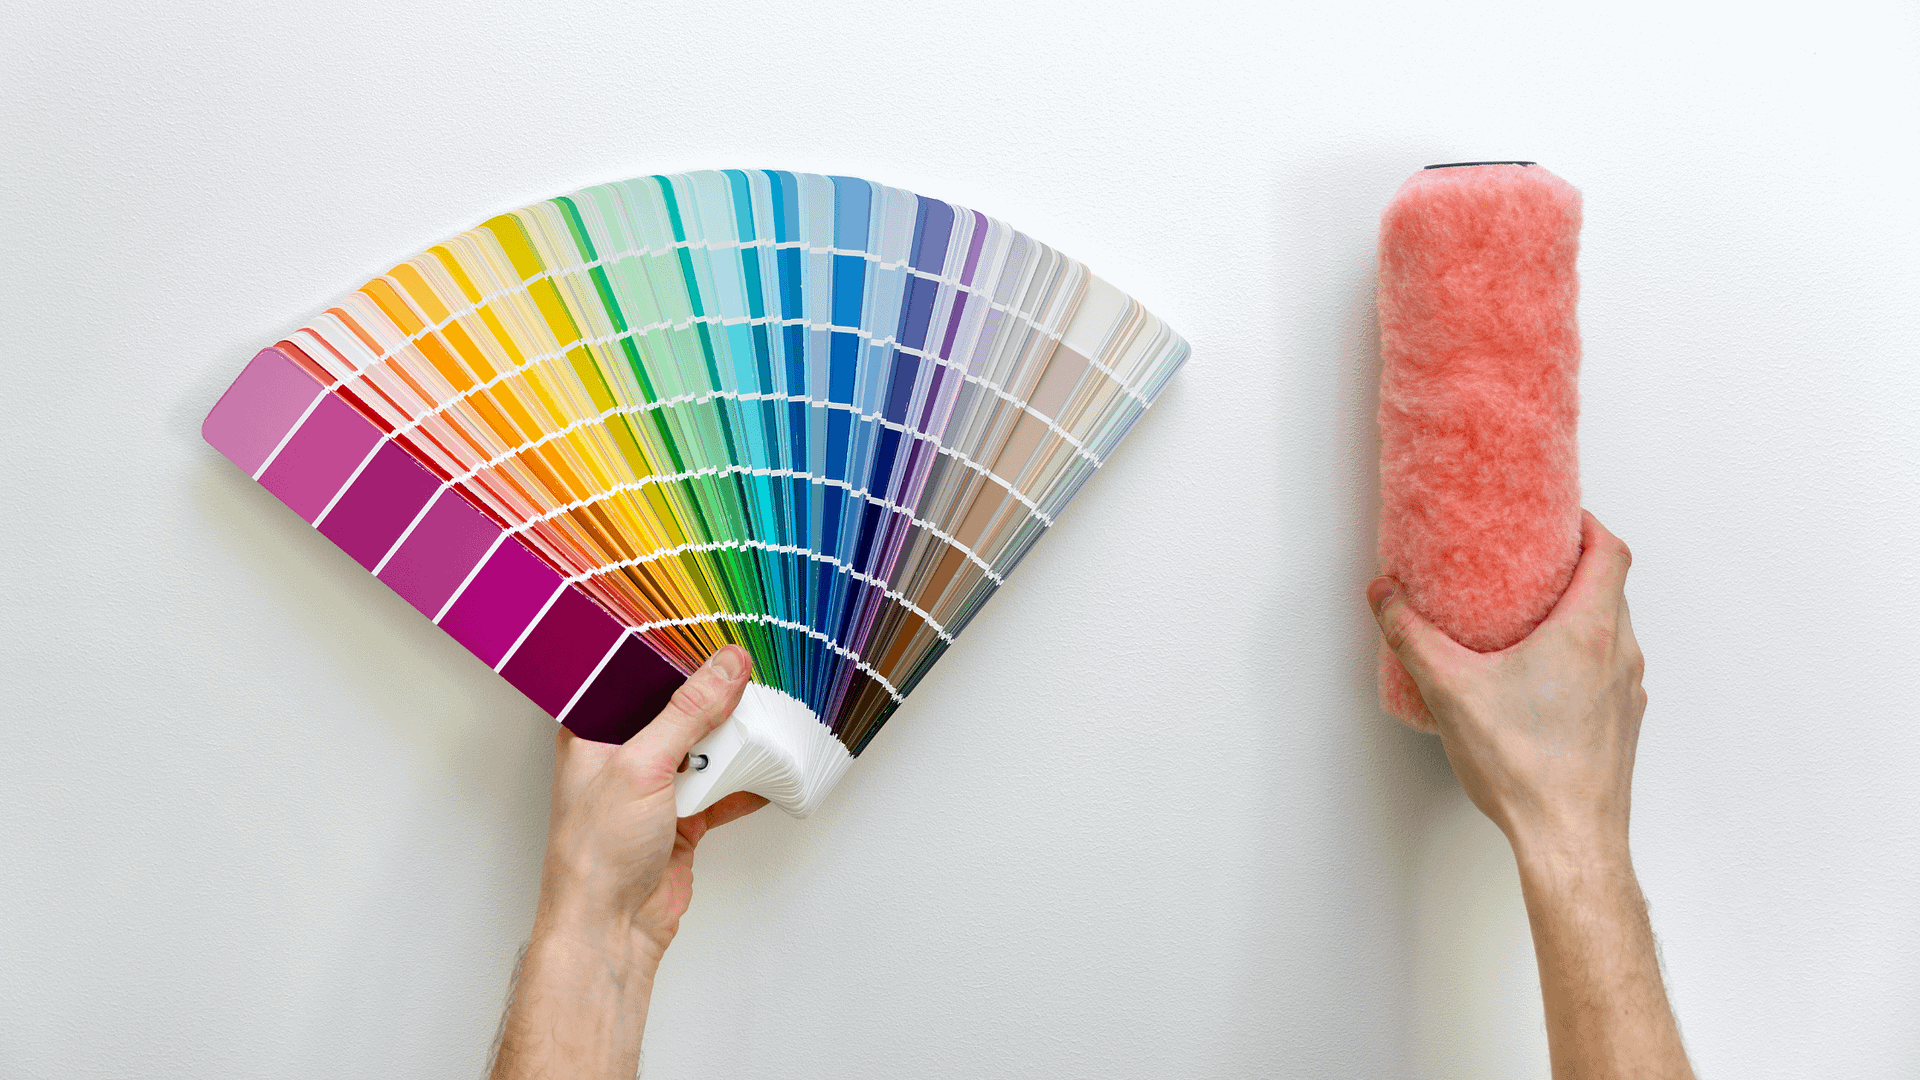
How to choose the Best Painter’s Tape for the Job
Painter’s tape is masking tape made especially for Interior Painting projects. It’s usually classified based on it’s adhesive strength, the time that that adhesive should be stick to a wall for and the width of the tape.
- Adhesive Tack
Low-tack tape is designed for freshly painted or delicate surfaces (wallpaper for ex.).,
Medium tack for general uses,
High-tack for rough or some exterior surfaces
I suggest testing a 6” piece of tape in an inconspicuous place on your chosen surface first: leave for an hour then peel away to check – if you are unsure.
- Adhesive Duration
Always check the tape label for max. recommended stick time
some say 24 hrs, some say 3 days etc.
- Tape Width
Narrow width (1” and under) is ideal for curved areas and tricky shapes,
Standard width (1-1 1/2”) is for general painting,
Wide tape (2” +) for masking large areas quickly and providing protection from small rollers etc
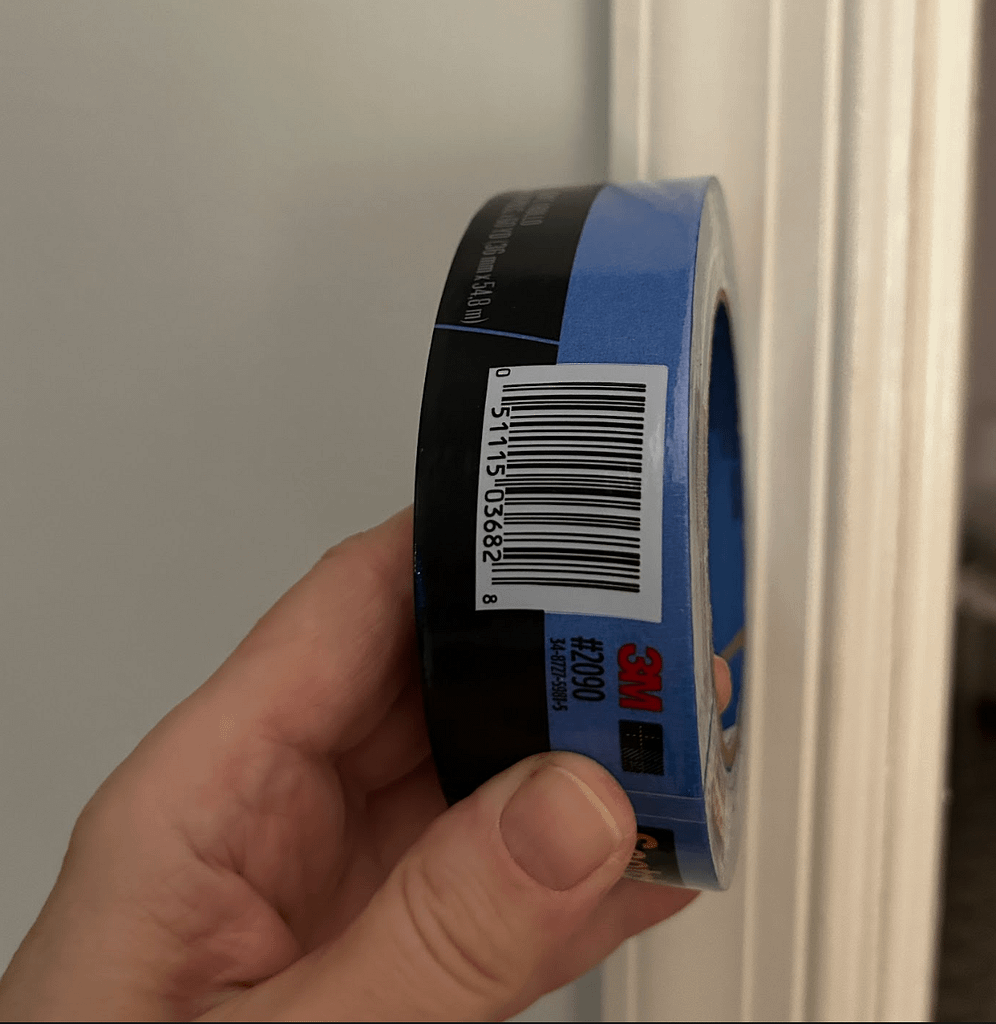
There are also different formulations of adhesive which are brand specific – such as ‘Frog Tape’ which claims to eliminate bleed underneath and ‘3M tape’ which is Blue tape.

How to Apply and Remove Painter’s Tape for Clean Paint Lines
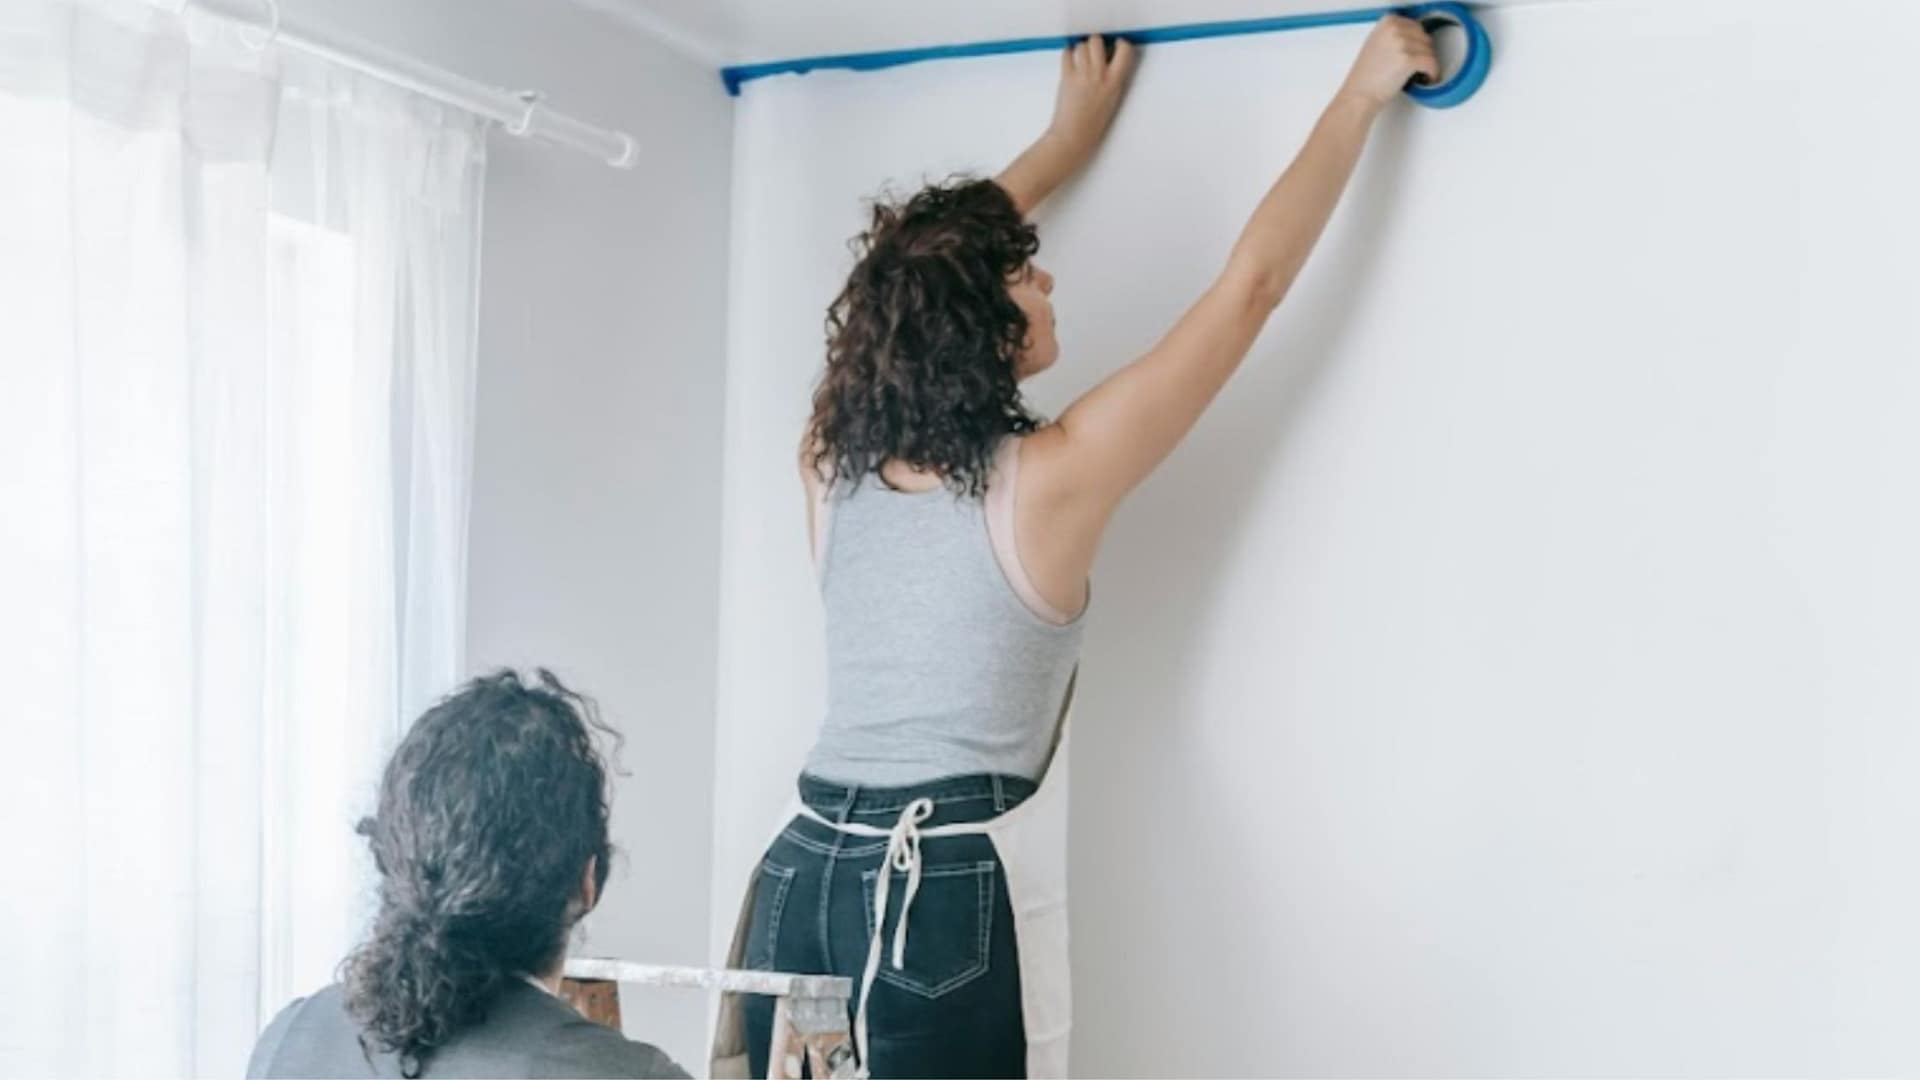
What Are the Best Techniques for Applying Painter’s Tape for Interior Painting?
To start, ensure the surface is clean and completely dry before applying painter’s tape. If you skipped proper prep, this is usually where problems start. Taking the time to prepare your room for painting properly makes a big difference in how well the tape sticks and how clean your final lines look. If you are learning how to apply painters tape, this step matters more than people think. There are two common options. You can apply tape in manageable section lengths that you are comfortable with which are easier to control. Make sure to overlap ends of sections by about an inch and continually check that your pieces line up to form one continuously straight edge.
It’s also possible to run a single continuous strip from end to end of a wall or element, but take care not to let the tape roll get pulled to one side or another and stretch. Stretching the tape on one side can cause puckering when you attempt to stick it down back straight.
In either case, check the line straightness by standing at one end with your eyeball near the tape end and look down the line if possible (or take a picture with a smart phone). This will reveal any major unevenness.
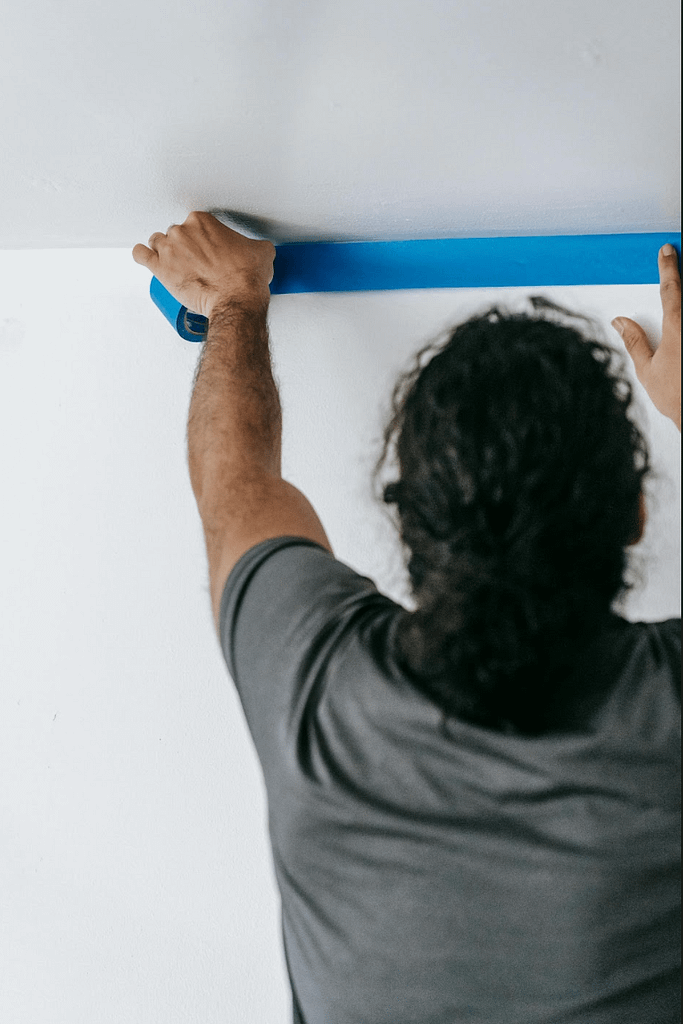
My Fast Method
When taping continuously, I start by securing the tape at one end. I then pull the tape roll straight along the intended line releasing 12-inch tape sections and using the roll end to holding the tape just above its final position. With my free hand, I lightly tap down on the tape down about every two inches, working forward towards the roll, ‘tacking’ the tape in place. Once I reach the end, I tear the tape slightly longer than needed, then return to cut the end cleanly with an (X-Acto) knife. Finally, I run my finger along the tape edge lightly to make sure there is even adhesion the entire length, then back the other way pressing more firmly at the edge to gain maximum contact.
Masking at Corners
At inside corners, I recommend trimming the end of each piece into a clean mitered angle. When two pieces overlap this way, they form a sharper, cleaner inner corner.
Masking Difficult areas
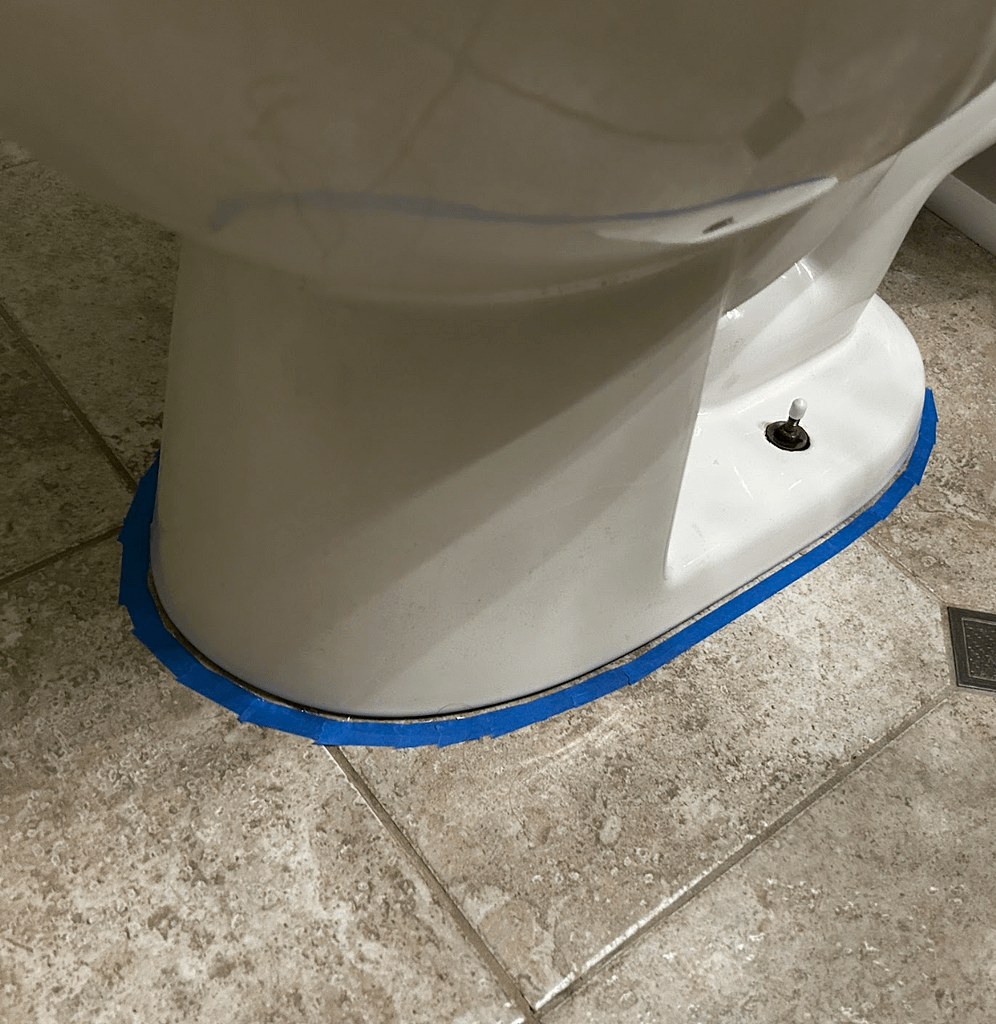
If you are masking around curves or difficult areas, break off small sections (of thinner tape) and build the shape with multiple pieces. Then, add wider tape around the outer edge to provide adequate masking. if I need thinner tape pieces, i will tear off a long section and stick it to a door frame edge – hanging off at the centerline, then, with an X-acto knife or sim, cut down the center using the frame edge as a guide)
When to Apply and Remove Painter’s Tape During Interior Painting
Applying Painter’s Tape – Best Time
Apply painter’s tape to a fully clean, dry surface about one hour before painting, and do not leave it in place longer than necessary. After installation, run your finger along the tape edge that defines the paint line, using a soft cloth such as a microfiber, over your finger. This presses the tape edge firmly into place, improving adhesion and reducing the chance of paint bleeding underneath.
Removing Painter’s Tape – Best Time
For the cleanest results, remove tape while the cut-in paint is just touch-dry. If you’ve ever wondered when to remove paint tape, this is usually the ideal moment. Start at one end and pull the tape back slowly at about a 45-degree angle, folding it back against itself as you go. This allows the tape to cleanly slice the paint edge as it releases. If tape is removed after the paint has fully cured (typically after six hours or more), the paint film may tear or lift unpredictably rather than breaking cleanly at the line. This is also the best approach if you are trying to learn how to remove painters tape without removing paint.
Best Painting Tips when Using Painter’s Tape to Paint Interior Rooms
To Avoid Paint Bleed Under the Painter’s Tape Edge
When brushing paint on the tape edge, I keep the bristles nearly parallel to the tape and avoid pushing paint toward the edge, which can force it underneath.
To Achieve Ultra-Sharp Paint Lines
In areas where a perfectly sharp edge is critical, apply your painter’s tape and press it down firmly. First, brush a thin strip of paint over the tape edge using the same color as the surface beneath the tape (the base color). Once this dries, apply the new paint color along the edge. When the new paint is mostly dry, remove the tape. This method seals the tape edge and ensures both paint layers meet cleanly with no bleed-through.
Read our next post in this Interior Painting Guide Series: How to Paint a Room
Painting Order & Masking Strategy Options
| Painting Order | Masking Approach | When This Works Best | Notes on Results |
|---|---|---|---|
| Paint trim first (if needed) – then ceilings, then walls another day | No masking initially. Apply masking on trim & (maybe) ceilings another day after paint cures to paint walls | Quick masking after trim is fully cured – best for 2 weekend project | Faster setup, but paint lines may be slightly less clean |
| Paint trim (if needed), then walls one day, paint ceiling another day | No masking on first day – cut-in by hand with wall paint – or mask on trim if not painting it. Allows for masking later at the top of the wall to paint the ceiling | Best when no trim paint is needed or only a light refresher. Best when wall to ceiling color difference is strong and masking is needed for a clean line | Sharp, crisp |
| Paint trim first (if needed) – then paint ceilings, then walls, same day | No masking; hand-cut-in walls same day or shortly after | When time is limited, or if trim gets a light refresh. Best when you are skilled at hand cutting-in | Efficient and flexible; quality depends on cutting-in skill |
| Paint walls first, paint ceilings, and trim another day | No masking initially; mask later at the wall-to-ceiling joint and on the wall to paint the trim if desired | When wall-to-trim or wall-to-ceiling color contrast is strong, and a clean line is desired | If masked, allows crisp edges for ceilings and trim after walls cure |
| Paint ceilings first, then walls, paint trim last (another day) | Cut-in the top of the walls by hand or mask (difficult), then hand cut-in the walls and trim, or allow for masking for trim after the wall paint cures | Professional preference for efficiency and clean results | Minimizes masking; requires confident brush control |
A Quick Note Before You Move On
Some people prefer taping, some prefer cutting in by hand. Both work. It usually just depends on the space and how confident you feel with a brush.
What tends to matter more is everything before this step.
If the room hasn’t been properly set up, even the best tape won’t give you clean lines. So if you haven’t already, it’s worth going back and making sure you prepare your room for painting properly before getting into the rest of it.
From here, it’s really just about getting the paint on the walls. That’s what we’ll get into next in how to paint a room.