Caulk vs Silicone: The Key Difference Every Homeowner Should Know
Homeowners often assume caulk and silicone are interchangeable, but understanding the difference between caulk vs silicone is important when choosing the right sealant for interior projects. Choosing the wrong product, or using the right product in the wrong place, leads to cracking, shrinkage, staining, adhesion failure, and joints that look messy, unprofessional, or, worse, unhygienic, far sooner than they should.
Although both silicones and caulks now come in countless formulas with additives for specific needs, the core difference remains the same: silicones are typically solvent-based, while caulks are generally water-based. When comparing silicone vs caulk, DIYers often grab caulk because they believe its water base makes it easier to apply, produces fewer VOCs, and allows for easier cleanup. With the right prep and technique, though, either product can be applied cleanly and deliver a professional-looking finish.
From my experience, choosing a sealant to seal laminate, granite, quartz, marble, and tile countertops, as well as painted drywall or interior trim, comes down to how the following issues need to be addressed.
- moisture exposure
- surface movement
- requirement for hygiene and cleanability
- paintability
The answers here should drive your decision, not just color or ease of application. Knowing when to use silicone vs caulk can prevent many of the most common sealant failures in kitchens, bathrooms, and trim work.
Table of Contents
When to Use Silicone Inside the Home
Best Uses for Silicone Sealant
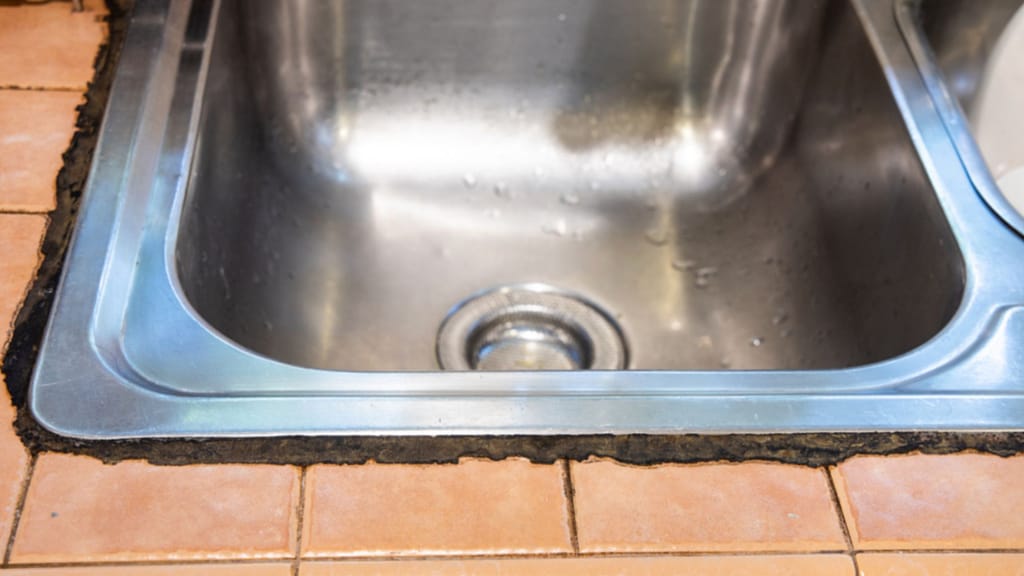
- Around edges of kitchen sinks – where they meet countertops
- Around bathroom sinks – where they meet countertops
- Where countertops meet backsplashes
- In areas where food or other staining things are present or where dirt or crumbs can collect and get pushed into the sealant
- Around smaller faucet and plumbing penetrations
- In showers, tubs, and other wet zones – where two different materials meet or, for ex. where two shower stall walls meet perpendicularly and can move independently
- In areas with high movement or strain – for ex. where tubs meet the wall or floor (tubs move when they are filled with water)
- In rooms with consistently high humidity
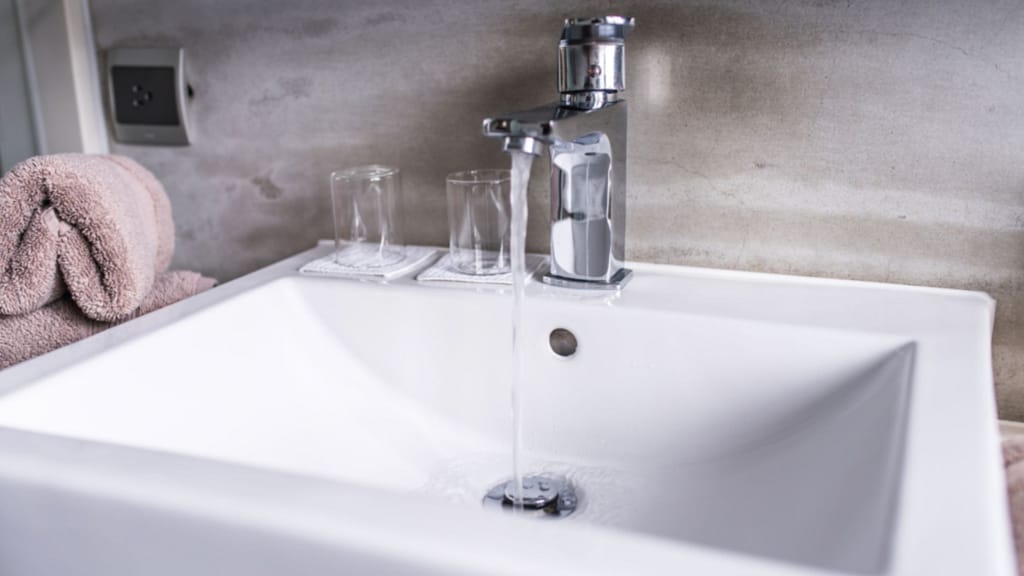
Silicone stays flexible, resists water intrusion, and, when it contains a mold-inhibiting agent, remains clean and holds up far longer in damp environments than standard caulk. It is almost exclusively the choice for wet areas in kitchens and baths – where hygiene and ease of cleaning are top priorities.
Silicone is generally much more flexible than caulk, especially over time, when caulk can dry out and then it will shrink (and therefore crack). Cracking of sealant not only instantly draws the eye off a potential homebuyer because it says ‘old or unkept’. Surfaces that often move a lot relative to each other – such as the abutment of two different materials, two planes that are at a 90 degree angle to each other, or two surfaces that move differently due to structural considerations- demand joint filling that responds well to the movement and retains its shape.
One other main consideration when using Silicone (especially the non-paintable type) is that you must choose a good color that matches their substrates (or clear) for the job. I often use clear if I am simply trying to make surfaces watertight, but do not want to call attention to it with visible lines of caulk.
Common Silicone Mistakes
- Using silicone (that is not made for painting) where paint is required
- Applying silicone over old sealant residue or incompletely cleaned surfaces – poor prep
- Choosing the wrong color – that stands out and draws the eye
- Poor tooling that leaves a messy finish
These mistakes don’t just fail functionallythey look bad, especially next to high-end materials.
When to Use Caulk Inside the Home
Best Uses for Caulk
- Where drywall meets trim
- Along baseboards
- Around door and window casings
- At crown molding
- Where backsplash meets painted drywall
- Any joint that will be painted
Caulk allows paint to adhere properly and makes future touch-ups easy. If you’re planning to repaint trim or walls as part of the project, my guide on how to choose primers, paints, and tools for interior painting explains how to prep surfaces so the finish lasts. When comparing caulk vs silicone for interior joints, paintable areas like trim and drywall are almost always better suited for caulk.
As explained in this guide from This Old House on choosing the right caulk for the job, paintable acrylic or latex caulks are typically preferred for trim and interior finish work because they bond well and accept paint.
Using silicone in these areas often leads to peeling paint and visible shiny seams.
For trim work, choosing the best caulk for trim is important. A high-quality paintable acrylic or hybrid caulk creates smooth transitions between drywall and woodwork and prevents visible gaps around baseboards, crown molding, and door casings.
Adhesive and Hybrid Caulks
The Best Option for Cracking Joints
In areas where:
- Materials move seasonally (shrink due to winter dryness or interior dry heating / expand due to humidity)
- Joints have cracked before
- Different materials that are more absorbent meet (wood to drywall, stone to drywall)
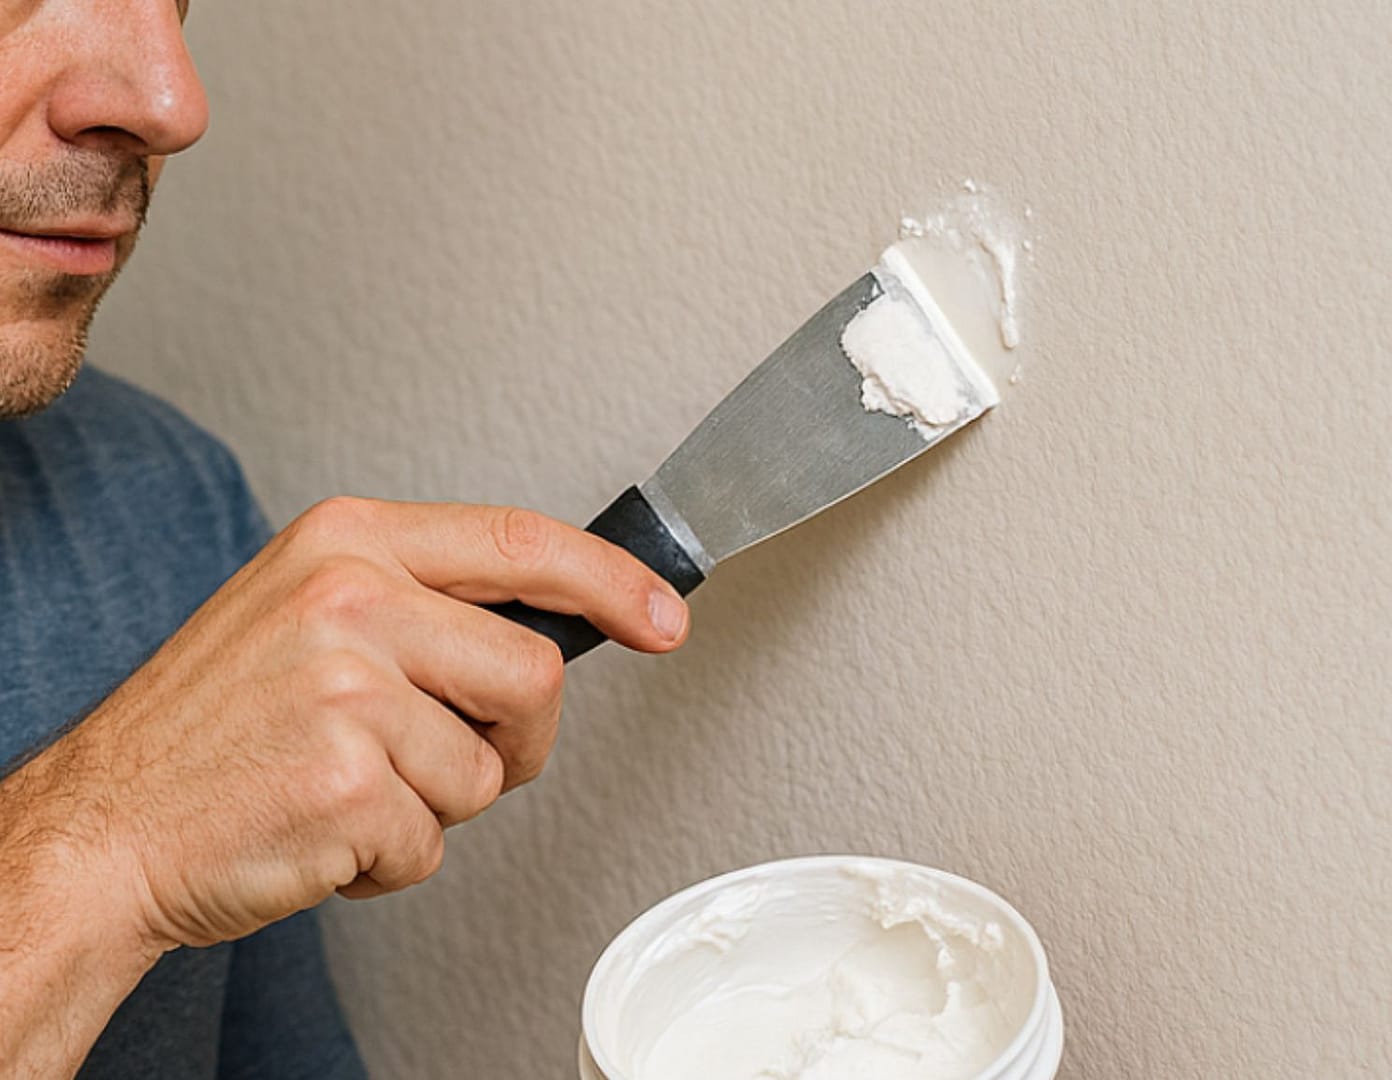
I often specify an adhesive caulk that can still dry out a bit but has less tendency to draw away from a surface that has shrunk (with better adhesion to it), and therefore is less likely to crack.
These products can offer more flexibility than standard caulk while remaining paintable, making them ideal for problem areas. I often use them to fill cracks in drywall or plaster, for example, where paintability and workability are important but the sealant is more likely to move when the crack moves.
Caulk vs Silicone in Kitchens
Understanding caulk vs silicone is especially important in kitchens where both moisture and appearance matter.
Use Silicone
- Around sinks
- Countertop seams
- Stone, quartz, and marble edges near water
Use Caulk
- Backsplash to the wall seams that will be painted
- Decorative joints away from water
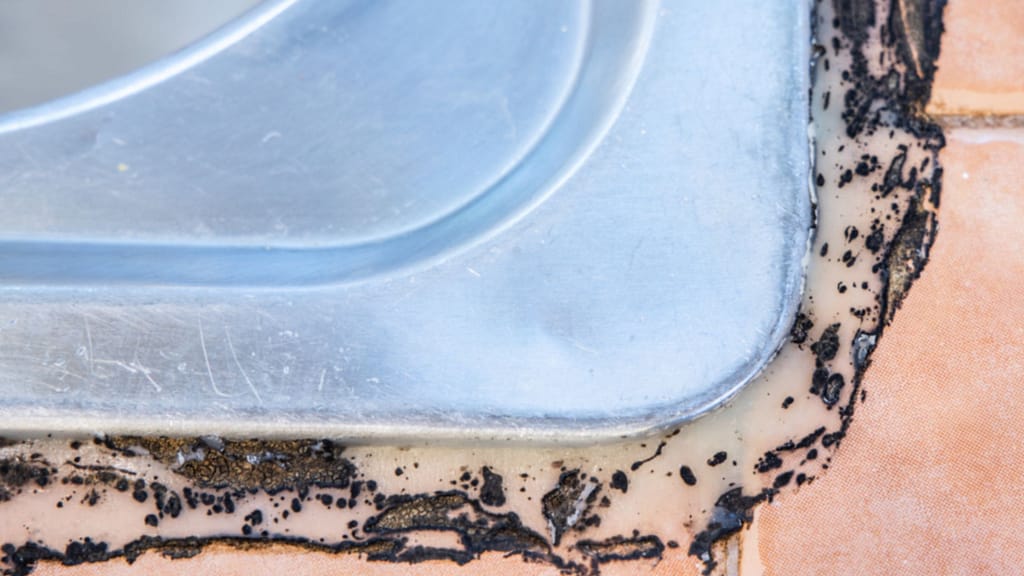
Using standard caulk near sinks is one of the most common failures I see; it dries out, shrinks, cracks, and eventually allows water intrusion.
Don’t forget, caulk is also more easily stainable, so it picks up stain colors and is receptive to dirt (it embeds more easily). Caulk is usually the least cleanable, hygienic-friendly option.

Caulk vs Silicone in Bathrooms
Bathrooms combine water + humidity, which changes everything when choosing between silicone vs caulk.
Use Silicone
- Around sinks, tubs, and showers
- Vanity to wall seams
- Tile to countertop joints
- Always choose a silicone with a mold and mildew-resistant additive in bathrooms.
Use Caulk
- Baseboards
- Trim
- Painted drywall joints
Caulk or Silicone Where Drywall Meets Other Materials
Use caulk where drywall meets:
- Wood trim
- MDF
- Built-ins
- Cabinets
- Shelving
- Use caulk, not silicone.
These joints need to be paintable and easy to maintain. Silicone here causes long-term cosmetic issues and complicates future repairs. This is also where selecting the best caulk for trim helps create seamless painted transitions between materials.

Interior Application Mistakes That Cause Sealant Failure
From what I see most often, failures happen because DIYers skip critical prep steps:
- Old sealant not fully removed
- Surfaces not cleaned properly (or residue of the cleaner is left)
- Gaps too large without a backer rod
- No layering for deep joints
- No masking or tooling
- Paint peeling that was installed over conventional silicon
- Large gaps should always use a backer rod to prevent shrinkage and cracking.
If you’re tackling several small repairs at once, you may also find it helpful to review the home maintenance and DIY repair guides in the How-To section, which cover common tasks homeowners often handle before selling.
Why Caulk and Silicone Choices Matter for Resale Value
This is one of the most inexpensive, high ROI fixes homeowners can make. Small repairs like replacing cracked sealant often fall into the category of simple improvements that increase a home’s value before selling.
Buyers immediately notice:
- Mold spots (and therefore, also smell)
- Cracked sealant
- Water staining
- Sloppy (amateur) application – and wonder what else was done by an amateur
Clean, properly sealed joints signal:
- Moisture control
- Preventive maintenance
- A well-cared-for home
- Bad sealant creates an instant “ick factor.”
Even newer kitchens and bathrooms can feel old, unhygienic, and neglected. The upside? This is an easy DIY project that can make a home feel almost new, or at least clearly well-maintained.
When to Use Caulk vs Silicone (Quick Decision Chart – Room-by-Room)
| Location / Joint | Primary Conditions | Best Product | Why This Is the Right Choice | Common Mistakes to Avoid |
| Kitchen sink to countertop | Constant water exposure, movement | Silicone (mold-resistant) | Fully waterproof, flexible, resists shrinkage & mold | Using painter’s caulk that dries out and cracks |
| Countertop to backsplash (tile or stone) | Moisture + material movement | Silicone | Handles expansion/contraction and water | Poor prep leading to adhesion failure |
| Countertop to painted drywall | Low moisture, paint required | Caulk or paintable silicone | Paint adheres cleanly | Using non-paintable silicone |
| Bathroom sink to countertop | Water + humidity | Silicone (mold-resistant) | Prevents water intrusion and mildew | Skipping the mold-resistant formula |
| Tub or shower surround | Standing water, steam | Silicone (mold-resistant) | Designed for extreme moisture | Applying over old residue |
| Vanity to wall (bathroom) | Humidity + slight movement | Silicone (if near water) or caulk (if paint-only) | Balances moisture control and finish | Choosing one product blindly |
| Drywall to baseboards | Paintable joint, low moisture | Caulk | Smooth finish, easy touch-ups | Using silicone that rejects paint |
| Drywall to door/window trim | Seasonal movement | Adhesive or flexible caulk | Reduces cracking over time | Rigid caulk that splits |
| Crown molding to the ceiling | Paint + subtle movement | Adhesive or flexible caulk | Creates seamless painted transition | Overfilling and poor tooling |
| Built-ins to drywall | Different materials, paint | Caulk or hybrid caulk | Allows flexibility + clean finish | Hard silicone lines that look shiny |
| Large interior gaps | Wide joint, movement | Caulk + backer rod | Prevents shrinkage and cracking | Filling the gap with sealant alone |
| Tile to drywall (dry area) | Low moisture, visible seam | Caulk | Paintable and neat | Using silicone unnecessarily |
| Tile to drywall (wet area) | Splash zone | Silicone | Water protection matters more than paint | Painting over silicone |
| Interior stone to drywall | Mixed materials | Hybrid or adhesive caulk | Balances flexibility and adhesion | Standard caulk that cracks |
Final Verdict: Caulk vs Silicone
When comparing caulk vs silicone, there is no single product that works everywhere.
Use:
- Silicone where water and humidity are present, and durability is paramount
- Caulk where paint is involved, movement is lower, and the crack is smaller
- Adhesive or hybrid caulk where re-cracking is a concern
Knowing when to use silicone vs caulk ensures that sealants last longer, look better, and prevent moisture problems in kitchens, bathrooms, and trim work.
Choosing the right product and applying it correctly protects your home, improves appearance, and increases buyer confidence at minimal cost.