How to Paint a Room
A Step-by-Step Interior Painting Guide for Professional Looking Results
This is the Third article in our interior Painting Guide Series covering Prep, Masking, and Painting techniques. So, if you are following along, you’ve just finished your cleaning, prepping, and possibly masking in preparation for your next step. Here, we explain how to paint a room and walk through the steps on how to paint a room so everything flows properly from start to finish.
Painting Trim for Interior Rooms: Before or After Painting Walls?
This step can be completed either before painting adjacent surfaces, such as walls and ceilings, or after the main painting is finished, depending on several factors. You are ready to start painting – but first, you need to have a plan. If you read our previous post on Masking for Room Painting , you decided the order of what to paint and,d from that, figured out a masking strategy.
I often prefer to start with painting the trim first. Doing so allows me to cut in the wall paint cleanly to the trim in the next step without masking (and you can do the same if you’re comfortable with your technique). If masking is needed, it’s quick and easy to tape door and window frames and the tops of baseboards once the trim paint has fully cured, often after a weekend. In some cases, only a partial mask is required, such as at the ceiling-to-wall junction.
Many professionals prefer to paint trim after the walls, particularly when doing a quick refresh. In this situation, a light pass of fresh white paint over the baseboards can make them look noticeably cleaner against newly painted walls. As always, ensure the trim has been properly cleaned before repainting.
Check your Paint Type
When painting trim in older homes, it’s common to encounter oil-based finishes on baseboards or door frames. If you plan to apply latex paint over oil, be sure to first use a liquid sandpaper (de-glosser) to dull the surface. This creates enough surface “tooth” for proper adhesion and helps prevent paint failure later.
Primer Basics: When and Where to Use Primer for Painting
Apply Primer Over Glossy or Semi-gloss Paint
When painting over semigloss or other shiny latex finishes, consider applying an adhesion primer first. This is a key part of understanding when to use primer for painting. If the existing finish is glossy oil-based paint, use a liquid sandpaper (de-glosser) instead. Glossy surfaces are designed to repel moisture and dirt, which also makes it difficult for new paint to bond properly. Even after thorough cleaning (see above), paint can still struggle to adhere without additional surface preparation. A dedicated primer or de-glosser solves this problem and helps prevent future paint failure.
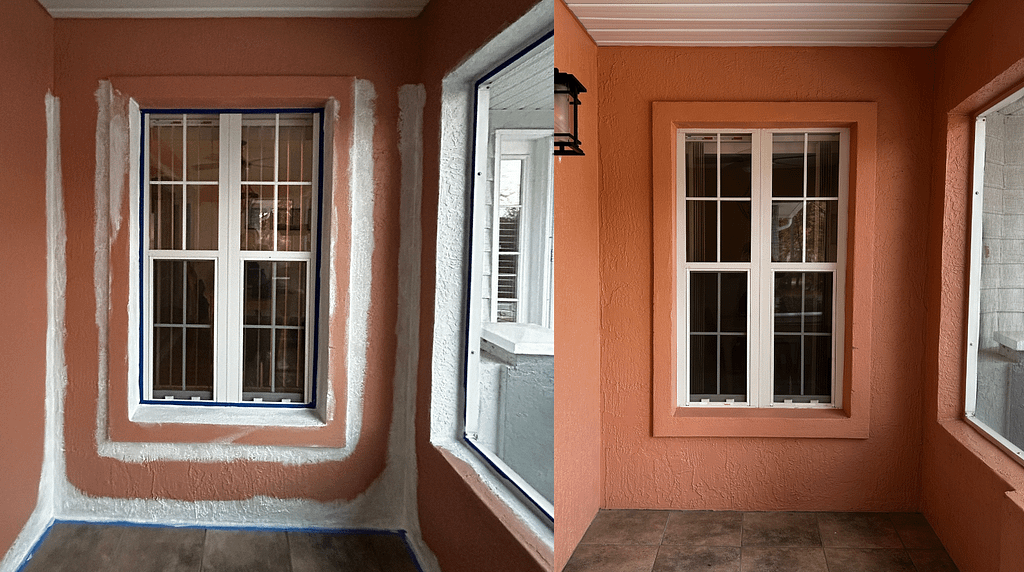
Apply Primer Over Wall Filler or a Repair Area Before Painting
Always apply a thin, even coat of primer over drywall repairs and patched areas, allowing it to dry completely. For very small repairs, paint may work in a pinch, but priming is the better practice. Dry joint compound and wall fillers are more porous than surrounding surfaces and absorb paint differently. Without primer, this often results in visible sheen or texture differences in the finish coat.
Use Tinted primer for Dark Wall colors.
If you are painting a new, darker wall color and primer is required, consider having the primer tinted slightly lighter than the final paint color. This helps the finish coat reach its true color more efficiently instead of fighting against a bright white base. The subtle contrast also makes it easier to see where primer and paint have been applied, reducing the risk of missed spots.
Apply a Primer to Newly Constructed, Plastered Walls
The best product for the job is a specialty product called PVA that seals the porous surface. If the PVA is clear or milky when drying, you will need to apply at least two top coats of paint on the PVA.
Priming Ceiling Stains and Leak Repairs
If you are repainting after a ceiling water-leak repair, use an oil-based (solvent) primer on the affected area once repairs are complete. Water-based primers may appear to block stains initially, but in many cases, discoloration bleeds back through shortly after the finish coat is applied.
Touch up or Repaint a White Ceiling?
Planning to touch up white ceilings? In most cases, spot touch-ups are unsuccessful unless the area is extremely small. White paints vary significantly in tone and sheen and continue to change over time. Any mismatch is immediately noticeable. If a ceiling requires priming or repainting in one area, it is usually best to paint the entire ceiling. This is especially important when preparing a home for sale; uneven ceiling paint often raises buyer concerns about what caused the damage or what may be hidden underneath.
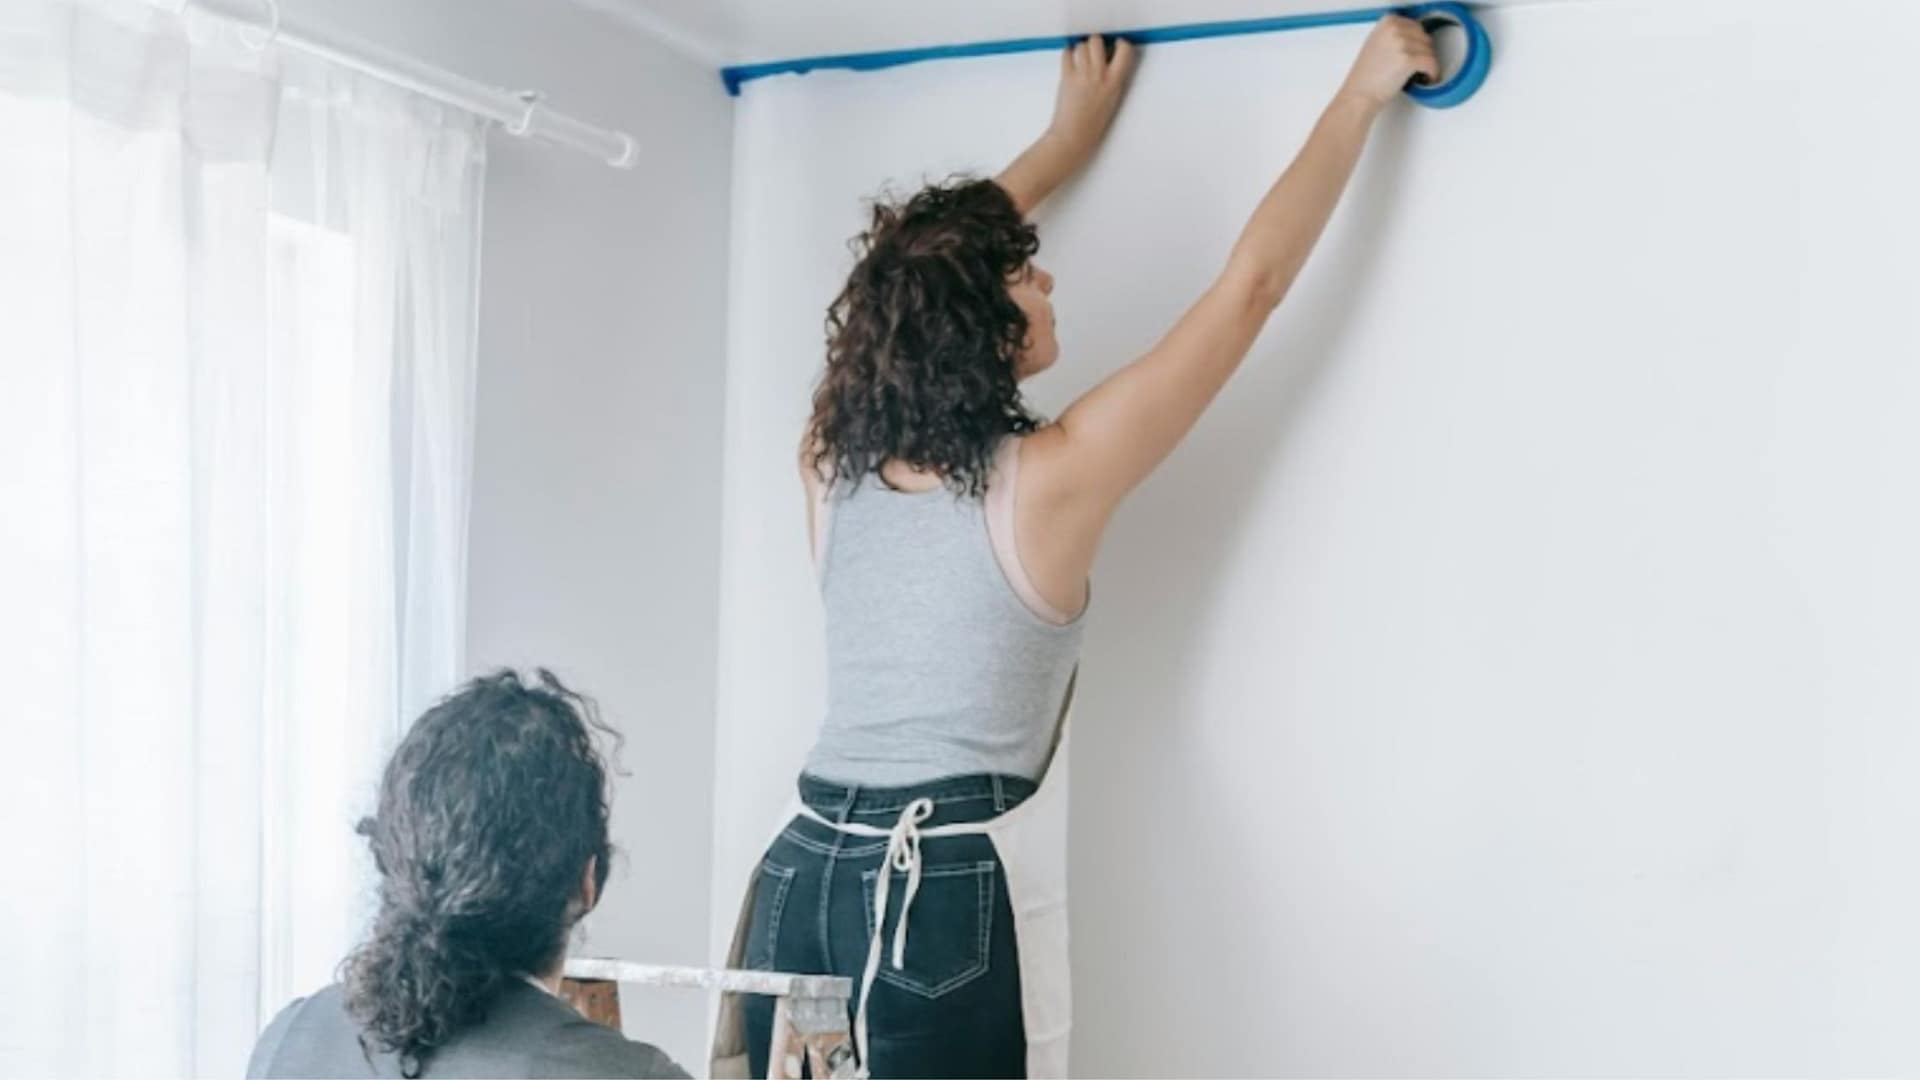
Cutting In: How to Create Clean Edges Before Rolling
Cutting in is the process of applying primer or paint by hand along edges and corners using a brush before rolling the main field of a surface. This technique is most commonly used on walls and ceilings and is one of the key steps in how to paint a room properly. Rollers cannot reach tight areas—such as corners, trim edges, outlets, and door frames- so cutting in first establishes a clean boundary for the roller to blend into.
At ceiling lines, it also prevents rolling too close to the ceiling and leaving visible roller marks.
When I cut in, I usually end up applying just one coat. This paint, applied by brush, is usually thicker than the rolled-on paint, which usually requires 2 coats. I may go back and touch up any thin areas before I start rolling.
Tools Needed for Cutting-in Paint
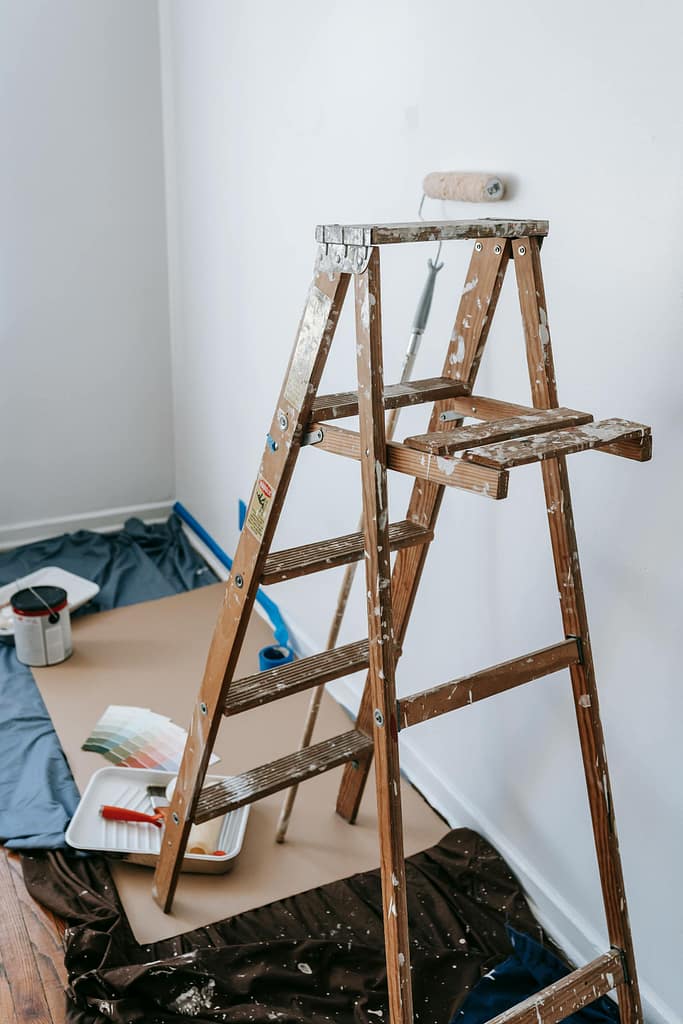
For this step, I use a quality angled brush and a lightweight plastic paint cup, which is especially helpful when working on ladders to reach upper wall edges or ceiling perimeters.
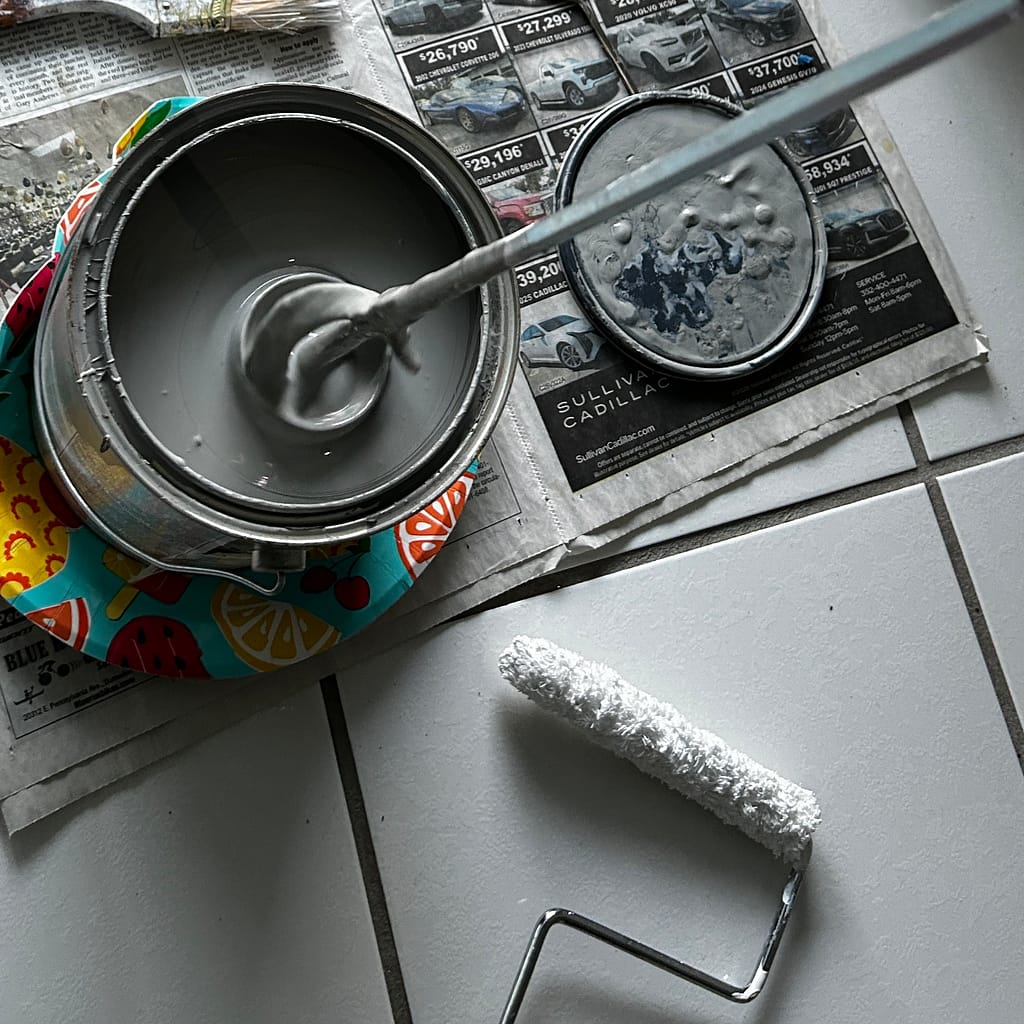
Open the paint can with a paint can opener and set the lid aside. Stir the paint thoroughly, reaching the bottom edges of the can with a hand stirrer or using a drill-mounted metal stirrer. Pour paint into your cup until it is about ½ to ⅔ full, enough to work efficiently without making the cup difficult to handle. Keep a brush or rag handy to clean excess paint from the can edge, then wipe it with a damp paper towel and reseal the lid.
TOP TIP
When using a new brush, lightly wet the bristles first, shake off excess water, and pat dry with paper towels. This helps prevent paint from wicking deep into the ferrule (the metal band), where it dries quickly, shortens the life of the brush, and makes future cleaning difficult.
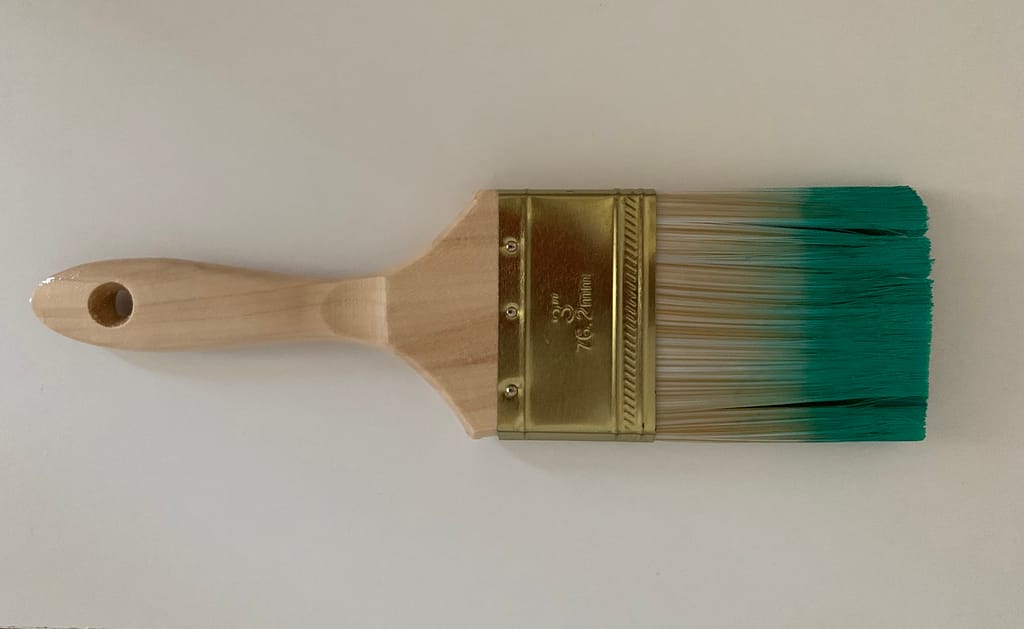
How to Hold and Load a Paint Brush Correctly
For best control and reduced hand fatigue, hold the brush by the flat metal ferrule, just below the bristles. A 2″–2½” angled brush works well for most painters, while larger hands may prefer a 3″ brush. The angled shape is key to achieving sharp lines, as the bristles flex evenly when pressed, at a slight angle, into corners or against edges.
Dip the brush about two-thirds of the bristle length into the paint, then **tap—do not wipe—**the excess off on the side of the cup. This loads the brush correctly without overfilling it.
My Cutting-In Method
- Apply a strip of paint parallel to the edge, stopping about ½ inch short, using most of the paint on the brush. If paint runs or drips, too much paint was loaded.
- Make a second pass in the opposite direction, overlapping the first, and guide the bristles along the masked or unmasked edge, pushing the paint directly up to the line.
- Use the remaining paint on the brush to feather the paint slightly away from the edge.
- Finish with one light blending stroke, pulling the fresh edge back into the previous wet section for a seamless transition.
If I’m not using masking tape, the second pass is done more slowly and deliberately to achieve a clean, sharp line.
Always feather the paint 4–6 inches back from the edge into the area that will later be rolled. This prevents a visible ridge where brushed paint meets rolled paint and allows the roller to overlap the dry feathered area without leaving a hard line. Leaving 6 inches also allows you to remove the masking tape after cutting in and still have enough border to keep the roller from getting too close to the adjacent surface.
Cutting in is also the right time to brush around outlet boxes, irregular features, and recently patched areas. Lightly coating these areas with primer and/or paint ensures they absorb the final rolled coat evenly.
Additional Tips for Brush Control
- Always brush from dry into wet, blending each new stroke into the previous section.
- Use an angled brush for corners and a straight-edged brush for flat trim.
- For the final stroke, hold the brush nearly horizontal and lightly drag it across the surface to reduce visible brush marks.
- Avoid loading paint all the way to the back of the bristles, which reduces control and increases drips.
When to Remove Painter’s Tape for the Cleanest Paint Lines
Once you’ve finished cutting in around walls, ceilings, or trim with your finish coat of paint, this is usually when I remove any masking tape. Tape releases most cleanly when the paint is still slightly wet, so avoid letting it dry completely along the tape edge. You can wait until the walls or ceiling are fully painted if you must, but do not allow the paint on the tape to fully cure. That curing time will depend on the humidity and temperature of the room.
How to Remove Paint without Damaging Fresh Paint
Remove the tape slowly at about a 45-degree angle, pulling it gently back against itself and away from the painted edge. Pulling too quickly can tear the tape or lift paint—or even the underlying surface. As I go, I fold the loose end back onto itself to keep it out of the way and prevent accidental contact with fresh paint.
This approach helps the tape break cleanly at the paint line and produces a sharper, more reliable edge.
Painting Order Explained: Walls vs Ceilings
When you’re painting BOTH the walls and the ceiling, remember that you only need to mask one of those surfaces. When deciding which to paint first, I use these guidelines:
When to Paint the Ceiling First
Paint the ceiling first, letting the paint overlap the top of the wall – if you are comfortable,e then cutting in at the tops of walls with a brush by hand or skilled at masking ceilings, which can be more challenging, having to do well, when it’s upside down.
When to Paint the Walls First
Paint the walls first (fill the joint fully with wall paint, let it cure, then mask at the top of the wall before painting the ceiling) to get a crisp line between the two.
Tips For Rolling Paint and Primer on Walls and Ceilings: Best Techniques
All techniques, sequencing, and practical advice are preserved; repetition and casual phrasing have been reduced while keeping your instructional tone.
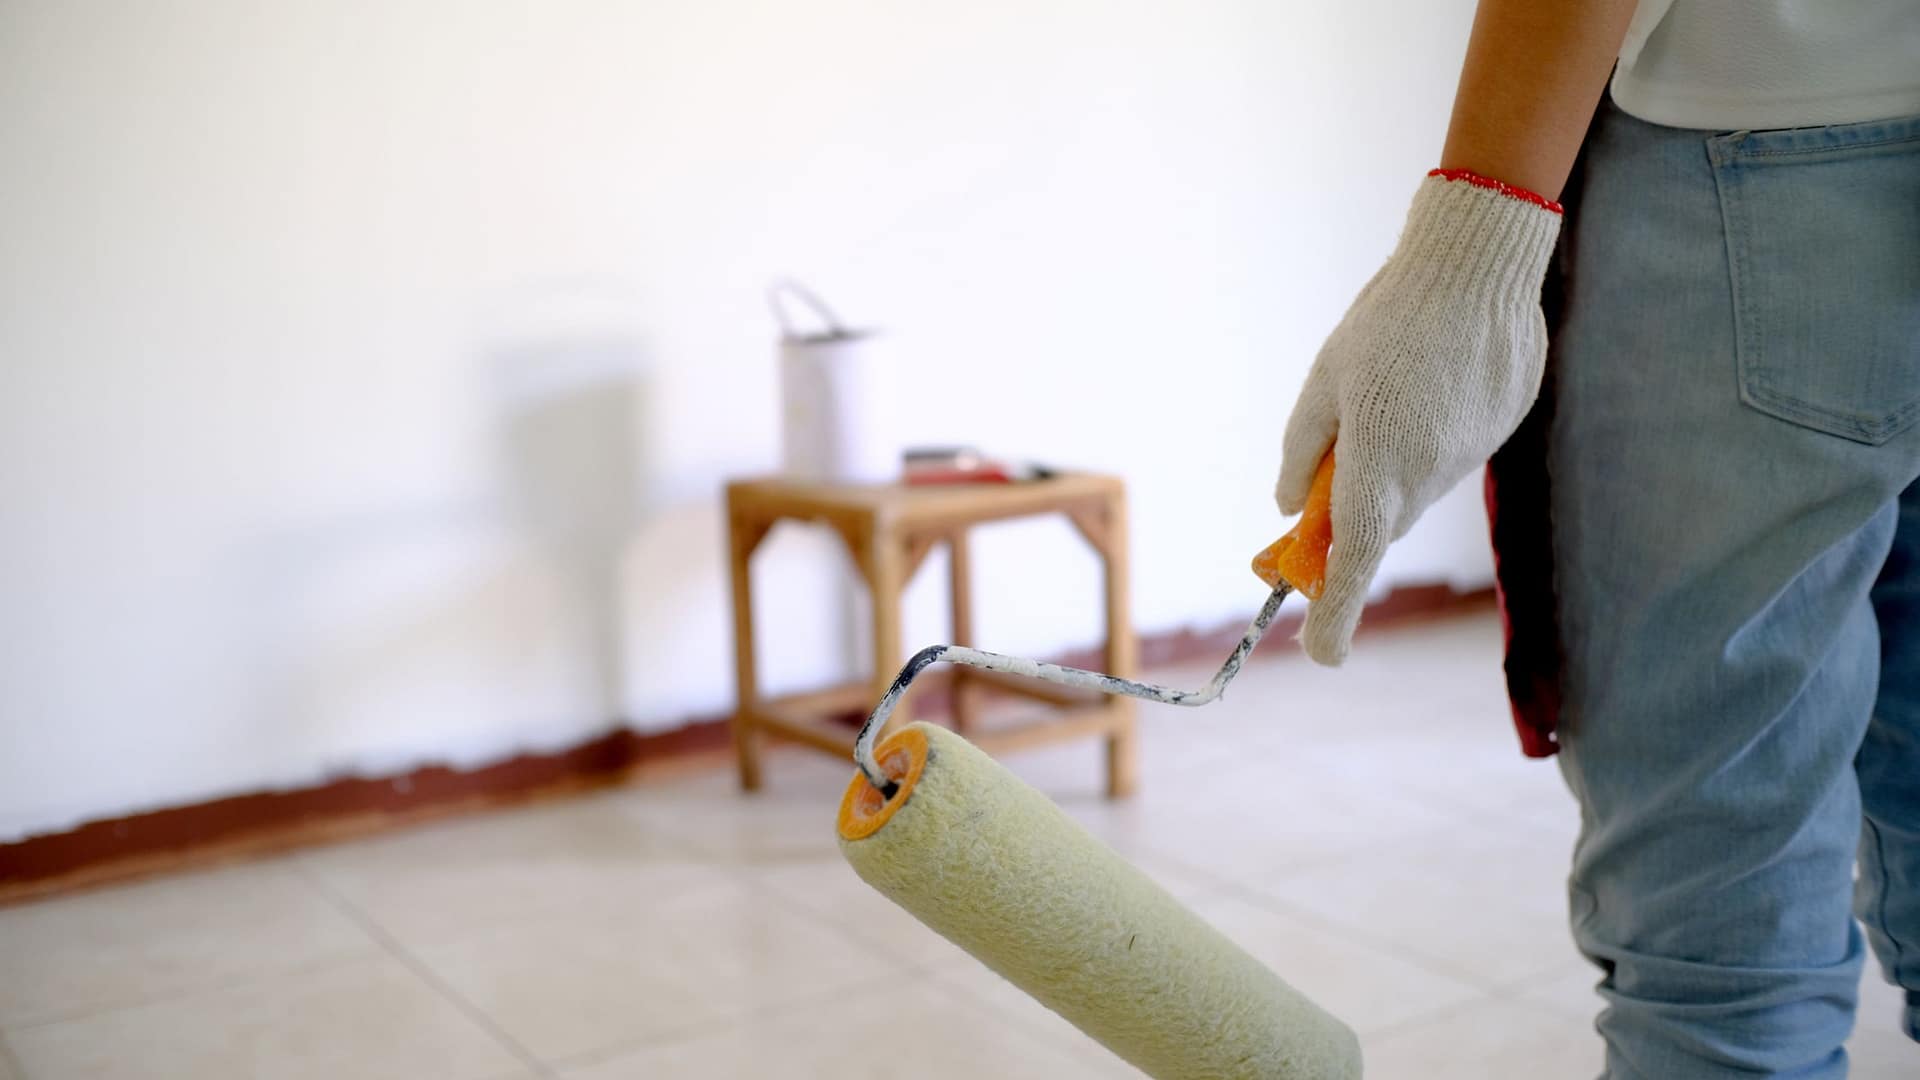
Rolling on Primer or Paint
Once the cutting-in is complete, it’s time to roll the main field of the surface, essentially filling in the area between the lines. Proper setup makes this step faster and more consistent. These are some of the most effective tips for rolling paint to get smooth, even coverage.
Prepare the Paint roller and Tray.
Before starting, assemble your tools (see Paint Tools and Supplies). Prep the roller cover by removing loose fibers, rubbing it briskly with your hands away from open paint, or using masking tape to lift stray fibers. Once attached to the frame, lightly dampen the cover with water. This helps it take up paint more evenly during the initial load.
I always keep a damp microfiber cloth nearby. Drips and splatters are inevitable, and wiping them up immediately prevents problems later. Follow the same paint-handling routine used earlier: stir thoroughly, wipe the rim clean, and reseal the can when not actively pouring.
Pour paint into a 12- or 18-inch tray, filling only the lower reservoir; the paint should not reach the rolling board. Dip the roller lightly, roll it up onto the tray to distribute paint evenly, and give it a few additional passes to fully load the cover. This extra step is especially important at the beginning of a job.
For ceilings or large wall areas, attach an extension pole and work with the tray on the floor. This saves energy and reduces constant trips up and down a ladder.
Rolling Paint in Sections for Even Coverage
As you work, you’ll quickly learn how far one full roller load will go. Some painters roll a full top-to-bottom pass at once; this is common with wider 18-inch rollers that hold more paint. Others prefer breaking the wall into rectangular sections, working the upper and lower portions separately. This sectioning method is effective for both walls and ceilings.
Regardless of approach, best practice is to place the bulk of the paint in the center of each section first, then work it outward toward the edges with subsequent passes.
Techniques for Rolling Paint
For an excellent visual demonstration, see this ceiling-painting video:
- Always feather the edges of each section so the next section blends seamlessly.
- Apply a full roller load diagonally across the center of the section, then roll vertically to distribute the paint evenly.
- You should not see distinct roller-edge lines. If you do, you’re either pressing too hard, using too little paint, or the roller nap is too short for the surface.
Don’t be alarmed if the paint looks off-color when first applied. Light colors typically dry darker, while dark colors often dry lighter.
For multi-room or large projects, I recommend batching the work: paint all ceilings first, then all walls, then all trim.
These simple tips for rolling paint make a noticeable difference in the final result.
Interior Painting Tips for Best Results
Take Care of your Paint Can
Always close the primary paint can between uses to prevent skinning. If you’ve poured paint, clean the rim before resealing so paint doesn’t dry, flake off, and fall back into the paint. This also prevents the can from closing properly, which dries out the paint faster.
Get your Can of Paint Shaken
For off-the-shelf or pre-tinted paint, ask the store to shake the can, then stir it again at home. Pigments settle quickly. If paint has been sitting, a drill-mounted mixing wand ensures a thorough blend.
Mixing Paint Property for Color Consistency
If you realize you don’t have enough paint to finish the current wall, stop. Do not start another wall. Purchase more paint and mix it into the existing paint to blend batches. Small color variations are common and are far less noticeable between adjacent walls than mid-wall breaks.
How many Coats of Paint do Interior Walls Need?
Most walls require at least two coats of paint to achieve proper color and finish. Applying one heavy coat may seem efficient, but it often results in drips, roller marks, slow drying, and uneven coverage. Thick paint does not flow or level well and rarely produces a clean result.
Best practice – Applying two Coats
Another common mistake is applying a second coat while the first is still wet or only partially dry. Professionals can sometimes work within a narrow “dry window” because they understand their products and often use fast-drying, professional-grade paints. For most painters, however, this leads to failure. The first coat may form a thin dry skin while remaining wet underneath; rolling over it lifts that skin, creating a rough, patchy finish. Paints are formulated to perform best in thin, even coats.
Applying a second coat does not mean rolling over partially wet paint. That produces roughly one-and-a-half coats, not two, and significantly increases the risk of lifting the first coat and damaging the finish.
TOP TIP
If you’re working on a budget, consider using a tinted primer in a similar color to build your base. Primer is usually less expensive than finish paint and often allows full coverage with just one top coat.
Paint Tool Storage & Cleanup — Quick Guide
| Tool / Situation | What to Do | Key Tips |
|---|---|---|
| Roller (reuse next day) | Wrap tightly in plastic wrap / cling film or seal tightly a plastic bag which sticks to the roller surface – (some people place it in the fridge) | Cover the ends—they dry first; leave some paint on the roller |
| Roller (same paint, next day, 5-gal bucket) | Hang roller in bucket on grate; seal lid tightly | The roller cover should be partially submerged |
| Primer vs. Paint | Use separate roller covers if possible – Primer dries quickly and is difficult to remove easily (and is bad for plumbing) | Prevents contamination and provides a better finish |
| Roller (switching paint or keeping) | Roll off paint, wipe with a paper towel to remove any leftover paint, then wash in warm, soapy water | Remove as much paint as possible before washing |
| Roller (done / not reusing) | Roll off paint, bag it, discard if it’s not a special one to keep | Decide what’s most eco-friendly |
| Brush (short break during the day) | Wrap in plastic wrap or a damp paper towel | Keeps bristles from drying out (especially primer) |
| Brush with latex paintFinished for the day | Brush off as much as possible, pull off remaining paint with a paper towel, and wash in warm, soapy water | Brushes with latex don’t keep well overnight (even if wrapped) |
| Brush with oil paint – short break during the day or reuse the next day | Cover bristles and ferrule – tightly wrap in foil | Will keep for a few days |
| Brush with oil (done/ not reusing) | Brush off as much as possible, paper towel off the rest, clean in a jar 1/2 filled with oil paint remover. | If I am painting a functional paint (non-decorative), consider an inexpensive brush to discard after use. |
| Paint tray liners | Label each tray liner with a permanent marker so you can remember what it was used for when reusing. | Use paint tray liners to extend the life of your paint tray. |
Final Thoughts
Good interior painting comes from doing the fundamentals correctly and in the right order. Proper prep, thoughtful sequencing, and controlled application do more for the final result than any shortcut or trick.
If you follow the right steps on how to paint a room, everything becomes easier, and the results will hold up visually and physically for many years to come.
If you’ve worked through the first and second parts of this guide, you’ll know that cleaning, prepping, and masking are what set everything up for a smooth result. This final step is really just bringing it all together.
When each stage is done properly, the painting itself becomes far more controlled, and the end result looks clean, consistent, and professionally finished without needing to overwork it.